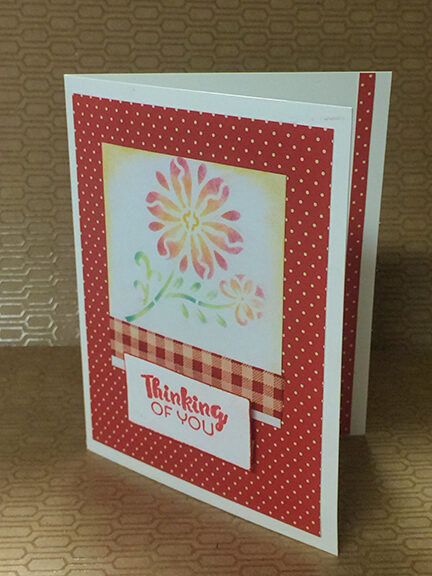
This thinking of you card is a result of working with craft chalk. I started working with Pebbles Craft Chalk Kit and creating a user tutorial video. Then I wanted to use the image that was made. This tutorial is the result of that craft chalk tutorial. I hadn't worked much with craft chalk but found it to be similar to working with colored pencils but with a very different visual result.
The links below are affiliates, making it easier for you to purchase the same materials used in this post.
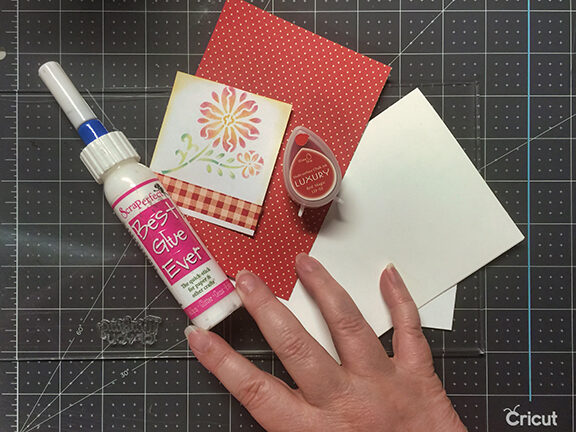
Materials:
- Pebbles Chalk Kit (see available products at Amazon at the bottom of this post)
- stencil (Jot brand)
- card blank
- scrapbooking paper
- stamp
- ink
- trimmer (Cricut trimmer)
- washi tape
- ScraPerfect Best Glue Ever
- ScraPerfect No-Clog Cap
Directions:
Video tutorial for working with crafting chalk
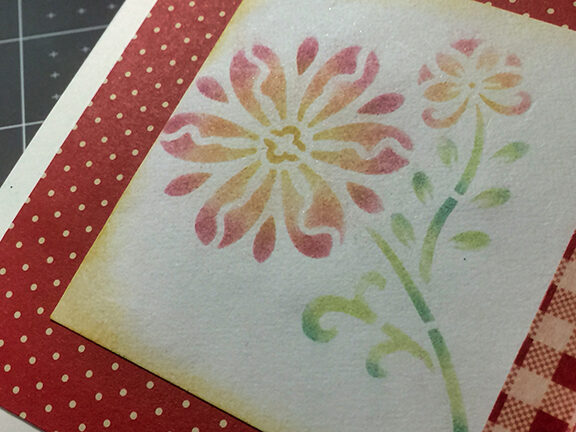
close-up of the chalked image
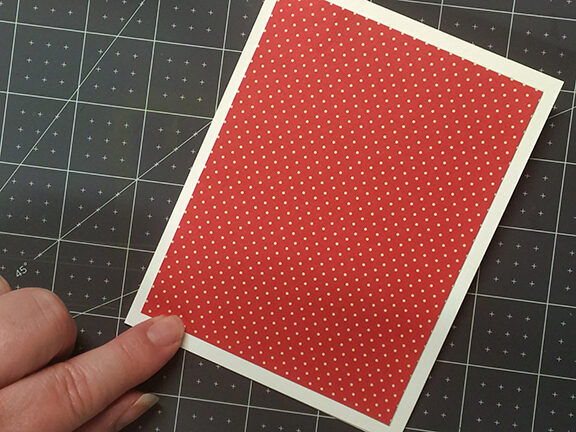
the first layer is glued into place
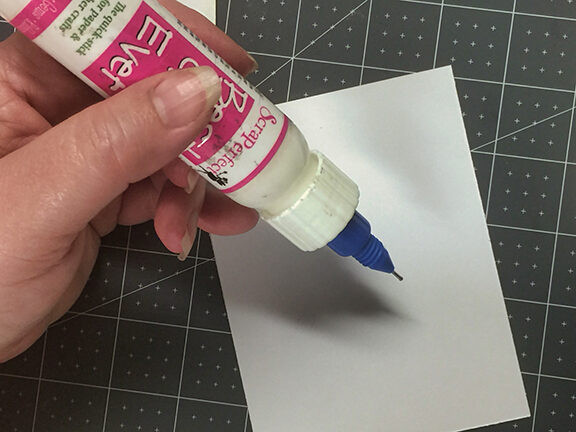
I am using the Best Glue Ever to add the layers.
I am a part of their design team. I love working with the No-Clog Writing Cap™. I leave it on my bottle of glue for ease of use.
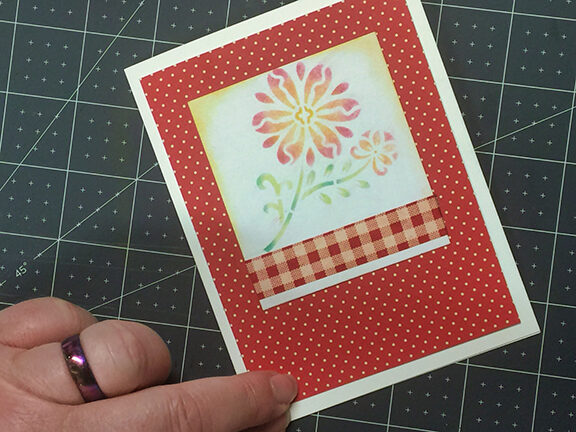
Washi tape was added to the chalked image piece before gluing it into place
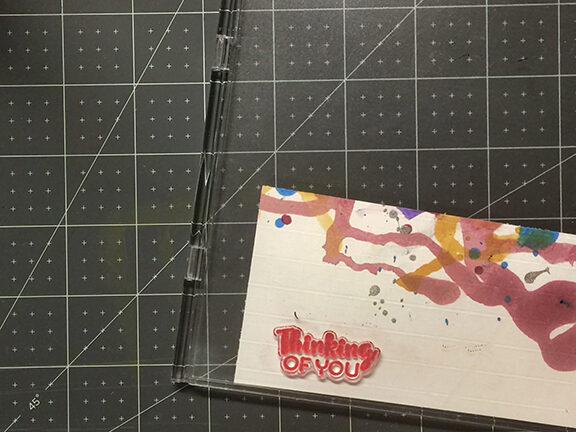
stamping the sentiment in a matching color of ink
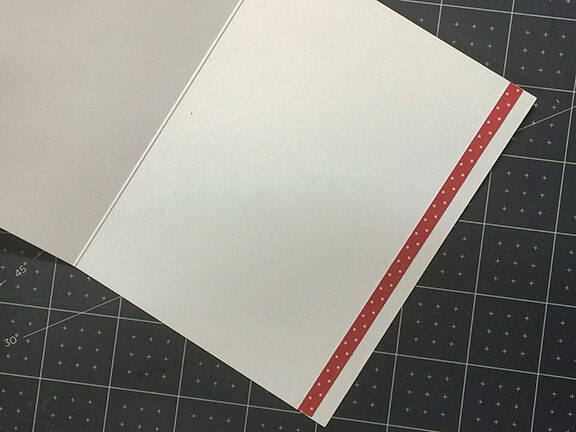
I added a strip of the same scrapbooking paper to the inside of the card.
I like adding a visual connection to the inside of the card or the envelope.
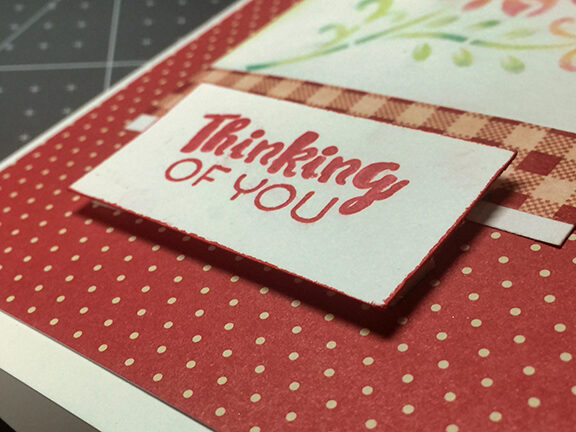
Close-up of the sentiment. It was attached using foam tape.
The edges of the sentiment had the ink pad run along them to add a detail of color.
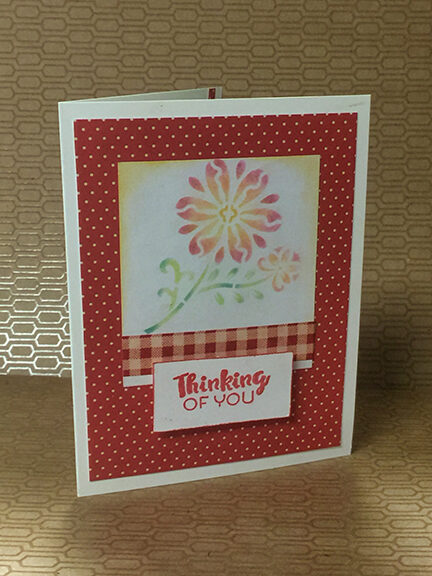
The finished card.
