

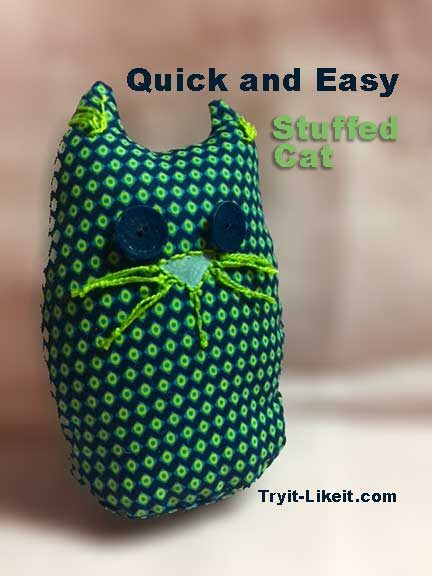
This is a super easy to make stuffed cat. My daughter is away at summer camp this week. She loves cats and stuffed animals, so I made this little guy to send to her at camp. I hope he keeps her company! The pattern, if you can call it that, is easily adjusted to change up his shape. You can make yours short, or fat, small or big. I used scrap fabric we had, I didn't need to buy anything for this project.
Here is a pattern you can work from. I took a scrap piece of paper and just drew my pattern. When I went to cut it out, I folded the shape in half so each side of the cat matched. I hope that makes sense, but if not, just use the pattern.
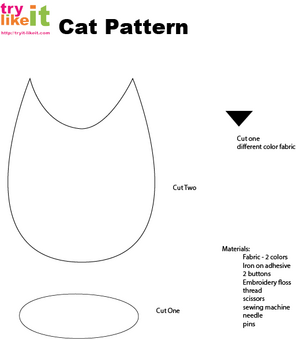
Click on the image above to access the free PDF file.
Materials:
- Fabric - 2 colors
- Iron on adhesive
- 2 buttons
- Embroidery floss
- thread
- scissors
- sewing machine
- needle
- pins
- fluff filling
Directions:
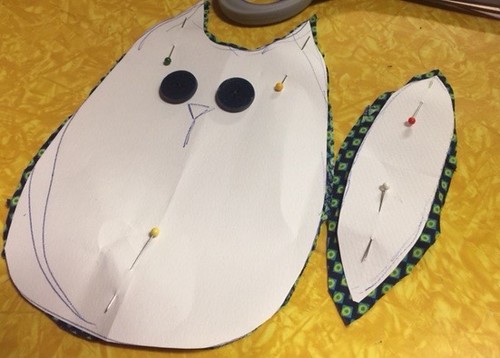
Pin the pattern to the fabric. Cut two of the cat body and one of the bottom shape.
Buttons are in place to show how it will look

Cut out the triangle shape from the alternate fabric.
Using the iron on adhesive, adhere the nose to the front of the cat.
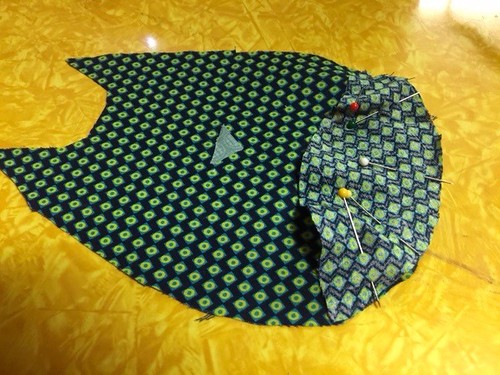
Pin the bottom piece to the front of the cat, right sides together.
Sew these two pieces together.
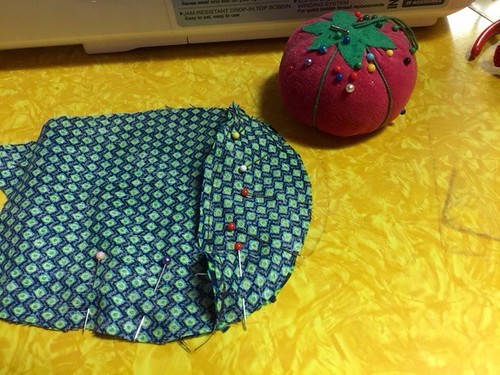
Pin the back to the front and bottom pieces.
Notice on the body I have two pins near each other.
This is where I will start and stop sewing, leaving an opening to turn the cat inside out.
Sew around this shape.
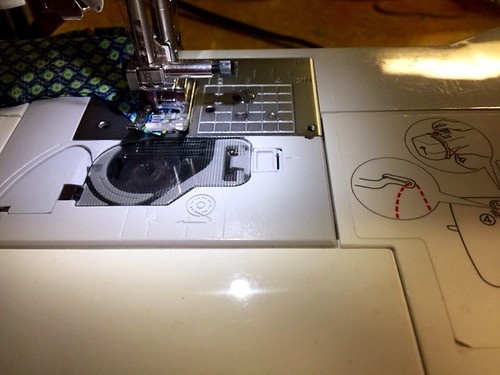
The ears are a sharp point, leave the needle down on the machine, then raise the foot.
Rotate the point, and begin to sew again.
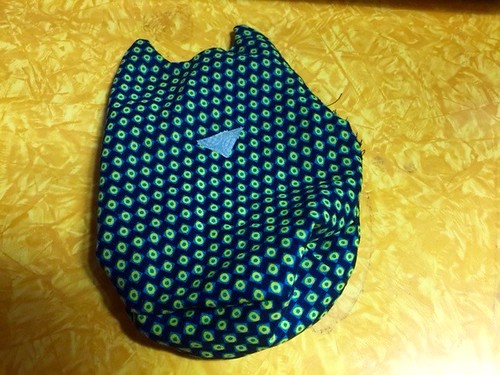
Using the opening in the side, turn the fabric right side out.
Fill with fluff.
Sew the side closed.
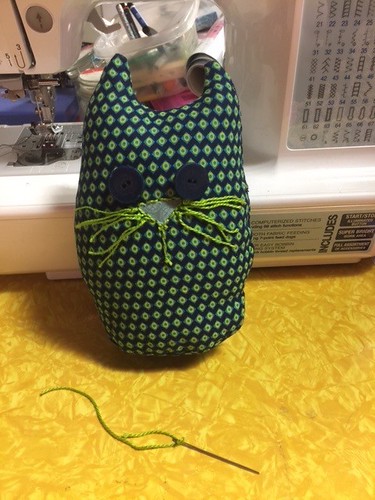
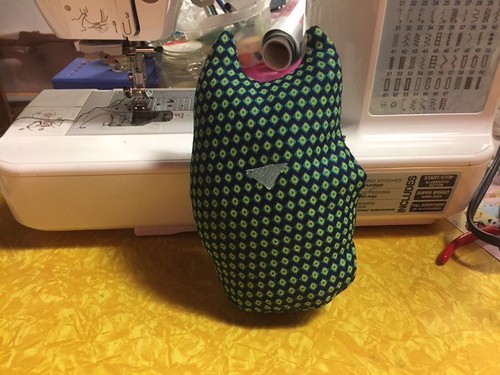
Sew on the buttons for eyes.
Using the embroidery thread, add whiskers and other stitches as desired.
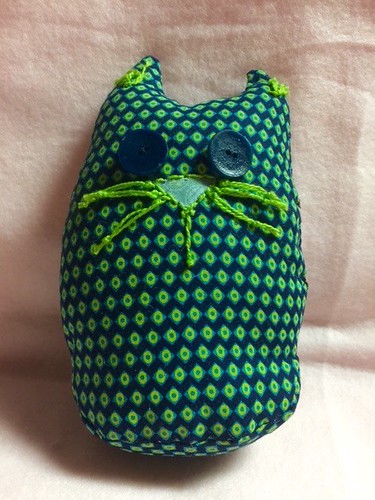
This is mine finished. If you make one, I would love to see it.


