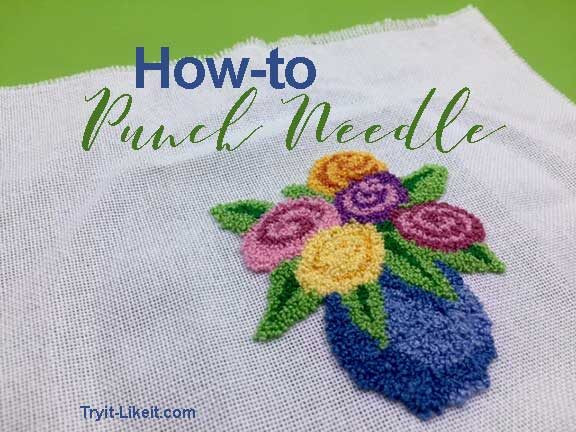
Punch Needle Embroidery is a very easy needle craft to learn because it is very forgiving. I recommend you start with a kit so you have all the necessary elements for your first try. The brand I started with was Dimensions, they have two different kits. One with everything needed, the other with just the pattern and embroidery thread. At the bottom of this post, there is a link to a beginner kit available at Amazon, it contains an affiliate link.

Materials needed:
- patterned fabric
- embroidery hoop
- punch needle
- needle threader
- instructions
Directions:

1. Place the fabric into the embroidery hoop. You will work with the pattern face up but this is actually the back of the finished work.
2. Embroidery floss comes wrapped together with a number of strands. Your directions should tell you to use only 2 to 3 of these strands. You will need to unravel them first and then thread the needle tool,
3. Hold the short end of the thread against the fabric surface and then punch the needle tool into the fabric in the desired area. Move to the next space and punch again. After a few punches, the embroidery floss will be secure and you will not have to hold onto the end any longer.
4. This is a forgiving craft because you don't have to punch in any direction or follow any set pattern. Just punch into the fabric section for the color you are using.
5. When you are close to the end of the embroidery floss, pull it loose from the punch tool and thread another strand. You do not need to tie off the end of the floss or trim it.
Video Example:
