

This post contains affiliate links. Using them cost you nothing and provides a small stipend to support the site.
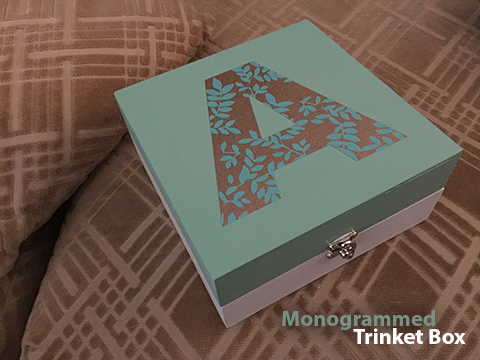
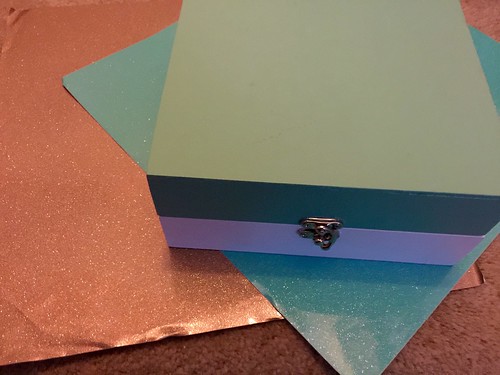
This month the Tape Technologies Design Team was asked to design using their Ultra FX vinyl. I chose to work with two colors, the gold, and sea foam. The colors worked well with a trinket box my daughter recently bought. It is a wooden box, it came painted but lacked any decoration. I decided to layer a monogram on the box. I like how the colors worked with the paint colors and the sparkle from the vinyl is really impossible to describe, it is one of those you just have to see how much movement it has.
Materials:
- Layered Monogram SVG
- Personal cutting machine (I used a Cricut Maker)
- Two colors of Ultra FX vinyl
- a weeding tool
- Transfer film
- Scissors
Directions:

As a graphic designer, I tend to create my own svg files. This project was no different. The layered monogram was made in Adobe Illustrator. I used two svg files, one of the leaves, and one of the letter A. With the A on top, I created a layer mask to remove all the unnecessary elements. I saved the file as an SVG and imported it into Design Space. In Design Space I duplicated the solid letter A. This gave me two cutting layers. The solid letter A for the gold vinyl, and the leaf patterned A for the seafoam vinyl.
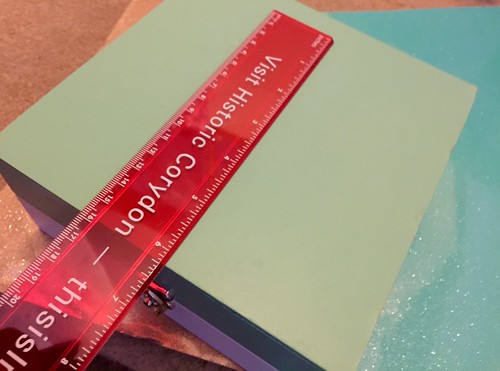
I measured the top of the box to determine the size of the letter to cut. I chose 5" tall. It will cover a large amount of the surface and with the details of the leaves, I didn't want to go too small.
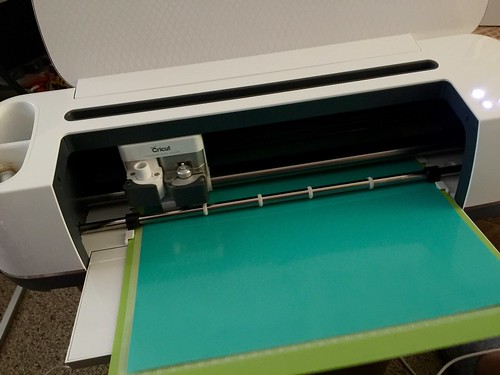
Cutting the vinyl was easy. Thankfully my Maker checks to make sure I am using the correct blade before it cuts. I had the rotary fabric blade loaded and needed to change the blade. I am so thankful not to have wasted any vinyl by using the wrong blade. I used the standard vinyl setting to cut the Ultra FX vinyl.
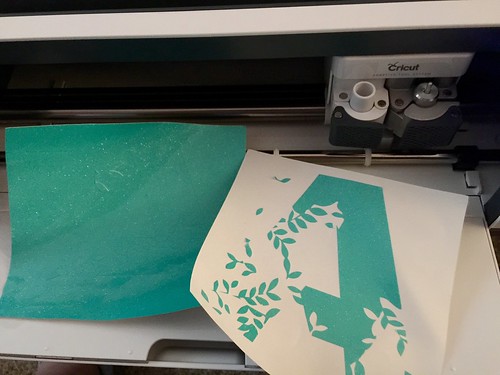
With most things, there is usually more than one way of doing them. I began weeding the vinyl leaf design (right side of the picture above) and found I was lifting a lot of the leaf design. I was probably working to quickly and being impatient. I decided to cut the design again and go about things in a different fashion. I placed the transfer film on the design and then removed the backing of the vinyl and the unwanted vinyl. This technique worked better for such an intricate design.
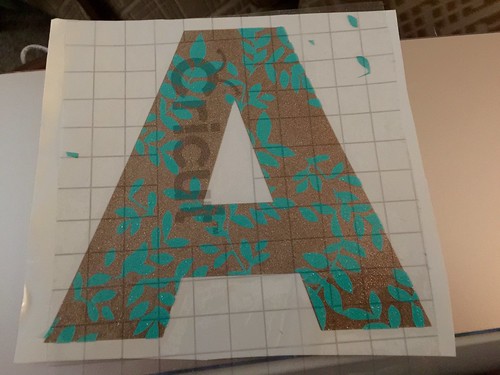
Once the leaves were weeded, I placed them on top of the gold letter A. Burnishing the two vinyl pieces together well, I then transferred it to the top of the box.
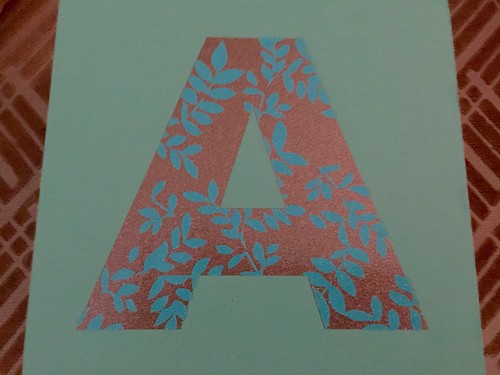
And it's finished!
I'd like to thank Tape Technologies for providing the vinyl for this project as well as Cricut for providing the Maker and tools.


