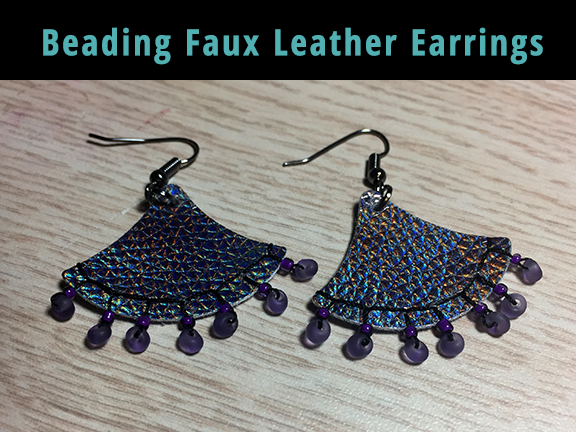
Today I am sharing a video tutorial for making a pair of faux leather die-cut earrings. These earrings are beaded after die-cutting the faux leather. I like how the beads dangle down below the edge of the faux leather. You can start with the dies from the Maker's Movement and then decorate them in so many different ways. I can't wait to try another version of them soon.
This post and photos may contain Amazon or other affiliate links. If you purchase something through any link, I may receive a small commission at no extra charge to you. Any supplies used may be given to me free of charge, however, all projects and opinions are my own.

Materials pictured above are from the Makers Movement: Hole Punch Pliers, Gunmetal French Hook Set, Jump Ring Open Close Tool, Jump Ring Variety Set, Scallop Jewelry Die Set, and Faux Leather Media Pack.

I used the Crossover II machine to die-cut the faux leather that was used for these earrings. If you would like to see my unboxing of the Crossover II you can see that post here. [Crossover II] Check the video below for the complete tutorial on making these earrings.

Here are the finished earrings. Look at how the light reflects different colors on the faux leather.

And a close-up of them hanging.


