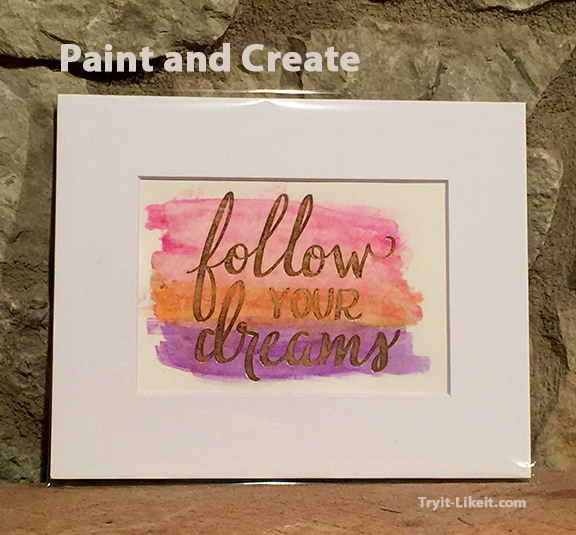
At my daughter's school, the Parent Teacher Fellowship celebrates the teachers with a Thankful Thursday. We sign up for a date to bring in a thoughtful gift or card. I love this idea. We signed up for a day and decided to make a piece of artwork to encourage the teacher and the students.
Materials:
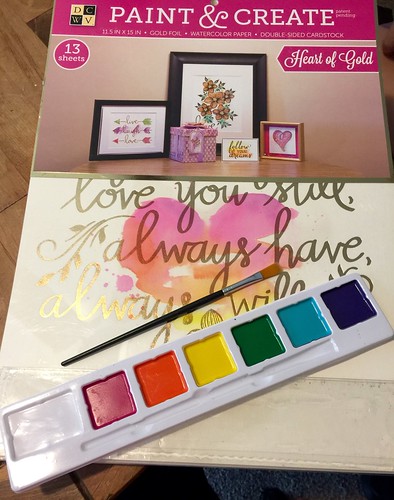
- Paint and Create Pad with paint and brush included
- Craft Glue Dots
- Mat and artwork bag
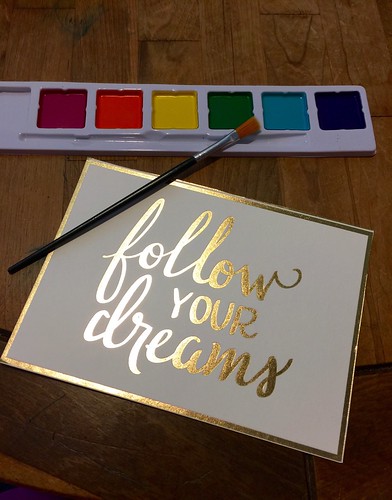
Directions:
Begin by choosing a piece from the Paint and Create set. There are a lot of designs to choose from. We chose one we thought was inspirational. The pack shows examples of finished work or you can create your own. The pad contains gold foil designs on watercolor paper so when you paint over the gold, it remains and the paint adheres to the paper.
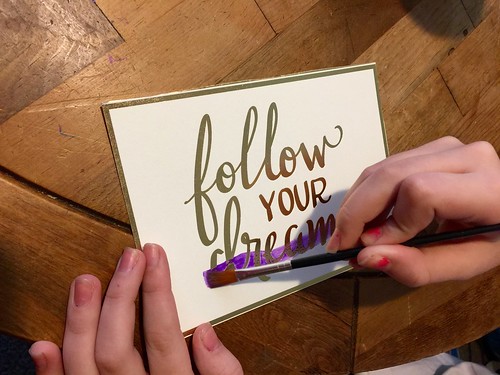
We started with a palette of purple at the bottom, blue in the middle, and yellow at the top. That quickly changed as the blue wasn't dark enough to cover or show on the paper. We tried a few different colors and ended up with orange in the middle and pink at the top. Thankfully we were able to dab off some of the paint and then cover most with another color since the paint was so faint. It would be helpful if there were a few additional pieces of watercolor paper to try the paint and make sure you like the results before using them on the actual piece of art.
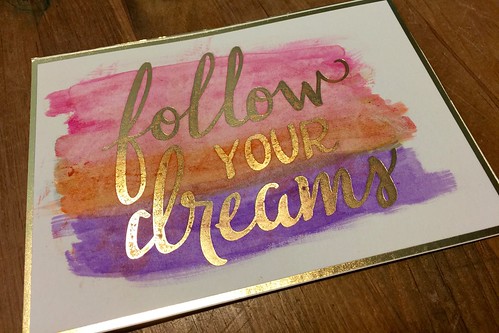
After we were happy with the results, we left the piece to dry. It did warp a little bit but not enough to worry about. Using Glue Dots, we adhered the artwork in place between the frame and the mat board. Then we inserted the entire piece into the clear cellophane bag.
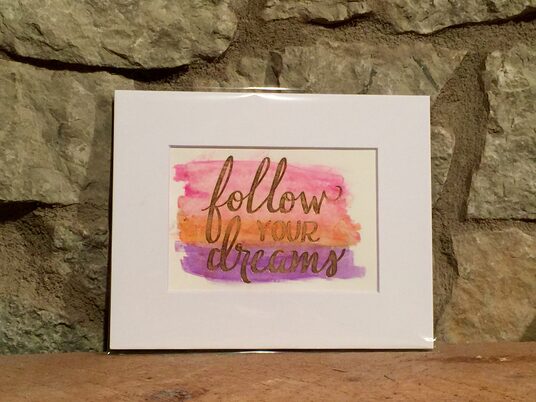
Now it's ready to give as a gift. I hope she enjoys it as much as my daughter has enjoyed having her as a teacher.
