This is a sponsored conversation written by me on behalf of Cricut. The opinions and text are all mine.
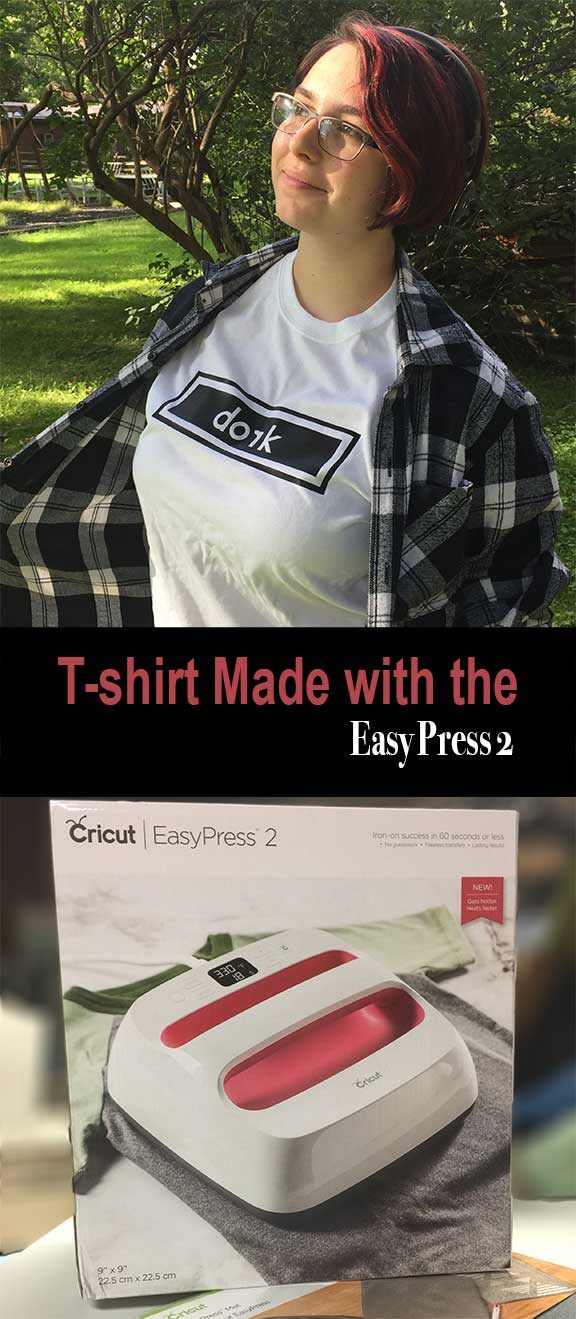
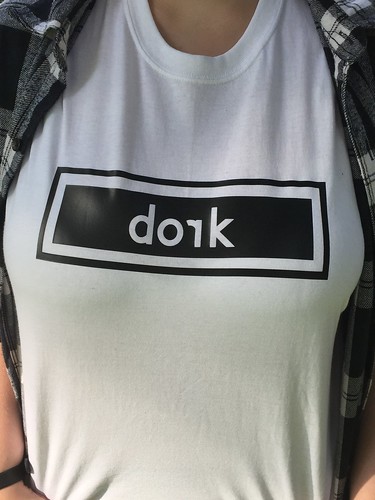
I have a series of t-shirts I am working on using Cricut Design Space. This "dork" shirt is the first in the series. Each shirt has an altered letter in the word and they each follow a similar theme to this shirt. The design is intentional in its generic look and use of black and white. Each design will be available for you to use in Cricut Design Space. When done, I will share the series here at Try it - Like it - Create it. But for now, I want to share with you the Easy Press 2 and a few tips for using it to do your own iron-on projects.
________________________________________________________________________
I want to personally thank Cricut for providing materials for this post.
I am a design team member at Cricut.
The following links may contain affiliate links. They help support this site and cost you nothing to use them.
_________________________________________________________________________
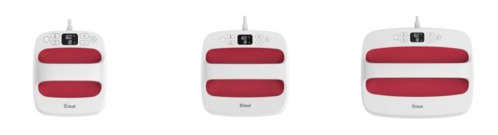
three sizes of Easy Press 2
Have you seen the new Easy Press 2 from Cricut? It now comes in three different sizes. I chose the traditional size of 9x9. It also comes in 6x7 and 12x10. The color has changed to raspberry instead of blue so you know it is an EasyPress 2. The EasyPress 2 will adhere your iron-on vinyl in 60 seconds or less, mine took 30 seconds. Cricut also now has a guarantee:
This is why we now have in place the StrongBond™ Guarantee on many of our iron-on materials.
Cricut’s StrongBond™ Guarantee means that when this iron-on material is used as directed, you’ll be completely satisfied with the results.
If not, we’ll replace it for free. Look for the StrongBond™ Guarantee on select iron-on materials."
Materials:
Directions and Tips:
Tips will be marked with a *
Begin by accessing the file. In Design Space alter the size. I used a design that was 9.5" wide make sure to attach the design elements. *Most designs for women's shirts are either 9" or 9.5" wide.

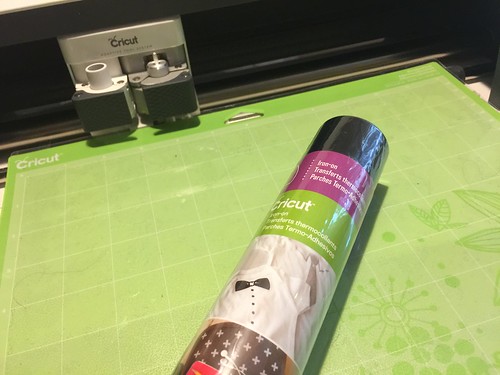
Cutting the iron-on vinyl.
Don't forget to mirror the image.
Then weed out the unwanted vinyl.
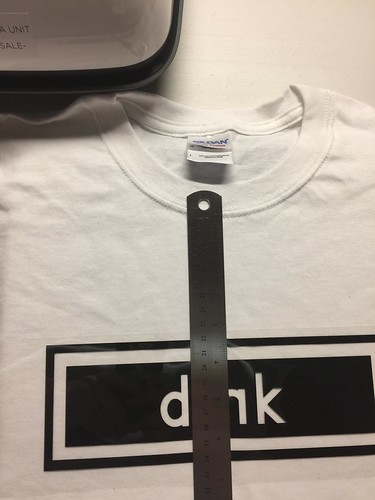
*Fold your design in half and crease the acetate.
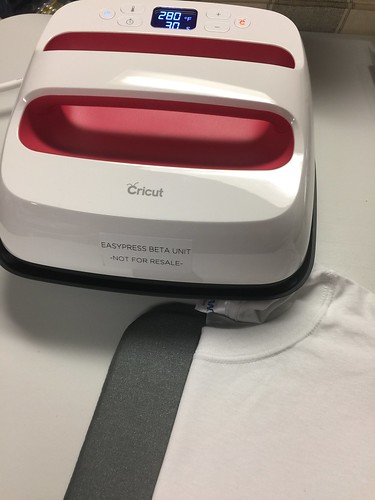
I set the EasyPress 2 to 290 degrees and 30 seconds.
(It can heat up to 400 degrees)
Press your fabric to remove any moisture.
*I pressed my t-shirt folded in half to aid in the placement of my design.
Open the shirt and lay it flat on the EasyPress mat.
*To center the design, alight the fold of the shirt and the fold on the iron.
*Measure down from the neckline about 3" for placement.
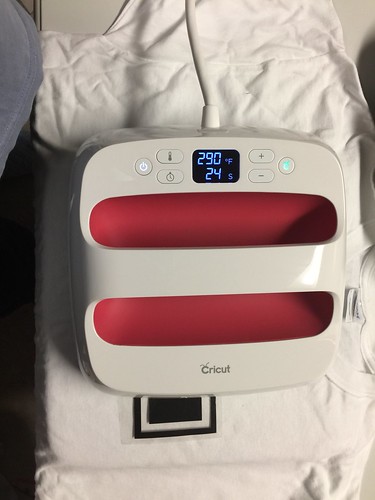
Place the EasyPress 2 onto the iron-on design and press the green Cricut logo.
This design took two turns to cover the entire image with the 9x9" EasyPress 2.
*Shake the shirt to cool the iron-on down.
Slowly peel the acetate off the design.
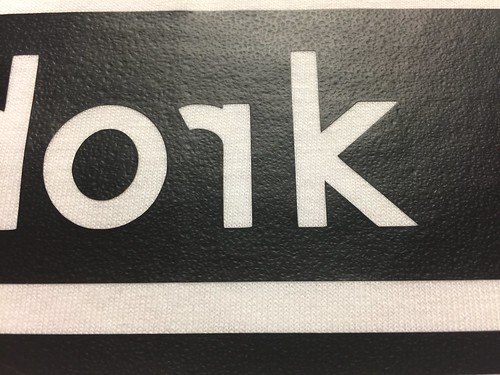
Here is a close-up of the image after the acetate is removed.
*If you can see the pattern of the fabric in the iron-on, you know it is secure and will not lift.
And it is finished and ready to wear!