This is a sponsored conversation written by me on behalf of Cricut. The opinions and text are all mine.
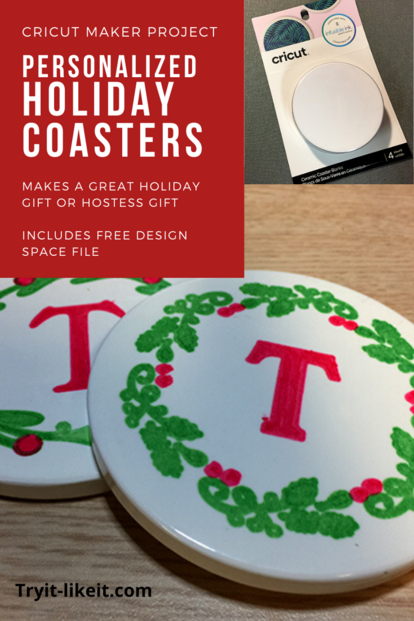
Sometimes it is the little details that add the final touches. In this case, these personalized holiday coasters I made with my Cricut Maker using the new Infusible Ink add the finishing touch to my holiday decor. I love how they turned out and they would make a great Christmas gift or hostess gift this holiday season. I was pleasantly surprised at how easy they were to make and I can see more of them in my future. Possibly a set for each holiday would be fun.
The following links are affiliates. They cost nothing to use. They do help support this site in a small way.
I would like to thank Cricut for providing materials that have been used in order to create this post.
Materials:
- Cricut Maker
- Infusible Ink Markers - Basic set
- EasyPress2
- Cricut Coaster Blanks
- Cricut Heat Resist Tape
- Scissors
- Design Space file - version 1
- Design Space file - version 2
- copy paper
Directions:
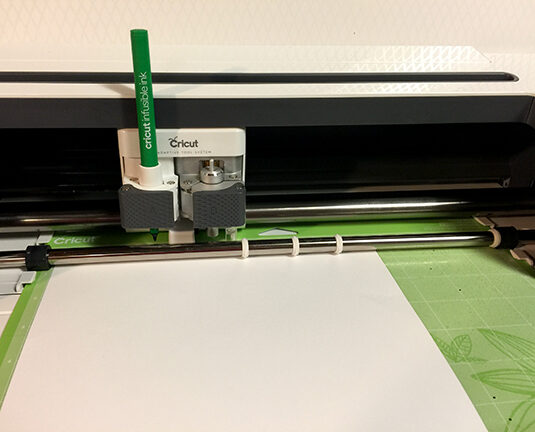
Using the Cricut Maker, the image was drawn onto regular copy paper.
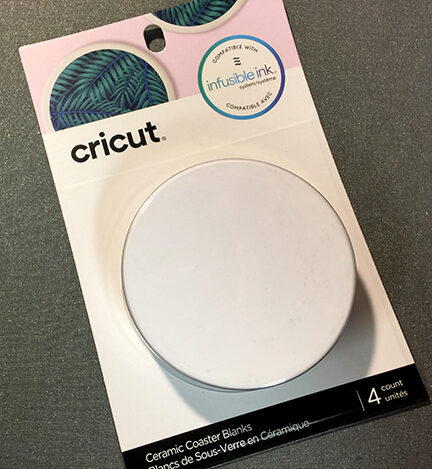
Cricut coaster blanks
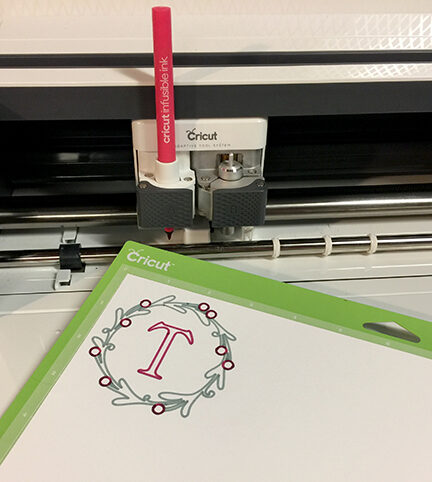
The outline is drawn.
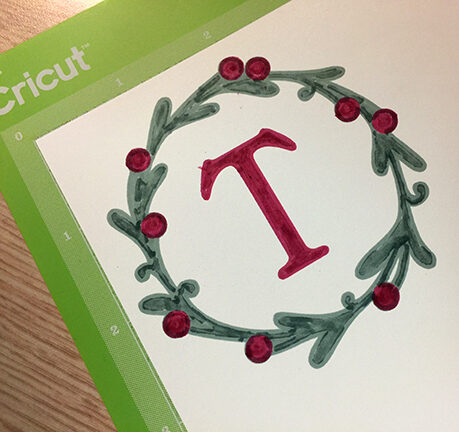
The image is colored in.
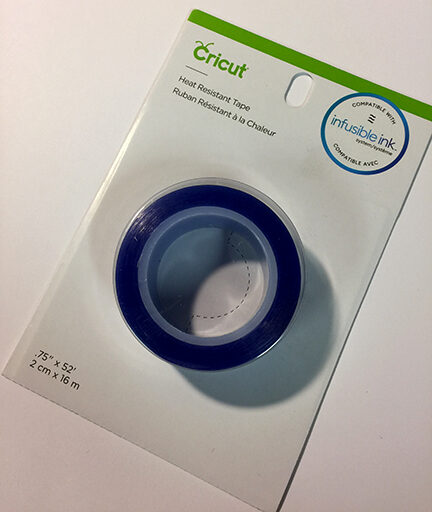
I have to highly recommend using the Cricut Heat Resistant Tape.
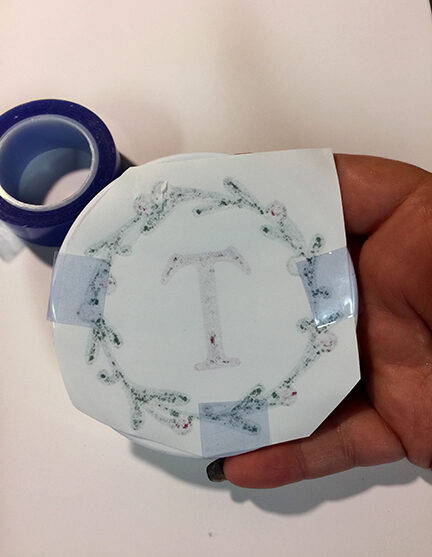
The image is cut out and taped to the coaster.
Notice the tape going over the marker image.
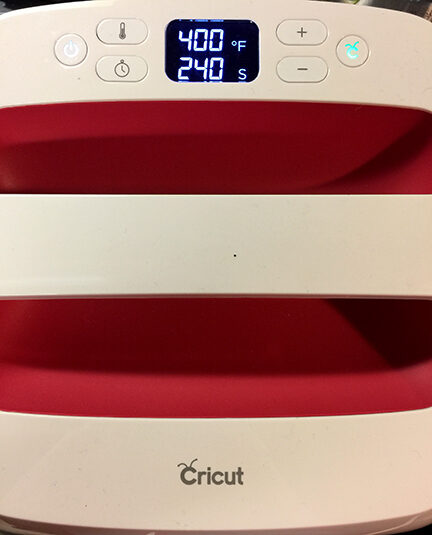
The heat setting for this project.
You can easily find your heat settings at the online guide. [online guide]
Or if you prefer, I have created a printable version from the online setting guide. [print version]
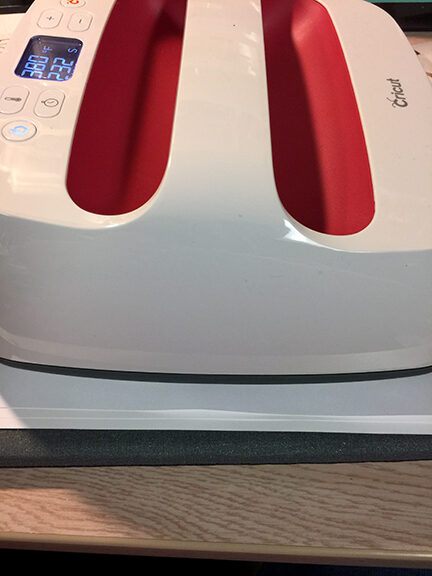
Here I am trying to show the heating sandwich. It isn't really intuitive so I want to make sure and point it out.
From the bottom up: EasyPress Mat, piece of paper, paper with design, coaster, piece of paper, EasyPress2
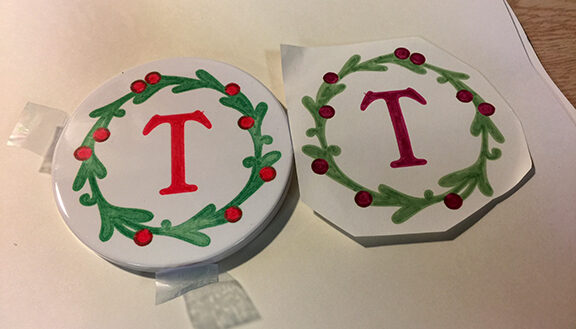
A side by side comparison of the paper design and the coaster.
Notice the color differences. The finished image is much brighter.
Remember where I pointed out the tape over the design?
If you look closely you can see the color isn't quite as vibrant where the tape was.
So, don't tape over your design!
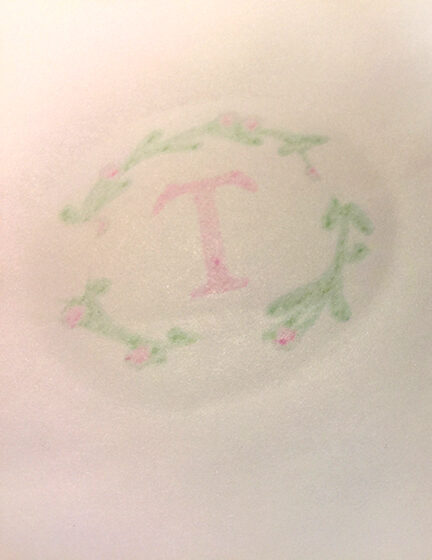
This is the bottom sheet of the sandwich, notice the ghost image or bleed through.
Make sure to let the coaster completely cool before you remove the taped in place design.
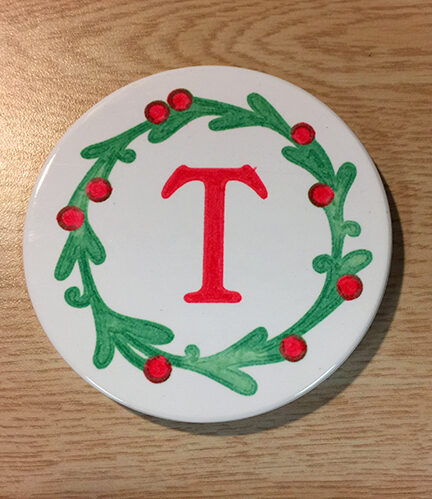
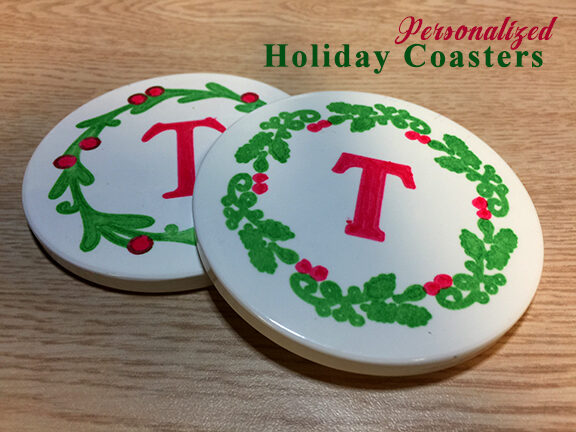
The finished coaster. (version 1)
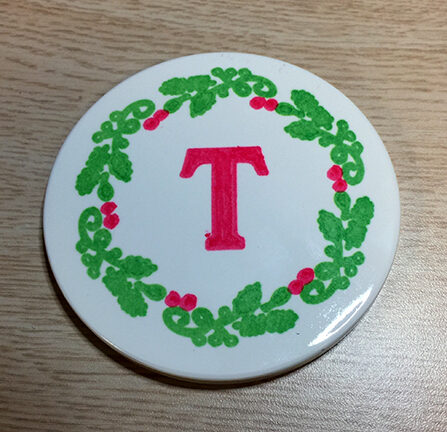
Finished (version 2)