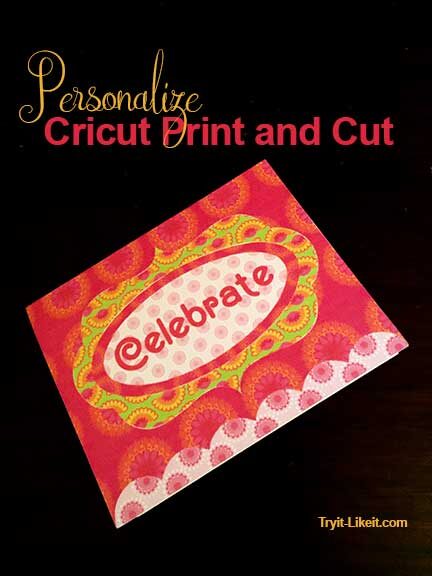
One of the Cricut Explore Air™ 2 machine features I couldn’t wait to try was Print then Cut. Circuit offers over 50,000 printable images. Basically the image prints on your home printer, you take that print, place it on a Cricut cutting mat, make the setting for the kind of paper, then set it to go for cutting. The Cricut machine reads the printed lines that look like crop marks. These marks indicate how to cut the printed shape.
When it comes to technology I am a “jump in with two feet” kind of person. I take the let’s see what happens approach. So when I learned of Print then Cut, I tried it. Then I had to push it further and add to the designs using text and moving elements around.
For the first example, I used a Cricut file and just added my own type.
The original Cricut file I used:
Pink Flower Card
#M10CF75
All Wrapped Up
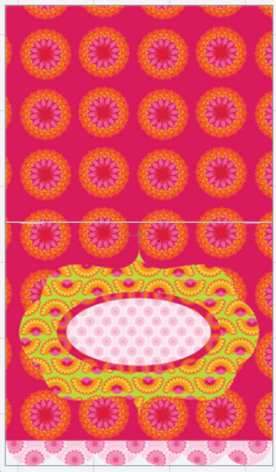
original file
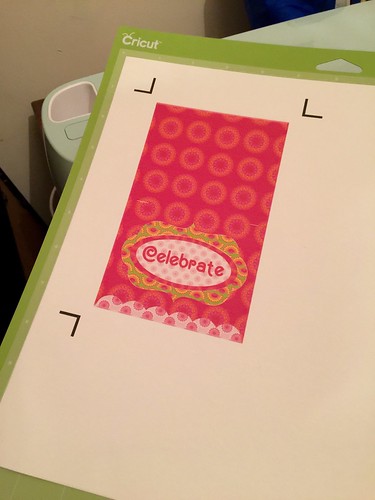
original image with text added
placed on mat getting ready to cut

Cricut reading the markings getting ready to cut

image cut and ready to fold.
For the second image, I took the original file and moved elements around, deleted some, and added type.
The Cricut file I used:
Green and Blue Paisly Card
3M10D04F
All Wrapped Up
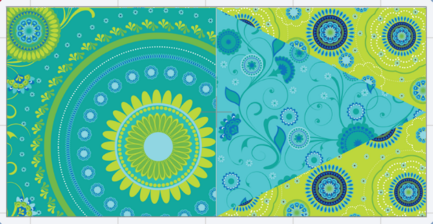
this is the original Cricut file
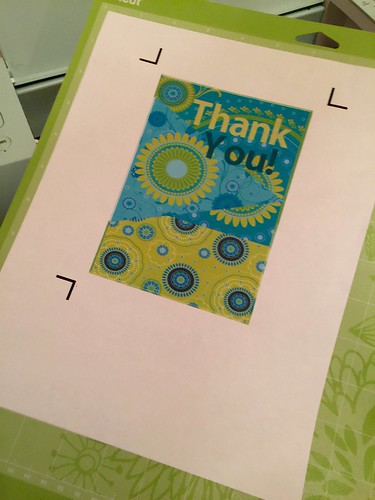
The printed image, a total change in size, placement, and text.

Getting ready to cut
A video showing how the Cricut reads and cuts the print.
This is a sponsored conversation written by me on behalf of Cricut. The opinions and text are all mine.
