

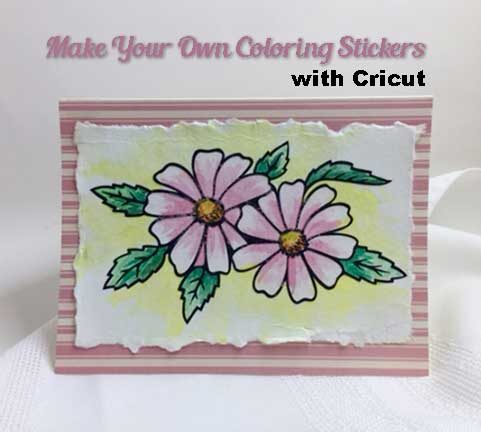
I was recently watching a YouTube video of a crafter who was sharing her stash from a recent Scrapbooking Expo. She was all excited about her find of Outline Coloring Stickers. You could use them with colored pencils, markers, or paint. I started to look into locating them and it dawned on me, I don't need to buy them, I can make them with my Cricut Explore Air™ 2 machine.
I want to share with you the process so you can make your own. The video included in this post will show you how to upload a free image into Design Space 3 and edit it to be a cut file.
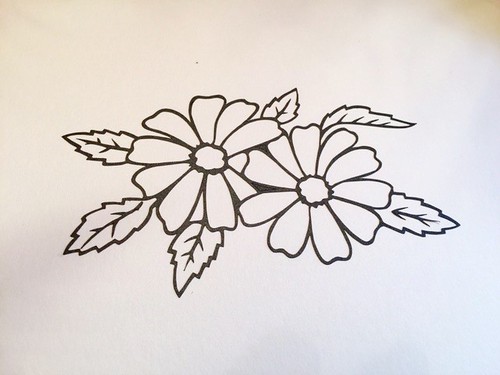
Drawing to Cut File in Cricut DS3
Once your image is cut, you can then use it to color with. I chose to add mine to watercolor paper and paint within the lines. Below you can follow along with the process I used.
Materials:
- Vinyl sticker (made with Cricut Explore Air™ 2 machine)
- Watercolor paints
- Paint brush
- Watercolor paper
- Patterned card blank
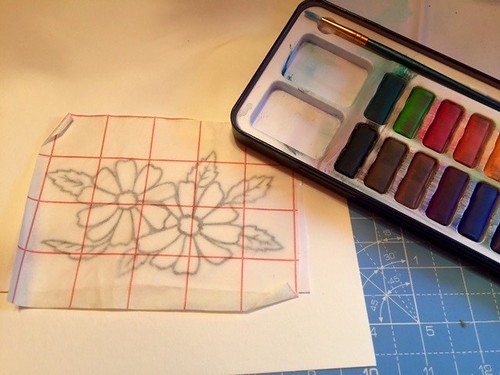
After cutting and weeding the image. I applied the transfer tape to the image.
The image is transferred to the watercolor paper.
Make sure to rub down well to make sure the entire image has adhered before you begin to paint.
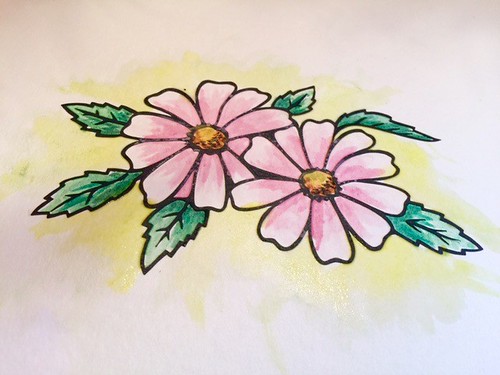
I applied minimal watercolor paints in a variety of layers, building from light to dark.
The vinyl worked well to contain the paint.
After I finished painting, I folded the watercolor paper and applied water to the fold before tearing the excess paper away from the image. This creates an uneven ragged edge which I desired.
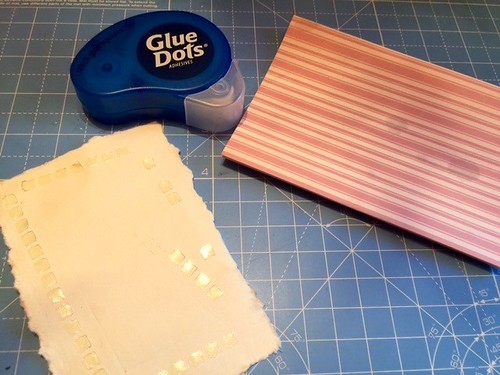
To adhere to the card blank, I applied Glue Dots to the back of the watercolor paper.
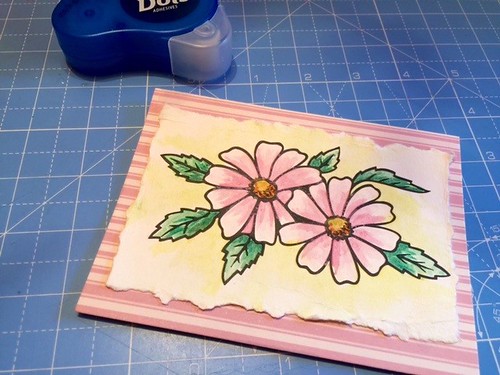
Finish project.
I really like the results. This project was actually very quick and easy to accomplish. I have seen the Outline stickers in Gold as well as Black, so I guess that will be something I try next.
* As being part of the Cricut Blogger program, I want to thank Cricut for providing some of the materials used in this post.
* The floral image I used was found at http://bit.ly/2r3SAND
This post contains affiliate links


