

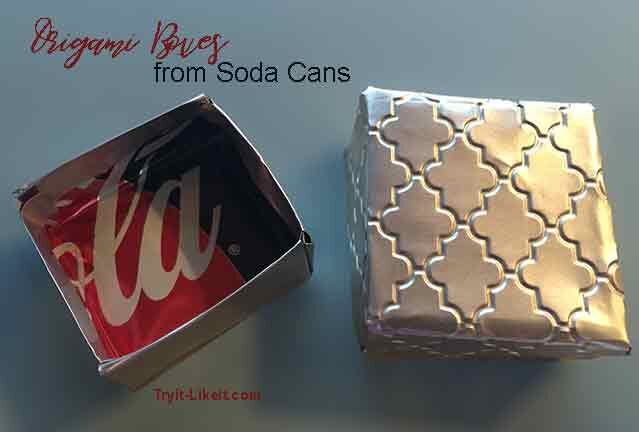
I have always liked Origami and recently I have been experimenting with soda cans. For this project, I combined the two together and made a cute box from an aluminum can.
Materials:
- soda can
- scissors
- free box template
- Cricut Cuttlebug and embossing folder (optional)
- Alcohol inks (optional)
- Ballpoint pen or scoring tool
Directions:
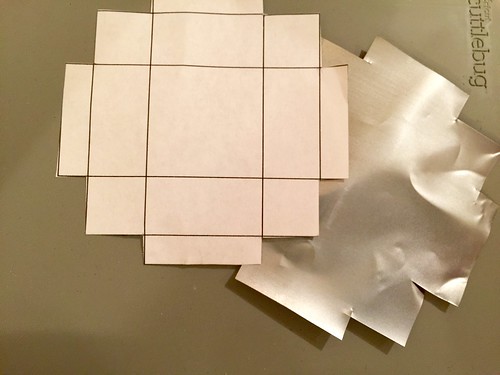
Using an aluminum can, scissors, and the free template cut out the two parts of the box (top and bottom). If you need to know how to cut into a soda can you can watch this video. [cutting soda can video]
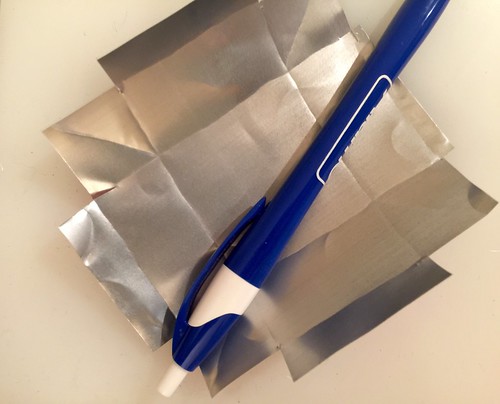
A scoring tool or a ballpoint pen works well for marking the fold lines on each cut piece. The four squares in the corners need to be marked with a diagonal line so they will fold easily.
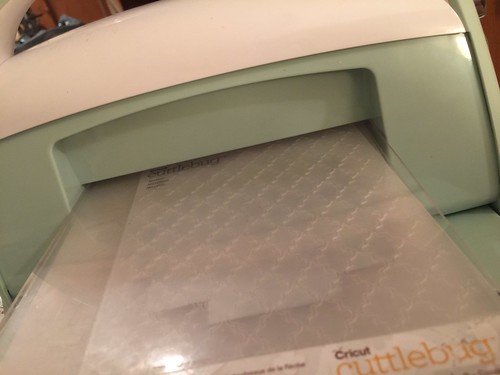
If you desire the top of your box to have an embossed pattern, now is the time to do so before folding. I used a Cricut Cuttlebug to emboss with. (Thanks to Cricut for supplying me with a Cuttlebug to use for blog posts.)
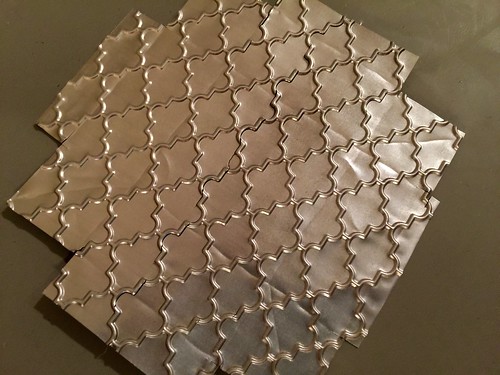
The embossed top of the box ready to be folded.
You do need to be careful that you don't emboss too deeply because it can actually cause the aluminum to break.
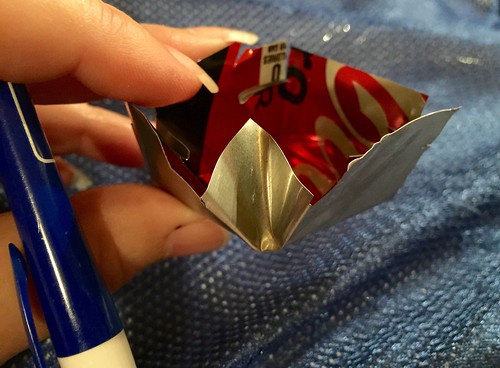
Folding the top and the bottom are exactly the same. Begin with the four corners and push them into the middle. Then fold each one to the left. This will make a flap on each side of the box.
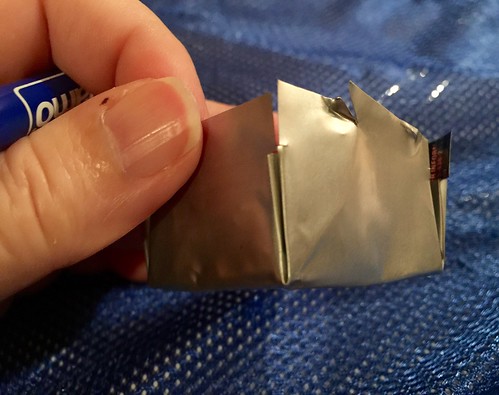
With the shape starting to become obvious, the top flaps need to be folded down to the inside of the box. These folds cover the corner pieces and hold everything in place. Once this is done, your box is finished. Now you can decorate it further if you so desire.
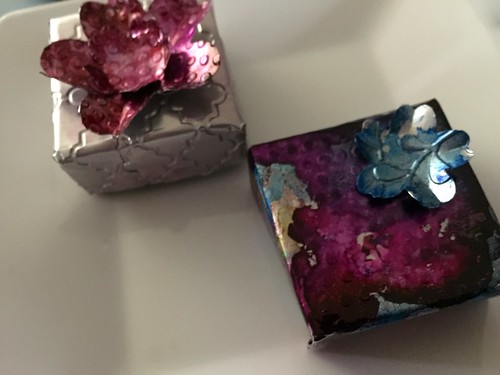
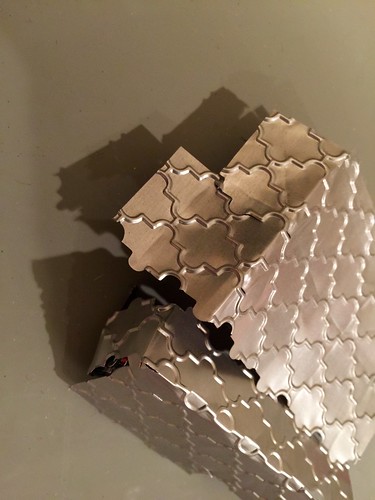
Above are two boxes I created and decorated with alcohol ink and additional cut flower shapes. The possibilities are really open to interpretation and I feel like I have just scratched the surface with what could be done.
This post contains an affiliate link.


