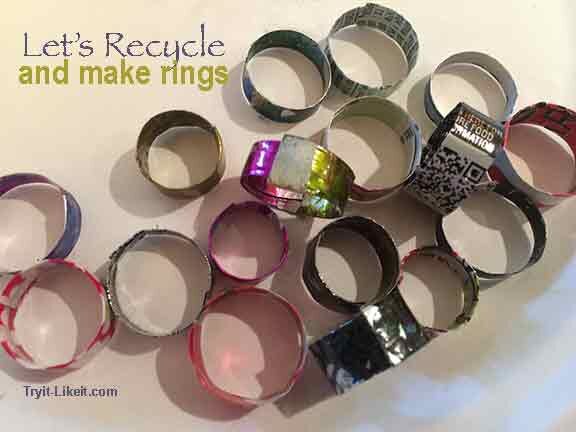
I have been creating and using recycled materials for a long time. I am beginning a love affair with soda cans. I've made two different kinds of flowers using soda cans. I have a lot of recent experimentation, but not blog worthy yet. But these rings are. Using cut pieces of soda cans as a base, I have made simple colorful rings with the addition of a variety of materials.
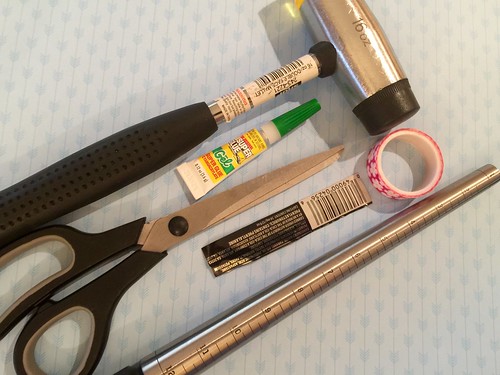
Materials:
- Ring Mandrel
- cut piece of soda can
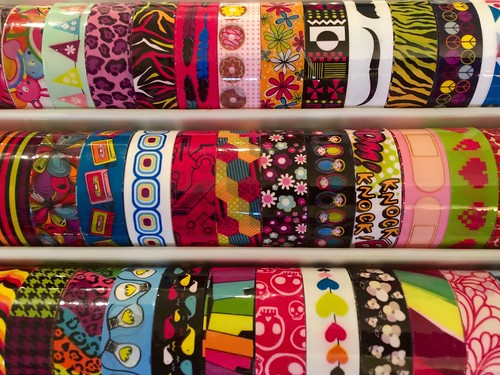
- decorative tape
- scissors
- super glue
- Black and yellow mallet
You can buy the Mandrel and Mallet from a variety of sources. I bought mine separately but while searching for a link to provide you, I found a complete set on Amazon for a great price.
Directions:
Soda cans are very easy to cut. If you need a tutorial you can view a quick video on how to cut soda cans. To begin working, you will need a rectangular piece of the can about 1" x 5" (this varies by the size ring you are making). I don't measure, I just cut enough that I know it will work and cut off the excess as I work.
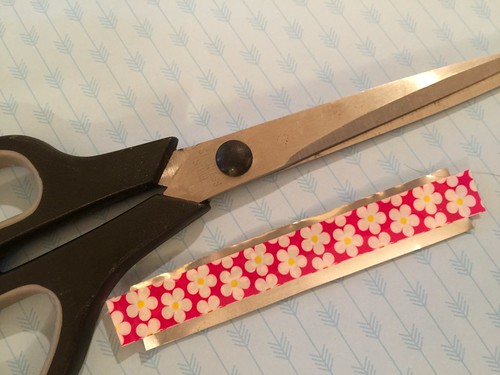
I place the tape on the inside or silver side of the can. This way I can make sure no designs of the can show through the tape. At this step, you can cut off any excess tape.

Fold one of the long sides into the middle of the piece. You don't have to be exact in measurement here. The fold can also be rough as you can see above. Just make sure some of the tape comes with the fold.
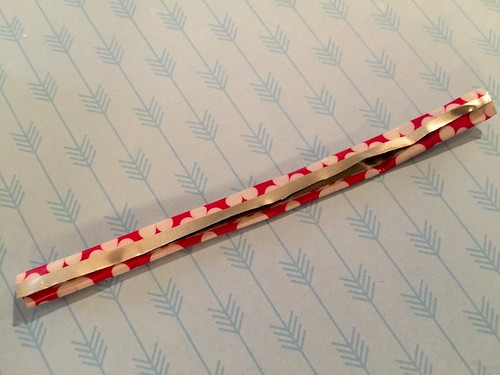
Now fold the other side into the middle of the piece. Overlapping the can is fine, just make sure you have an amount of tape folding onto the back side of each fold as seen above. Once again, these folds aren't smooth. The only thing that really matters is the folded edges and that they are as parallel as possible.

Roll the taped can around the mandrel. (again not perfect - just a start to get it into shape)
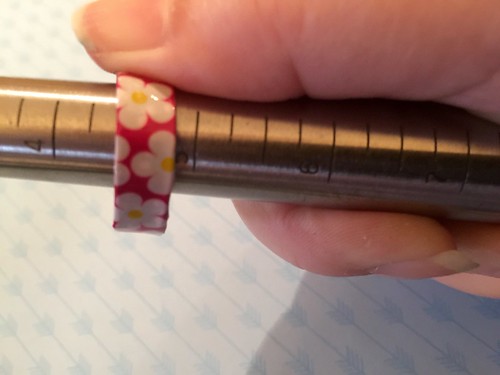
Choose a size for your ring and then go smaller with the shape because as we hammer it smooth, it will increase in size. Cut off any length that isn't needed.
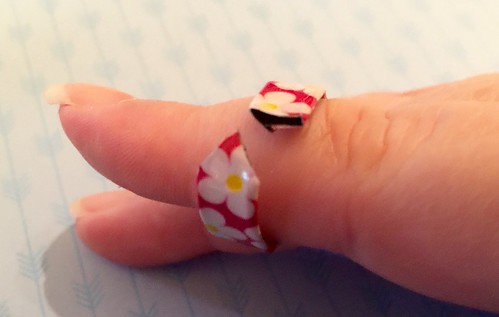
One end you want to leave the flaps of the folding open and on the other end, you want to taper it to a point. The pointed end will fit into the open end and become almost seamless.

Making sure they fit together, then put a small drop of super glue onto the point and insert it again. Wait for the glue to dry.
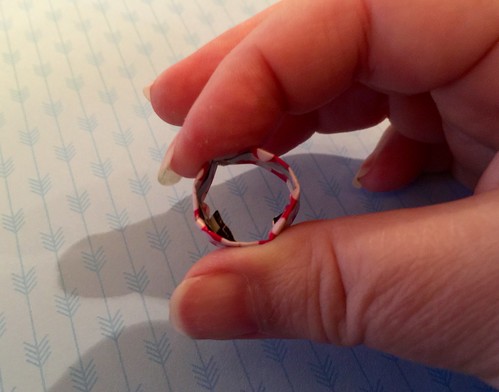
You can see that the ring is not perfectly round at this point as we wait for the glue to dry.
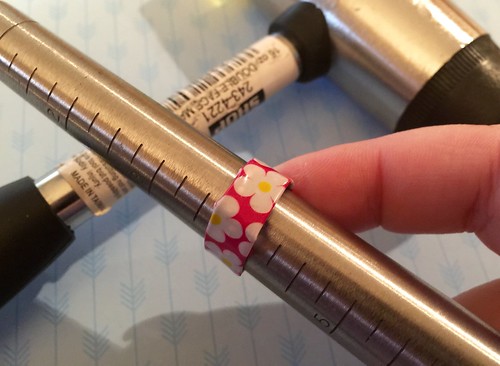
Place the ring onto the Mandrel, I hold the glued seam with my finger just to make sure it doesn't come undone. Then I begin to hammer the ring with the yellow end of your mallet. Work your way around, move the ring as necessary.
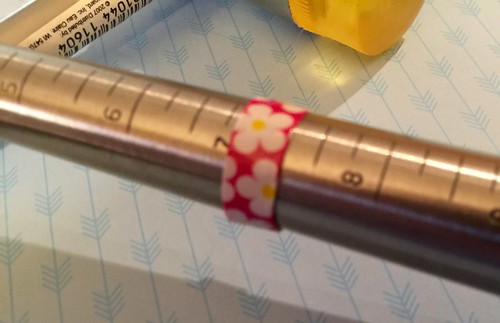
As you can see, the finished ring is much larger than when started. We began around a size 5 and ended up at a size 7.

The finished ring is now perfectly round.
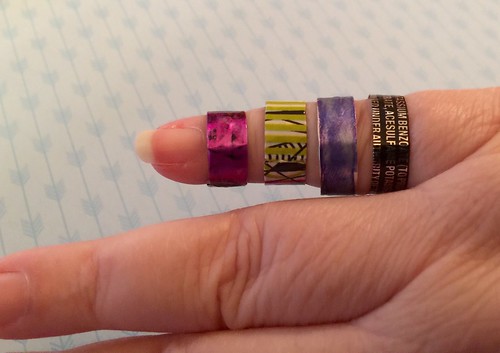
I have made a variety of rings in different sizes and materials as I have tried to perfect the process. The pink ring is made with alcohol inks added before the process begins and covered in clear packing tape. The second ring is made with tape, just the same as this tutorial. The purple ring is made with alcohol ink being added after the ring is finished and without any sealing material, the last ring is the actual printed side of the can exposed.
I am nowhere near done experimenting with soda cans. They are such a versatile medium and easy to come by. I keep returning to them as a source to solve a creative problem. I think I might have enough ideas to write a book about it someday.
This post contains affiliate links for products to make it easier for you to locate what you might need. If you follow the links, your purchase will cost you nothing additional but Try it - Like it - Create it will earn a small percentage from your purchase.
