

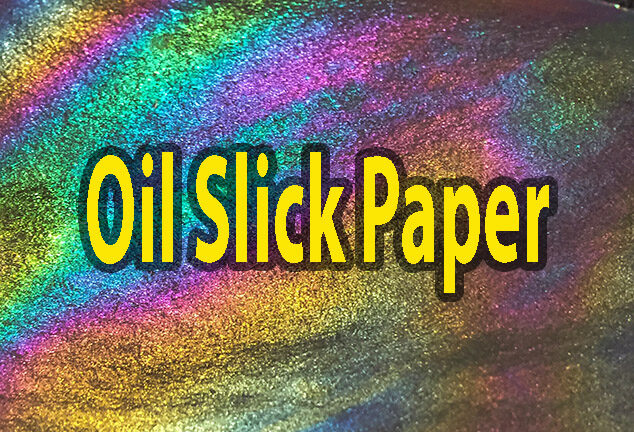
I saw this technique a while back and knew I had to give it a try. It really seemed unbelievable given the simple materials used. So my daughter and I gave it a try this week. She really loved the process so I let her do most of the "work" which was actually fun. I call this oil slick paper because that is what it reminds me of; when the pavement is wet and there is oil present you see this rainbow effect happen. I can't wait to use it in my paper crafting.
The following products contain affiliate links to the Dollar Tree.
Materials:
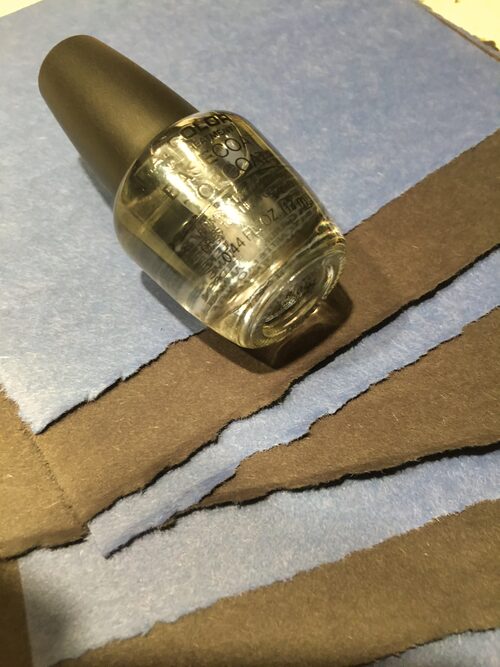
- dark paper - we used Crayola Construction Paper
- clear nail polish
- disposable tray
- water
- paper towels
Directions:
All the materials we used can be found at the Dollar Tree. You can use more expensive paper, but the effect isn't any different.
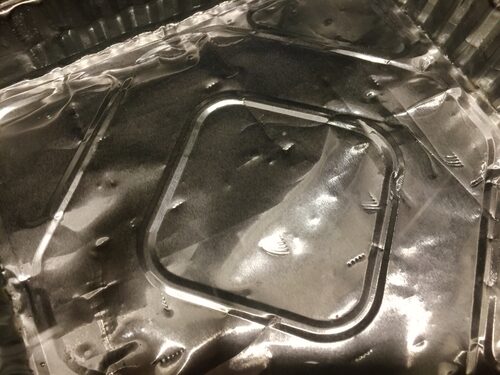
Use the disposable tray and add water, about half full.
Submerge your paper under the water to the bottom of the tray.
Add a drop of nail polish to the top of the water. You will see a slight oil slick effect.
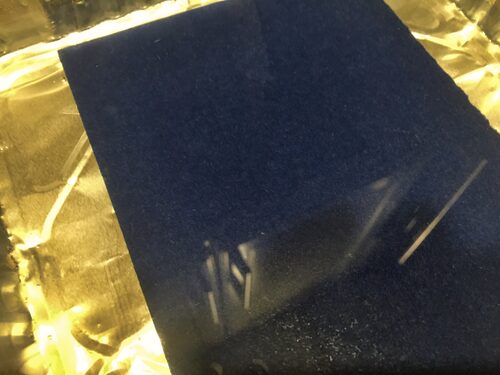
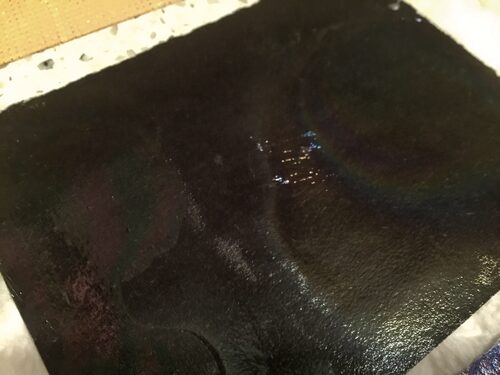
Lift the paper up, capturing the colors on the paper surface.
Set the paper aside and allow it to dry fully.
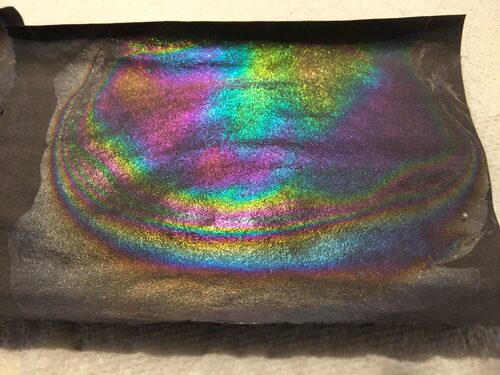
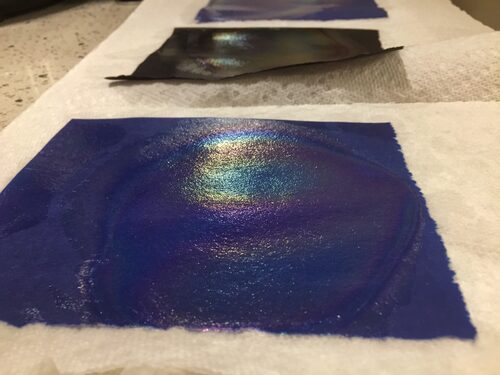
Once the paper is dry, you will see all the colors more prominently.
A few tips:
- If you plan to make a few different pieces, remove any leftover nail polish from the water before making your next piece.
- Try a variety of different colors of paper. We tried blue, black, and red.
- Cut your paper so it fits into the tray with a bit of room around all sides. This makes removing the paper a bit easier to manage.
- Place the wet pages onto a paper towel to help dry and clean up any watery mess.


