

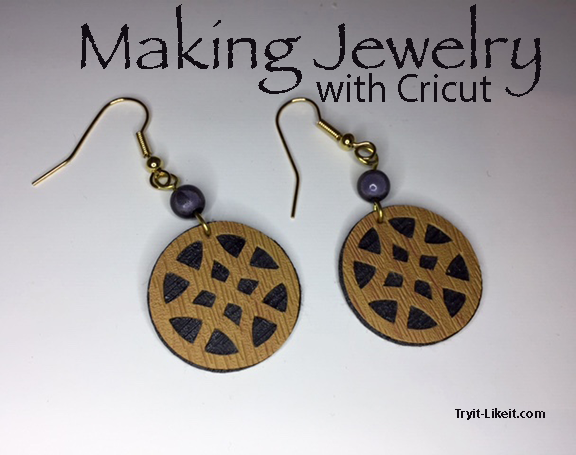
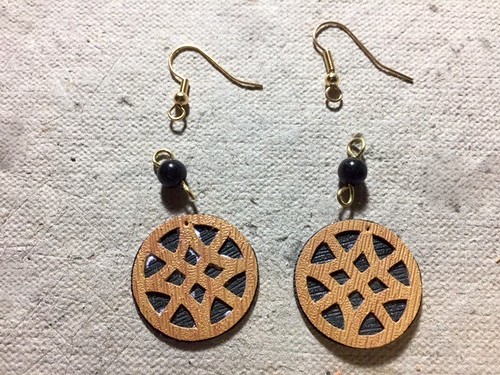
I have been making jewelry for years. I typically work with polymer clay and beads. I have even made jewelry using decorative papers. But this is the first time I have used my Cricut Explore Air 2 to make jewelry thanks to the new line of Cricut Faux Leather. The earrings above are from a Cricut Access file. I did a search on "circle" until I found something I liked that would work with two colors of faux leather. Another pair you will see below was made from a file I created.
Affiliate links to Cricut, when used, provide a small payment to Try it - Like it. These funds help pay for the cost of hosting a website. Using an affiliate link costs you no additional funds.

materials
Materials:
- jewelry making tools (pliers, wire cutter)
- T-pin or small nail
- Scotch Tacky Glue
- Cricut Faux Leather in 2 different colors (I used Boxwood and Charcoal)
- Personal Cutting Machine (Cricut Explore Air 2)
- Gold ear wires
- Gold wire
- Smoke miracle beads
Instructions:
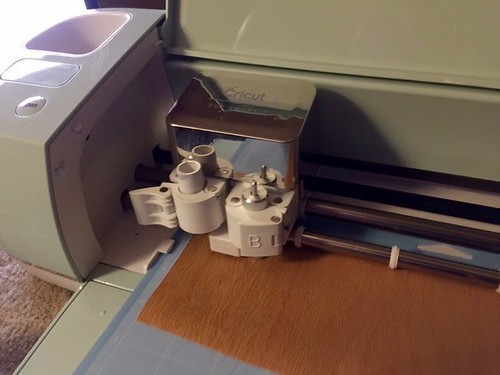
cutting the material with a Cricut Explore Air 2
For earrings, you really can use scraps. I don't care for large earrings. The circle design was set to 1" in diameter.

Using a white glue, I adhered the decorative circle to the solid circle.
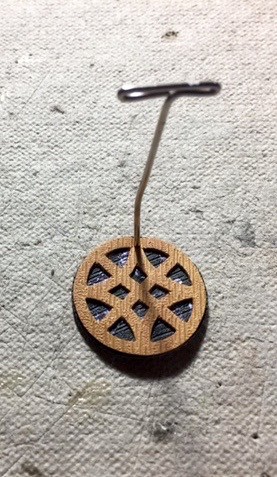
It doesn't appear as though the pin is poking a hole into the earring, but it is. I used a T pin, a small nail will work as well.
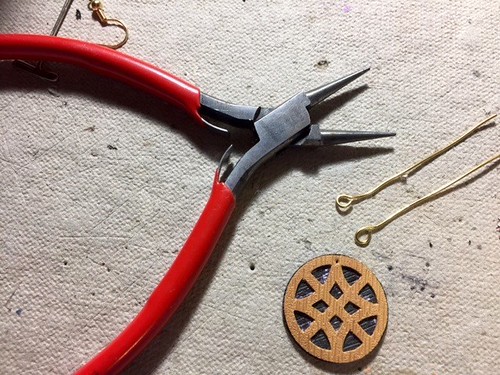
With two pieces of wire, bend loops into one end of each, thread the bead onto the wire, and then bend another loop into the other end. Cut off the excess wire.
Attach the beaded wire to the earring design and the earring wires to finish.
You will notice the beaded wire ends have the loops going in different directions from each other, this is necessary.
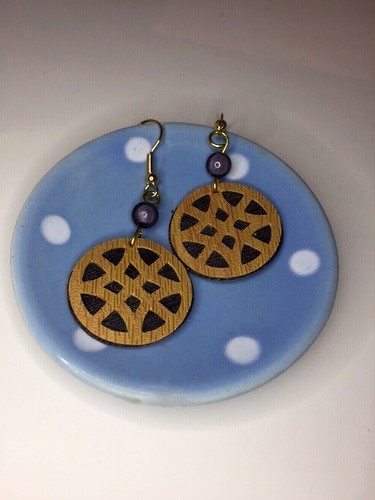
Finished earrings, ready to wear.
This project was quick and easy. While I was at it, I made another pair.
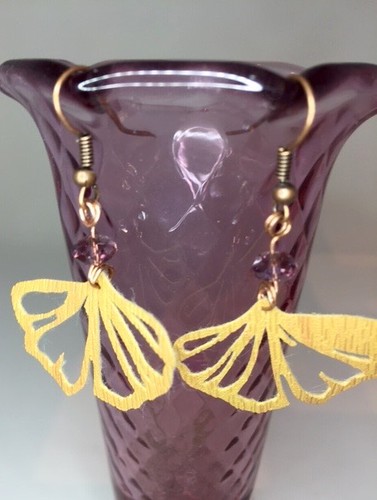
Using a very similar process, I made these Ginko Leaf Earrings.
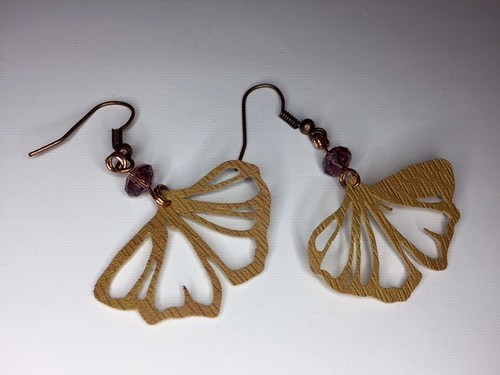
I used copper colored wire and purple/pink crystals.
If you would like to make a pair of your own, you can download the free SVG file I made for this pair.
[SVG file]
This post contains affiliate links.


