


Being big fans of Mid-Century Modern decor, many years ago we bought a silver tree. We have a green one too and each year we decide which one to use. We let our daughters decide. The 3D gem shapes from the Sprinkles and Confetti collection at Cricut reminded me of Mid-Century Modern so I used them to create Christmas tree ornaments. Using hot pink and light green cardstock added to the modern theme. Our tree needed a modern feeling tree topper so I used the star design from Indie Art from Cricut to create a paper topper. Follow along as I work through the process of making DIY Holiday decorations for our tree.
The following contains affiliate links.
Materials:
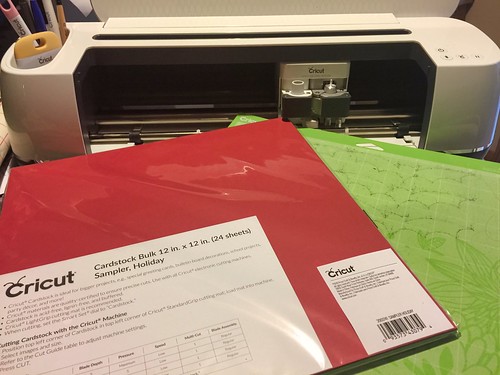
- Cricut Maker - Fine point blade and Scoring blade
- Cricut Cardstock in dark pink and teal
- Cricut Kraftboard - white
- Cricut Adhesive Foil - silver
- Cricut Transfer Tape
- Red double stick tape (Jot brand - Dollar Tree)
- The Best Glue Ever
- Wire
- Scissors
Directions:
The files used for these projects have been saved in Cricut Design Space and can be accessed through the following links:
Ornaments 1 (dark pink)
Ornaments 2 (teal)
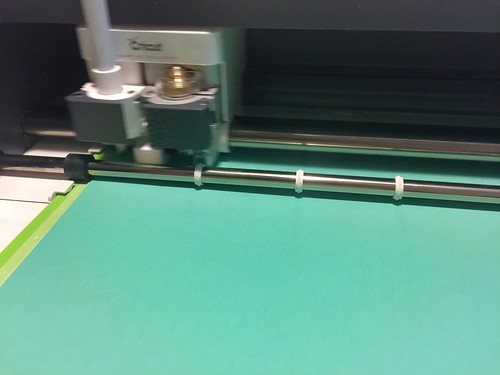
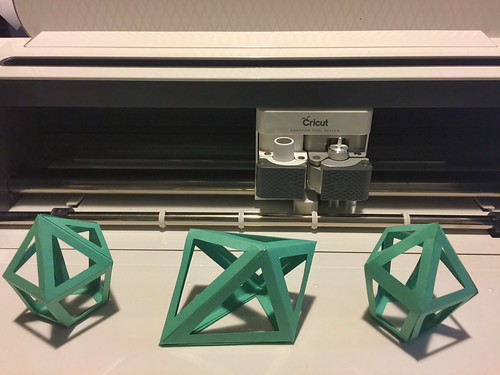
The scoring blade is essential for making these ornaments.
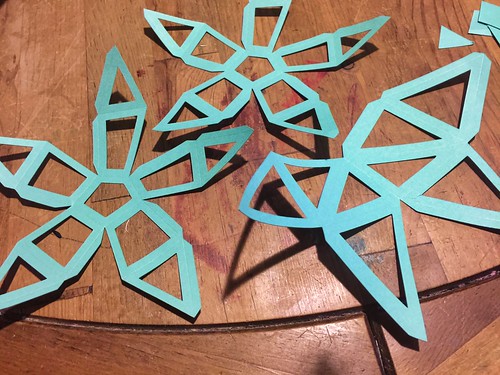
Cut and scored ornaments.
Use extra caution removing them from the mat, they can easily tear.
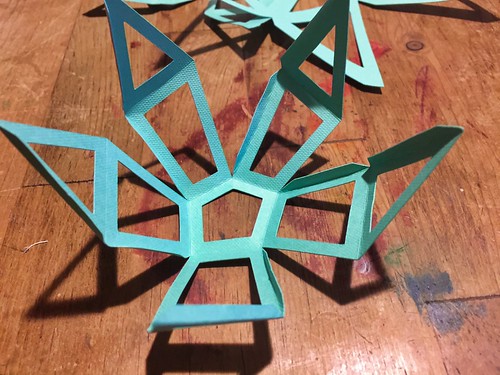
Fold all the score lines.
I found working from the middle to the outer folds worked best.
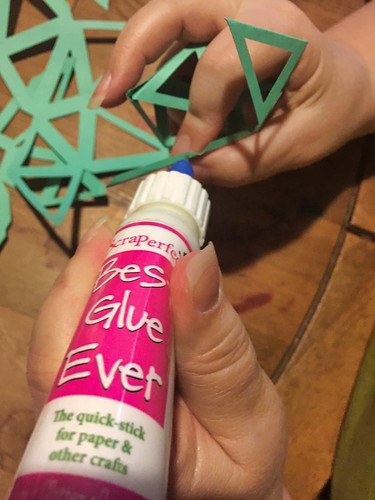
The Best Glue Ever worked well for gluing the ornaments together.
Using the Medium Point No Clog Writing Cap application tip applied the right amount of glue.
Holding the pieces together for a few minutes was all that was needed for a tacky adhesion.
Let them dry thoroughly.

Using a thin wire, I cut lengths of about 6 inches to create a hanger.
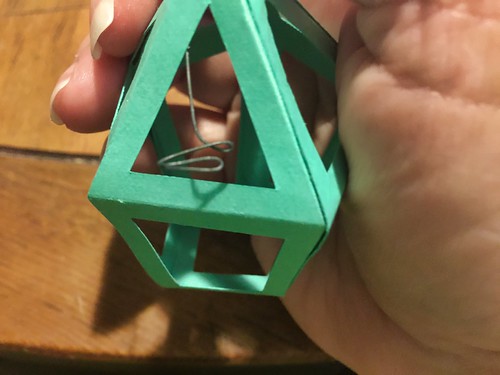
Bend the end of the wire into a "knot".
Feed the end of the wire through the top of the ornament.
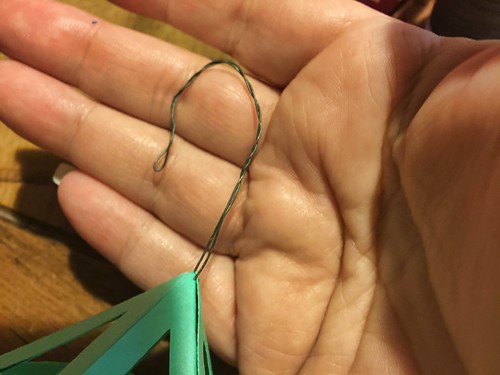
Fold the wire in half, twist, and then fold into a hook shape.
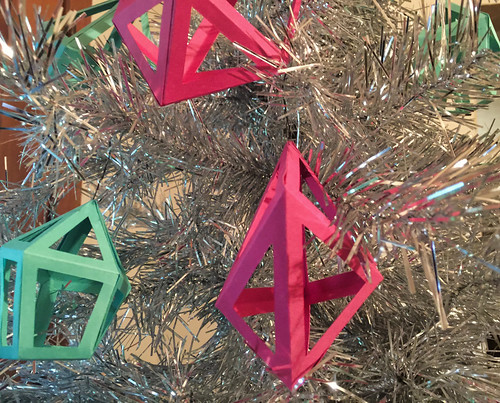
Ornaments hanging on the tree.
Now onto the Star Tree Topper
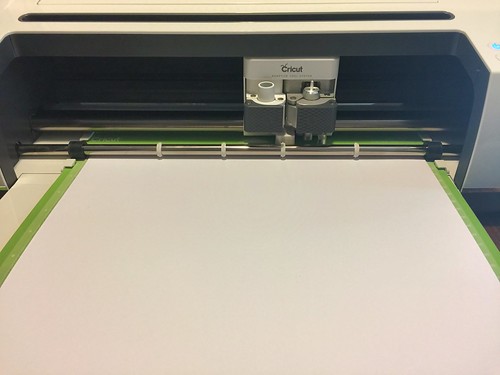
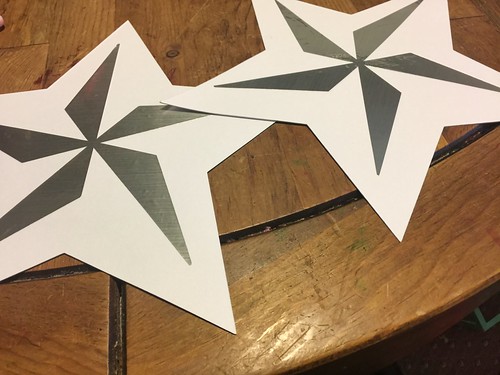
Cutting the Kraftboard with the Fine point blade.
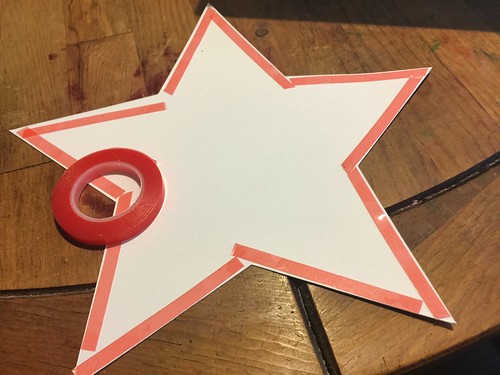
After cutting 2 stars, cover 1 with red double-sided tape.
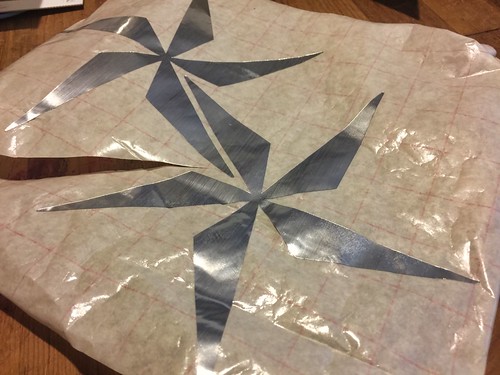
Cut out 2 of the pinwheel designs onto Adhesive foil, weed, and apply transfer film.
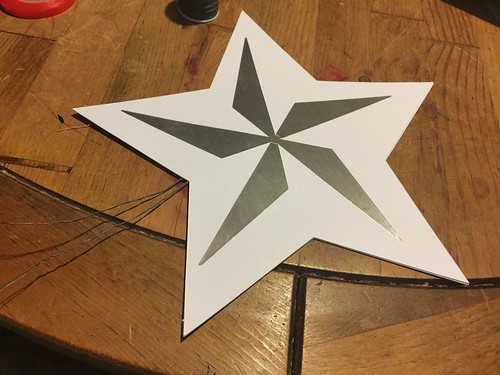
Apply the film to each of the stars.
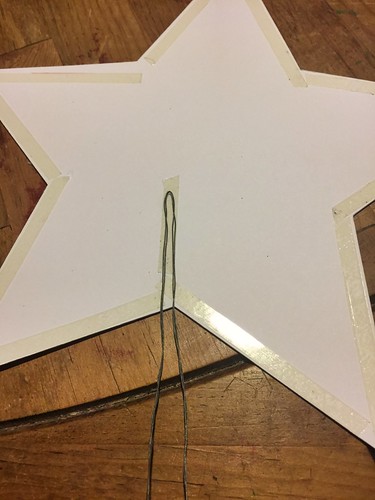
Using a long length of wire, twist it together for additional strength.
Remove the red film for the tape.
Place the folded wire onto the star.
Join the two stars together making sure the wire is sealed in place.
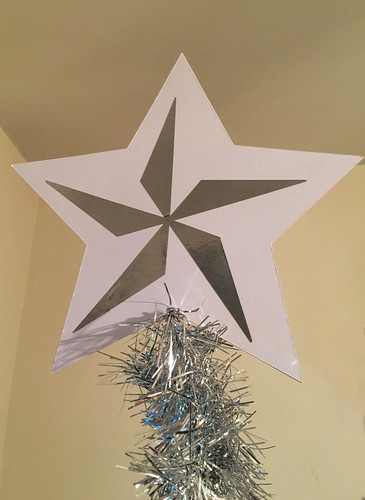
The finished star on the top of the tree.
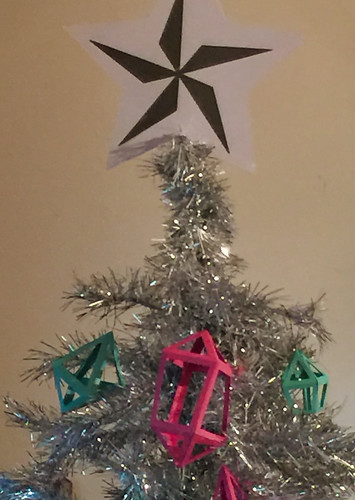
The ornaments and star together on our tree.
This is a sponsored conversation written by me on behalf of Cricut. The opinions and text are all mine.


