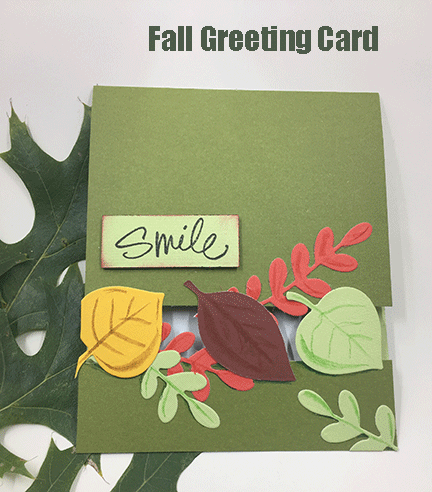
This simple fall card has a see through center. If you look closely, the white space between the leaves it actually the inside of the card. I've seen a similar technique and wanted to give it a try. The size of the card is A2 but you could do this with any card. The fold of the card is located at the top.
________________________________________________________________________
I want to personally thank Cricut and ScraPerfect for providing materials for this post.
I am a design team member with Cricut and ScraPerfect.
The following links may contain affiliate links. They help support this site and cost you nothing to use them.
_________________________________________________________________________
Materials:
- Cardstock in green, yellow, red (these were two sided and had a light and dark side)
- White paper
- Adhesive (I used the Best Glue Ever)
- Cuttlebug
- Cricut leaf dies
- Cricut paper cutter
- Watercolor markers
- Scissors
Directions:
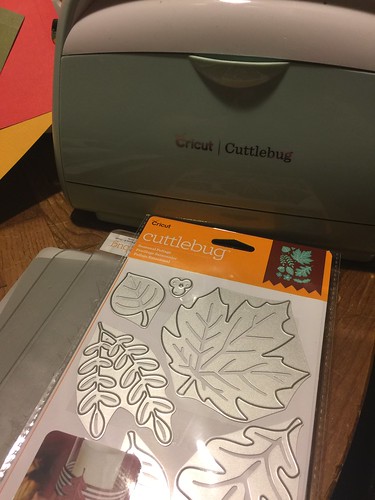
Cricut dies, Cuttlebug, and paper trimmer.
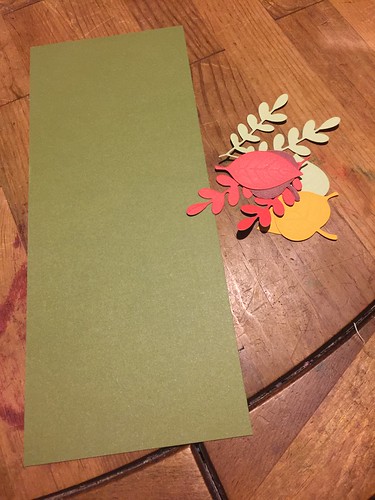
Leave are cut and the card size is also cut 4.25" wide x 11" tall.
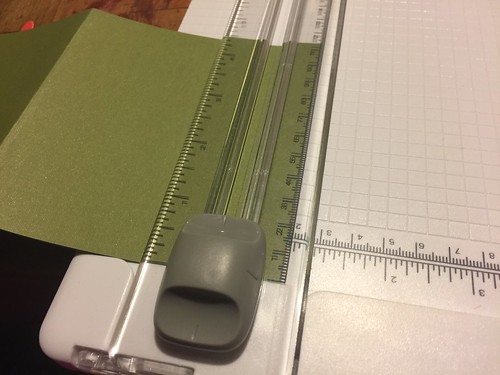
After folding the green cardstock is folded in half, I trim away the opening.
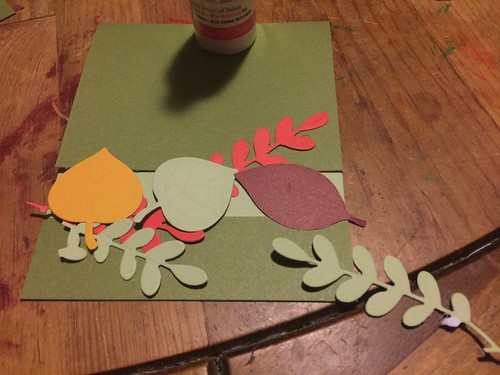
Placing the green cardstock in place, the decide on how to arrange the leaves.
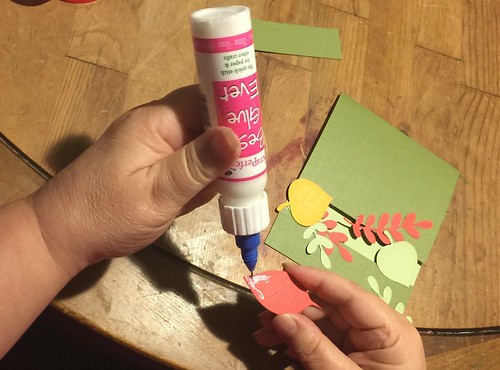
Glue them in place using the Best Glue Ever. You really don't need a lot and the medium Writing tip helps control the flow.
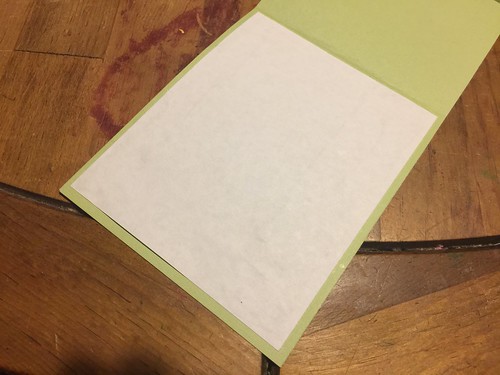
Place a white piece of paper on the inside for writing on. I cut this 1/2" smaller then the actual card size.
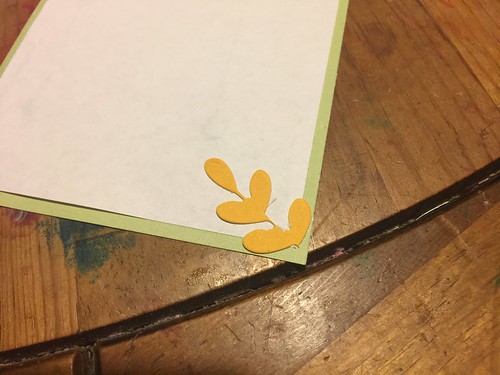
Don't forget a little detail - it really adds a lot.
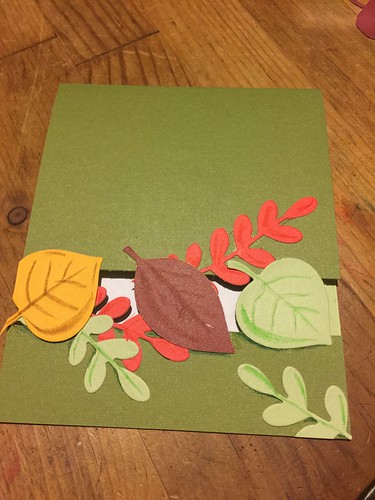
I couldn't leave well enough alone so I used Watercolor Markers to enhance the leaves.

I stamped the sentiment onto the cardstock and decided I wanted it raised up a bit from the card.
I didn't have any foam dots nearby so I built up scrap pieces of cardstock.
You do what you have too, to make things work!
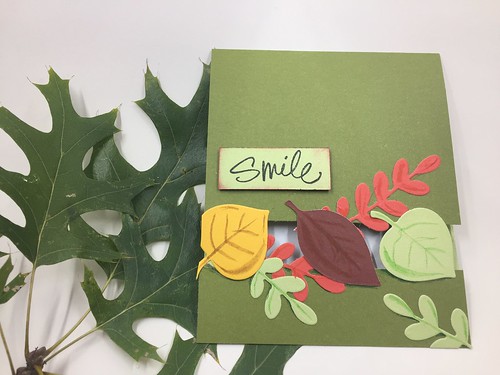
And it's finished.
