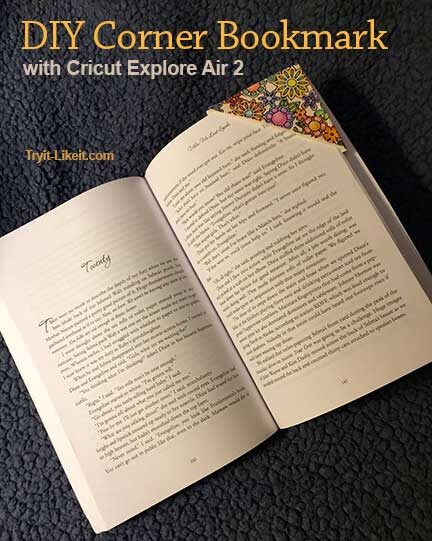
This is a very simple project to create with your Cricut. The Corner Bookmark uses three attributes of the Cricut. First it will score the paper, then draw the design, and finally cut out the shape. The great thing about having the Cricut draw for you is that you can use a different colored pen to draw with. In this case, I am using black but using gold on a colored cardstock would be beautiful too.
Materials:
- Cricut Cream Cardstock
- Cricut black pen 0.4
- Cricut with scoring pen
- Adhesive (Glue Dots)
- Colored Pencils
Files:
- Corner Bookmark svg [corner.svg]
- Floral svg [floral.svg]
Directions:
The following video will describe how to set up your file in Design Space.

The first step the Cricut will run is scoring the two folds.

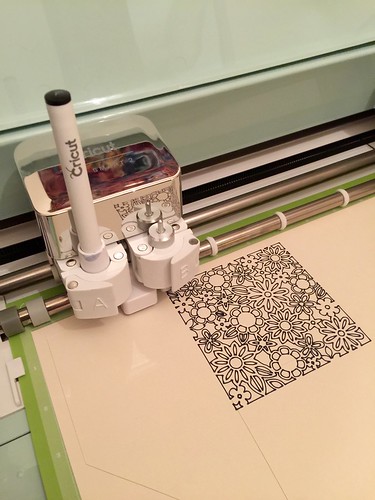
Design Space will then direct you to replace the scoring tool with your pen.
The last step the Cricut will make is cutting the paper.
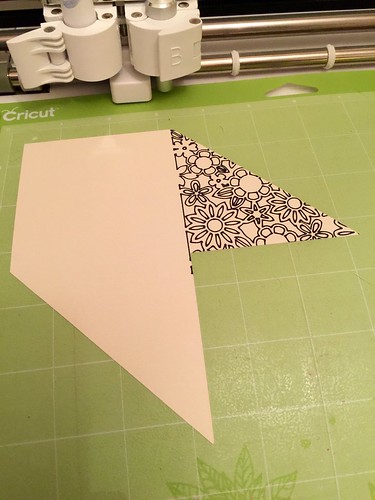
Once the machine is done and you remove the mat,
you can remove the excess paper and then they bookmark shape.

Turn the bookmark over so you can not see the drawn design.
Fold the flap without the drawing first.
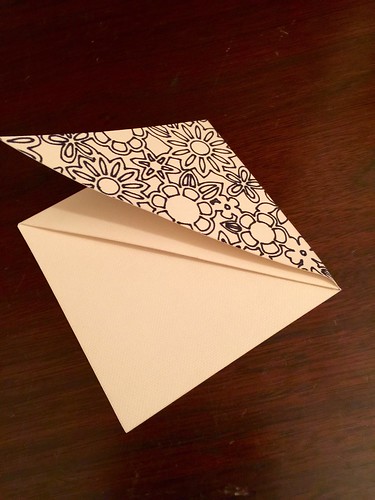
And then fold the corner with the drawing.
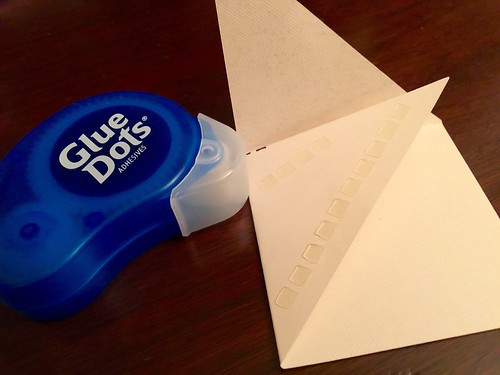
Add adhesive (Glue Dots) between the two layers.
At this point your bookmark could be done, but for this tutorial, we will take it a step further and color in the design.
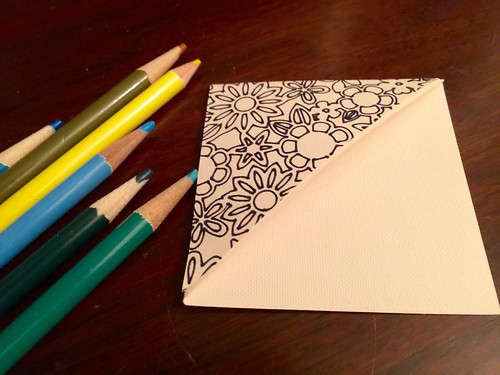
Using colored pencils, or any other coloring implements, color your design however you desire.

After coloring is finished.

The Bookmark in place.
I am happy to have worked with Cricut on this project.
This is a sponsored conversation written by me on behalf of Cricut. The opinions and text are all mine.
