

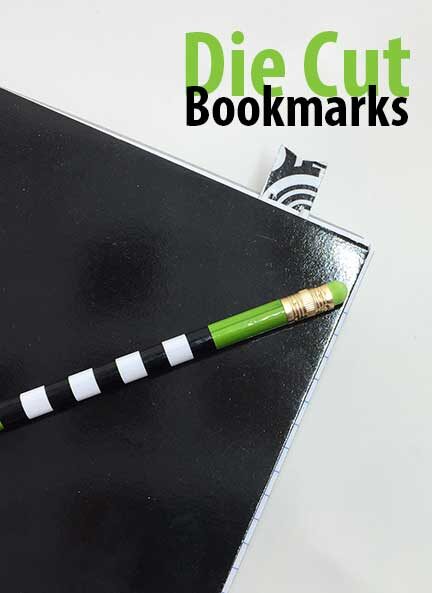
I bought these unbranded die cuts awhile back. When they came in, they were much smaller than I expected. But in the end, I found a way to use them. I needed to cut something strong enough to make a small bookmark work. I used soda cans! These bookmarks are great for back to school or friend gifts. Kids can help you make them. I even used a few different techniques to decorate them, which I will show you below. I am sure there are even more than I tried but this should get your creative juices flowing.
________________________________________________________________________
I want to personally thank Cricut for providing materials for this post.
I am a design team member at Cricut.
The following links may contain affiliate links. They help support this site and cost you nothing to use them.
_________________________________________________________________________
Materials:
- dies
- die cutting machine (I used a Cricut Cuttlebug)
- empty soda can
- super glue
- decorative materials: duct tape, alcohol ink markers, paint markers, nail polish
Instructions:
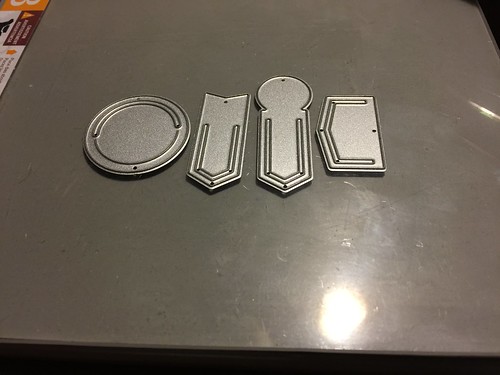
these are the unmarked dies I used
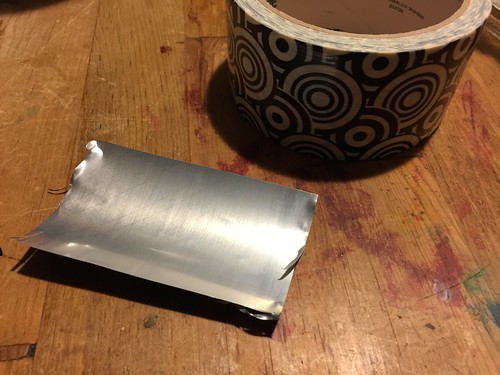
Cut the soda can
Cover one side with duct tape
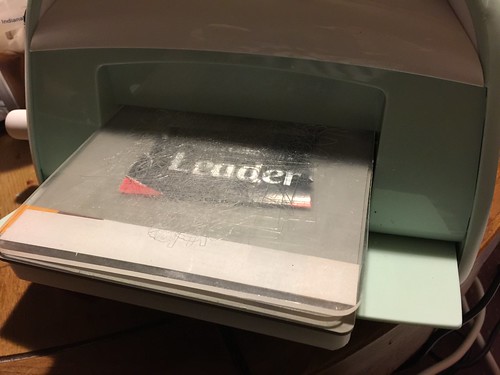
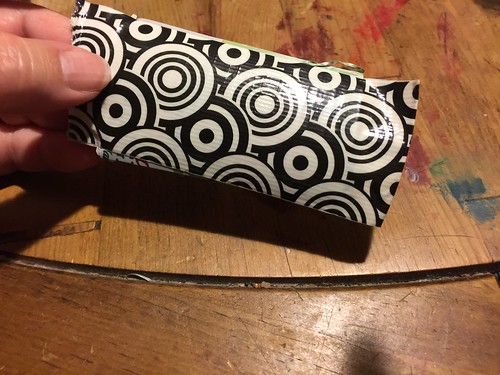
Using the Cuttlebug to cut the soda can with duct tape.
I found placing the small die cuts down cutting side up, works best.
A layer of soda can and duct tape together was the thickest layer the dies could cut.
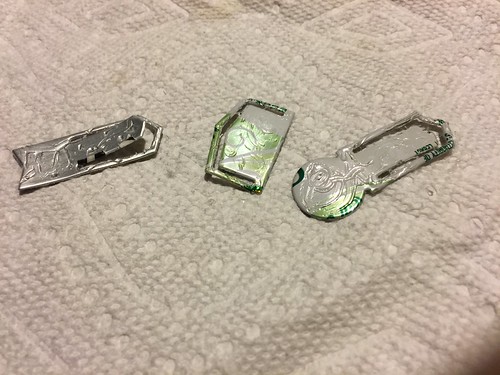
After cutting two of each shape, use super glue to glue them together.
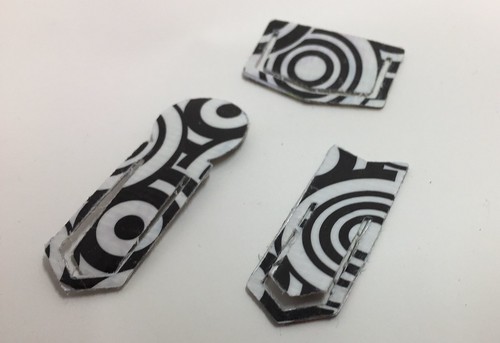
These are the finished Duct Tape version of the bookmarks.
But there are a variety of different ways to decorate the surface.
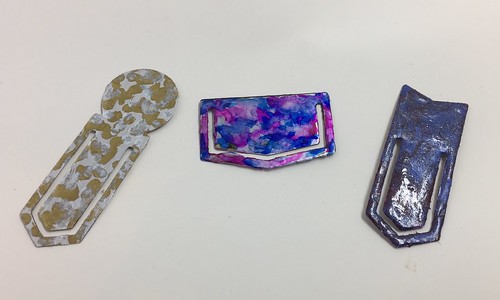
These bookmarks are made the same way without the Duct Tape.
Cut two of each shape and super glue them together, then decorate.
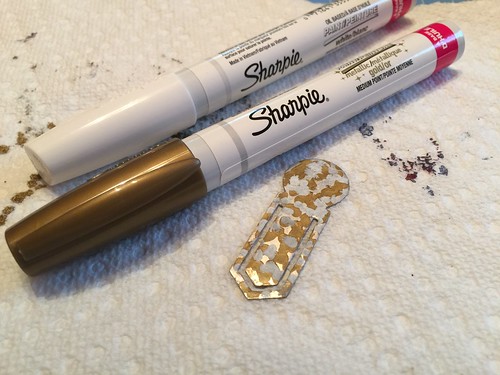
Using Sharpie paint markers, I used a random dot pattern on each side to decorate.
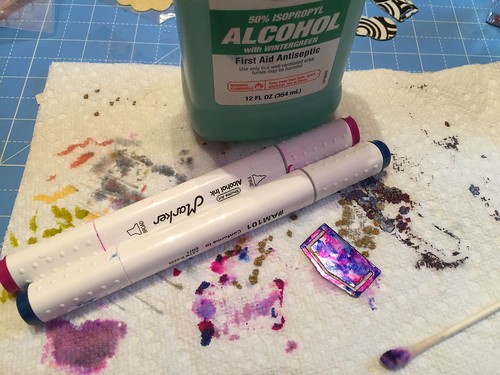
Using Alcohol Ink Markers, randomly cover the surface and then used rubbing alcohol on a cotton swab to bleed the colors together.
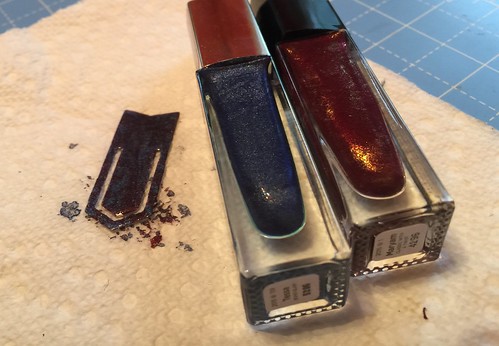
Using two colors of nail polish, drop random dots of nail polish onto the surface.
Use a toothpick to swirl the colors together making sure to cover the entire surface.

Finished bookmark being used. I am not sure which is my favorite version.
The Duct Tape made the bookmarks a bit more rubbery or bendy than the other versions. All versions work well.


