

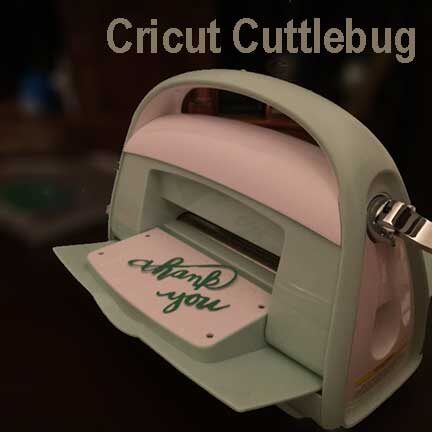
I’ve never owned a Cuttlebug, so I was excited to be able to review one. A Cuttlebug is a manual die cutting and embossing machine made by Cricut. My primary interest in a Cuttlebug is for embossing because I own a Cricut Explore Air 2 for cutting.
The fact that the Cuttlebug is a manual machine makes it very portable. Although, additional accessories are needed in the form of dies and embossing folders. There are a variety of storage devices for the dies and embossing folders. Over time, you will acquire quite a library of shapes and patterns. It can be quite addicting.
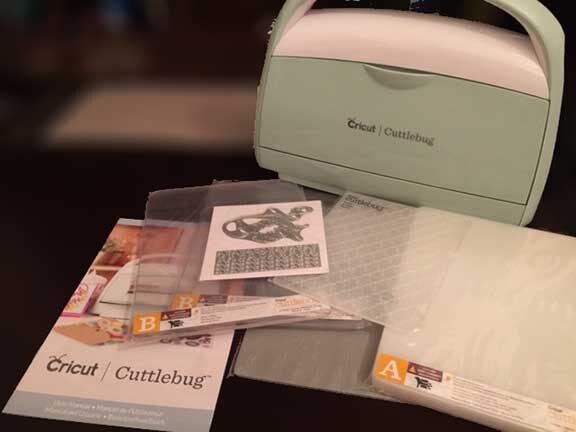
Contents of box
What comes in the box?
- Cricut Cuttlebug machine
- A Plate – Spacer
- Two B Plates – Cutting
- 1 embossing folder
- 2 small dies
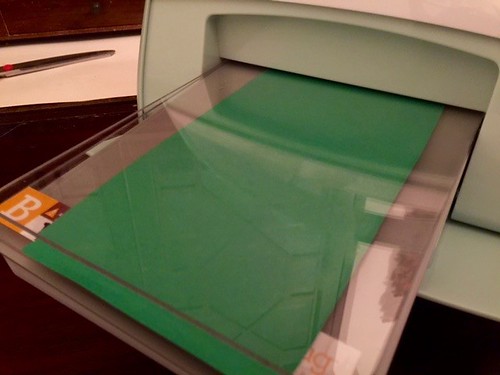
Using a cutting die (not much to see)
Cutting
To cut using the Cuttlebug, you will need a die shape. There are a variety of different dies ready to buy. A sample die is included with your Cuttlebug.

A cutting die package
Dies are thin metal shapes that are used to cut through a variety of materials.
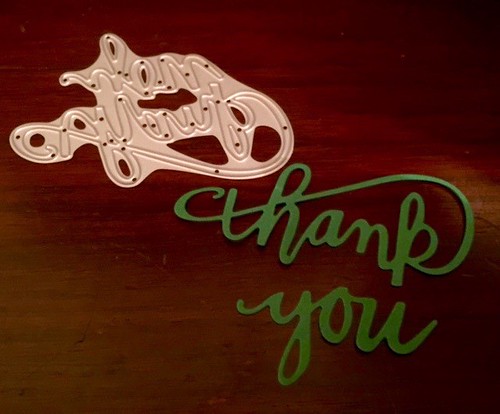
finished cut image with die
You can cut a variety of different materials. What you choose should not exceed 1/8”.
A few ideas of materials to cut:
- paper
- cardstock
- chip board
- tissue paper
- washi tape
- craft foam
- card board
- felt
- fabric
- metal (aluminum)
- thin wood (balsa)
Embossing
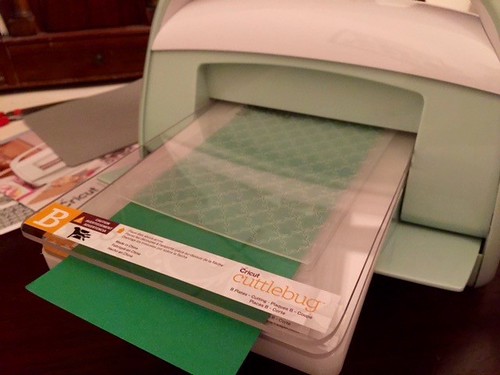
Embossing
Embossing is the process that adds a raised image to your surface. This is typically done on paper or card-stock. In order for the Cuttlebug to create a raised image, you will need an embossing folder for the design you desire. There are a variety of different folders available, one is included with your Cuttlebug.
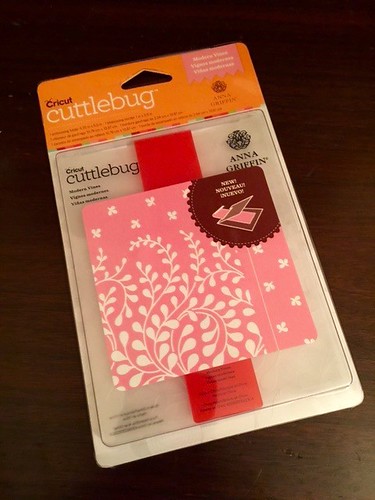
an embossing folder package
Trying the machine out for the first time, I had my 11 year old daughter with me. She is always interested in what I am crafting. She was excited to unbox the machine and help turn the handle. Afterwards, she asked if she could use it without having to ask permission. She loved the idea that it didn’t take technology to work. She quickly went to grab more paper to emboss and cut.
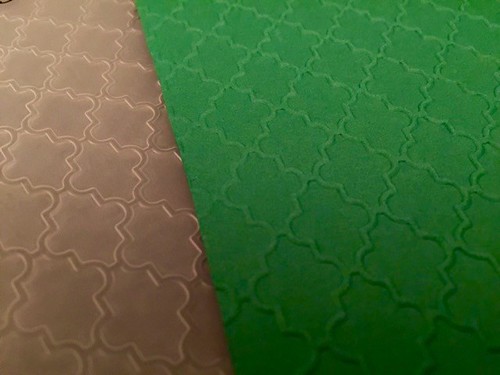
close-up of embossing folder and embossed paper
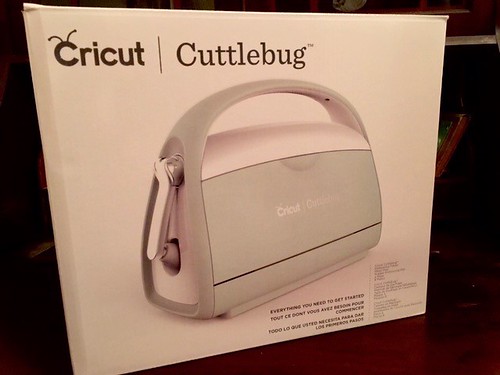
Cuttlebug box
* The Cricut Cuttlebug machine is compatible with most leading brands of dies and embossing folders. You may need additional plates or spacers for it to work.
This is a sponsored conversation written by me on behalf of Cricut. The opinions and text are all mine.


