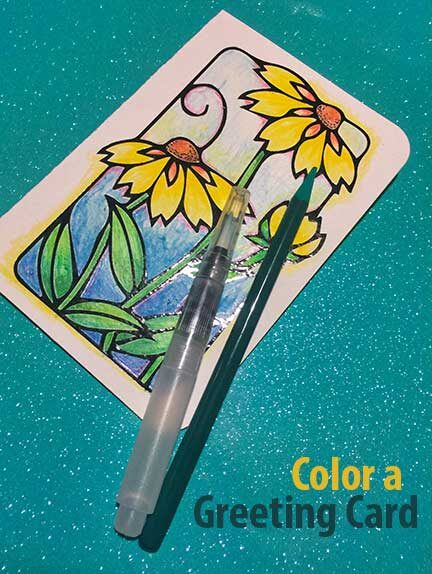
I know coloring a Greeting Card isn't anything new. But this Greeting Card technique is something quite new. The design was made using vinyl and then it was colored in with watercolor pencils. You might have seen stickers in your local craft store that were made for applying and then coloring. I took that concept and made my own using vinyl for a Greeting Card that you can color.
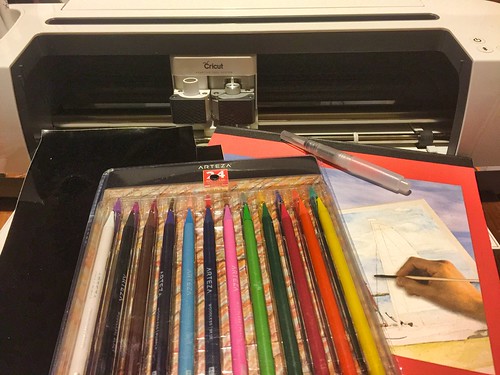
materials
Materials:
Some links are affiliate links, they cost you nothing extra to use them.
- personal cutting machine (Thanks to Cricut, I used a Cricut Maker)
- Styletech Black Vinyl (Thanks to Tape Technologies Inc.)
- Transfer material
- SVG design [free SVG]
- Watercolor pencils
- Watercolor paper
- Water brush
Directions:
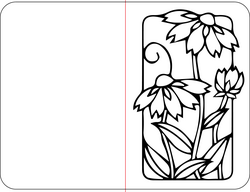
Download the file from the link above listed in materials. The file contains the card and the flowers. The red line needs to change to a score line and make sure it is associated with the cutting of the card.
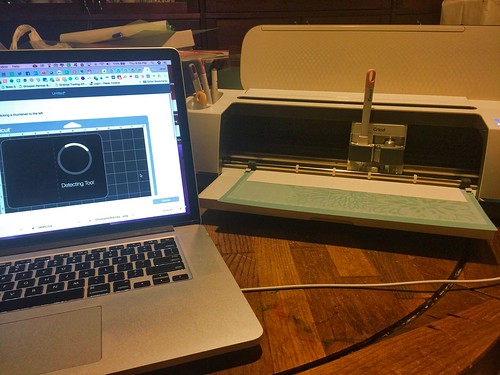
I begin by cutting the watercolor paper into the card shape with rounded edges. Then I cut the vinyl.
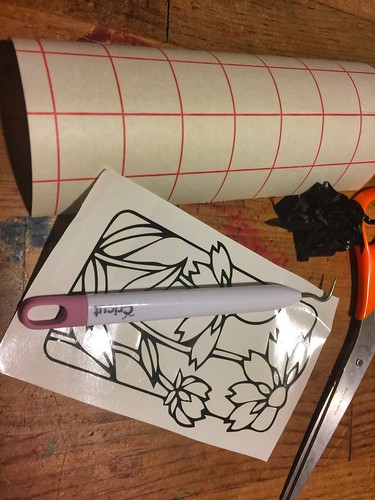
Then I weeded out the vinyl that wasn't needed.
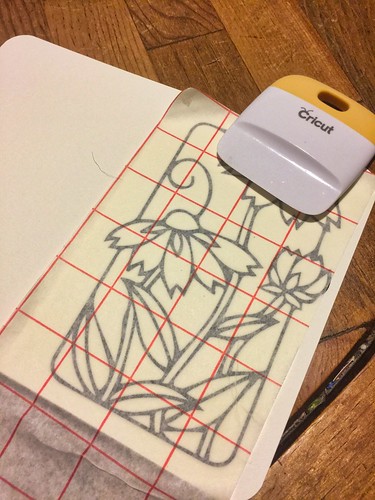
Using transfer film, place the design on the card and burnish it well.
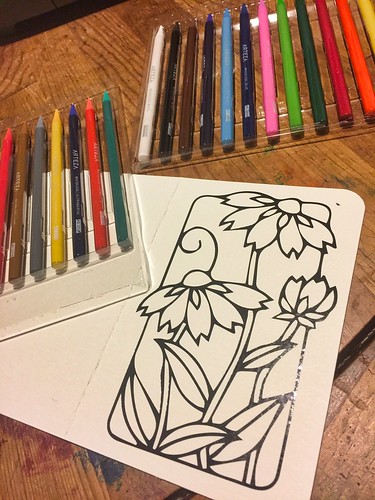
Now to color the design using watercolor pencils.
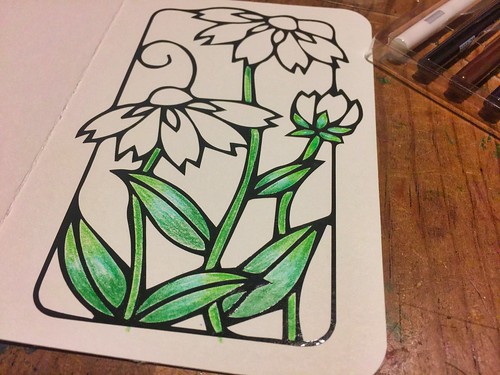
As you can see, I like to layer different colors as I work.
After I colored in an area, I went over it with the water brush to blend the colors.
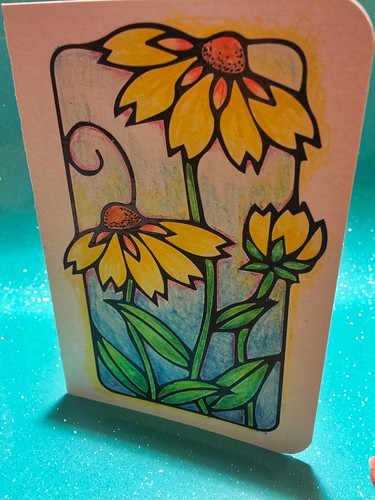
finished card
I really liked this technique and will probably do more of it. I did find that the watercolor pencils were not as soft as I would have liked. Using them and water made some of the watercolor paper fibers begin to ball up. Something I need to solve in future attempts. I might try markers instead of the watercolor pencils and see how they work staying within the vinyl outline.
