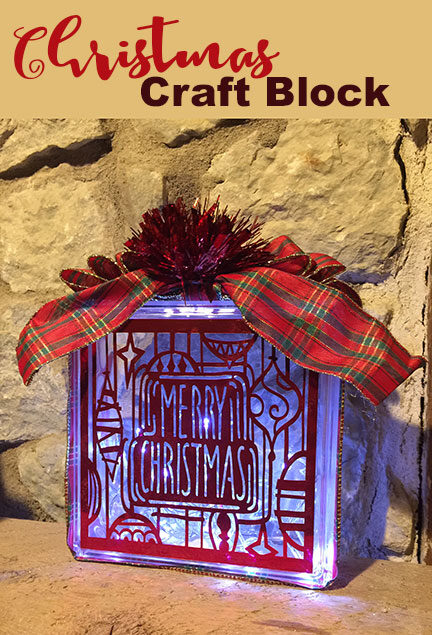
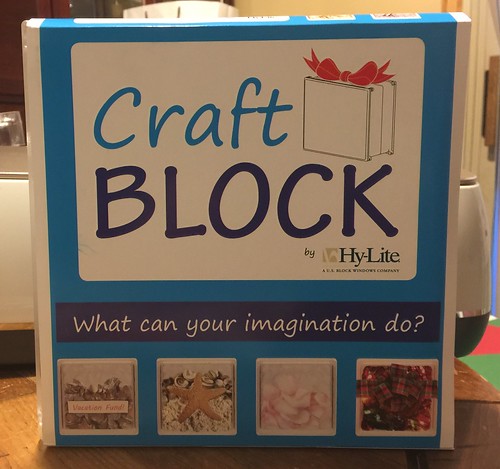
The moment I saw this Craft Block, I knew exactly what I wanted to make, a Christmas themed lighted block for my mantel. I know they have been around for awhile but I have never made one. This block was given to me by Hy-lite, a glass block manufaturer but this particular block is acrylic, light weight, and made for crafters. The process was really easy and quick.
________________________________________________________________________
Many of the items I worked with for this project were provided by great companies I work with.
I want to personally thank Cricut, Hy-lite and Tape Technologies for providing materials for this post.
The following links may contain affiliate links. They help support this site and cost you nothing to use them.
_________________________________________________________________________
Materials:
- Vinyl
- Transfer tape
- Personal cutting machine (I used a Cricut Maker)
- Graphic (from Cricut Design Space)
- Hy-lite Craft Block
- weeding tool
- Wired Ribbon
- Scissors
- Red Doublestick Tape
- Battery operated light strand (and AA batteries)
- Decorative Foil Bow
Directions:
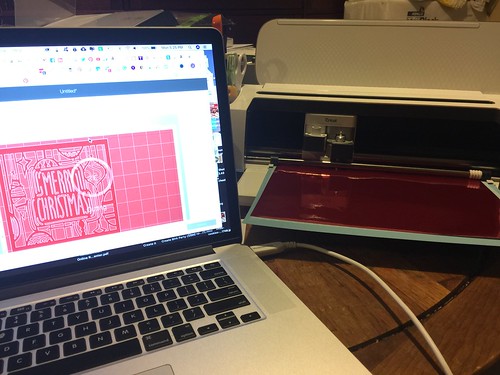
Cutting the vinyl on my Cricut Maker.
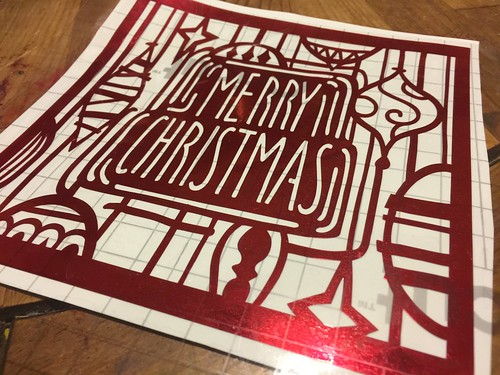
Vinyl after weeding and the transfer tape is applied.
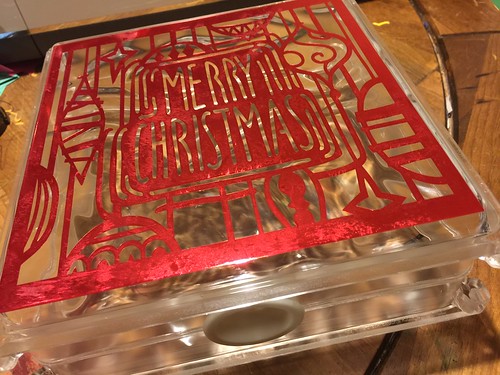
Vinyl placed on the Hy-lite Craft Block.
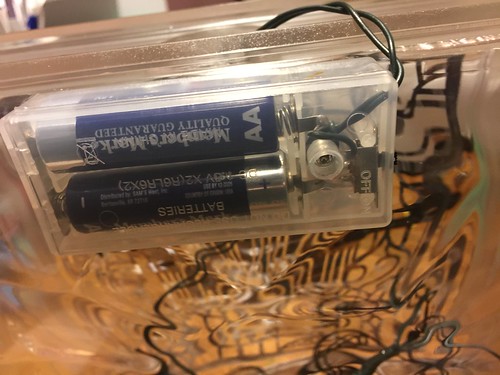
I inserted the light strand and used double stick tape to adhere the battery pack to the back of the Hy-lite Craft Block.
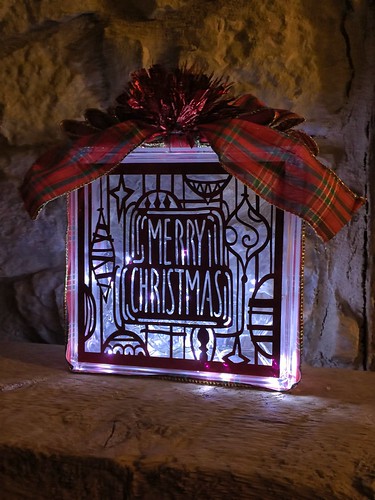
To finish, I wrapped the wired ribbon around the block, tied a 3 loop bow at the top and applied the foil bow in the middle.
The above image show the finished Christmas Craft Block with the room lights off.
Project tips:
- Working with foil vinyl, remove the clear protectant sheet before cutting the vinyl.
- If I could do it again, I would place the Craft Block opening at the top of the project so gravity would work better with the strand of lights.
- I would like to try and etch the Craft Block, the etching cream I have states it only works on glass.
Hy-Lite links:


