

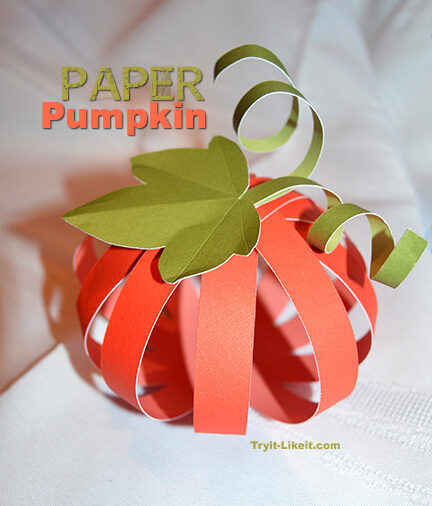
Create one or a few of this easy paper pumpkin this fall. You can cut out the necessary pieces on your personal paper cutter or by hand. They aren't that detailed.
Materials needed:
- Orange cardstock
- Green cardstock
- Mini Glue Dots
- Bone folder
- Marker with cap
- Personal cutting machine and free SVG file or template and scissors

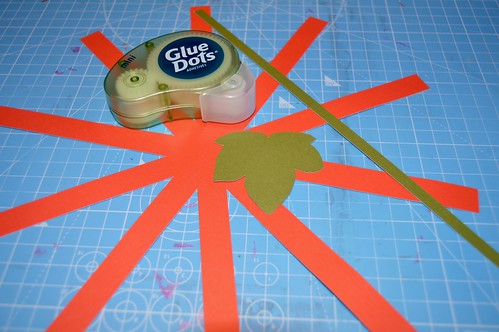
This is the cutting template. You can print out the image, draw your own, or download this free SVG file. [SVG file]
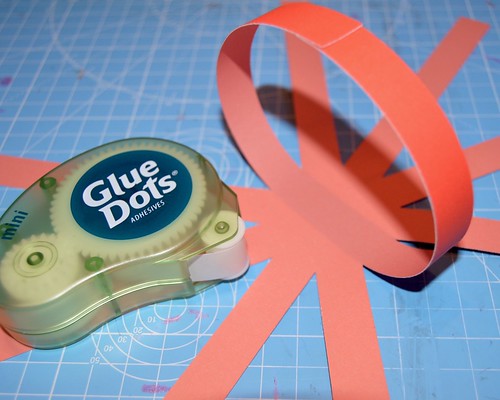
Begin by lifting and glueing opposite strips together.
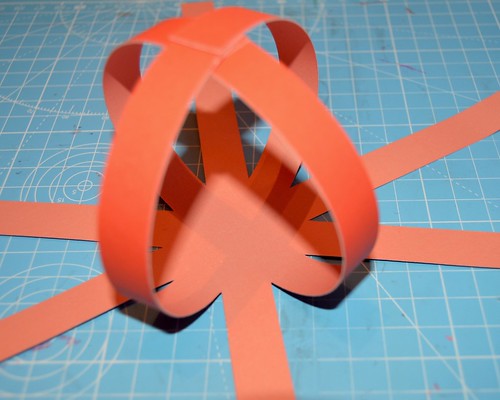
I chose to work in a random order of pairs, you can do this or work your way around the pumpkin in order.
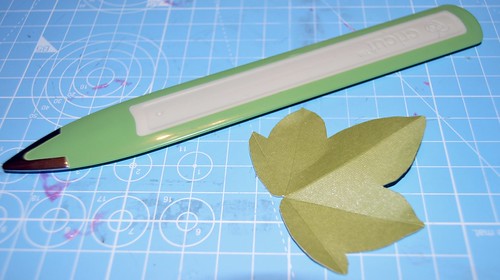
This step is optional, I decided to add a bit of dimension to the leaf by drawing in veins with a bone folder and then bending the leaf to be more realistic.

Attach the leaf to the top of the pumpkin using a Glue Dot.

Here is a trick for rolling the paper vine. I used a marker and put the end of the paper strip under the cap, then rolled the paper around the pen.
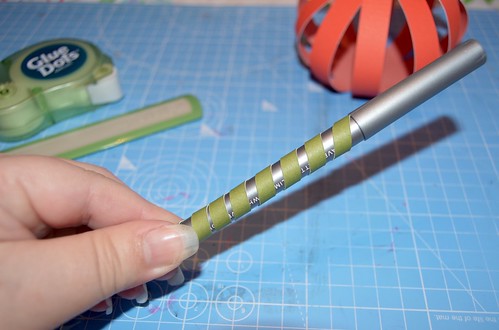
Once you are happy with the vine, remove it from the pen. I chose to roll it tighter once removed and just did it by hand.
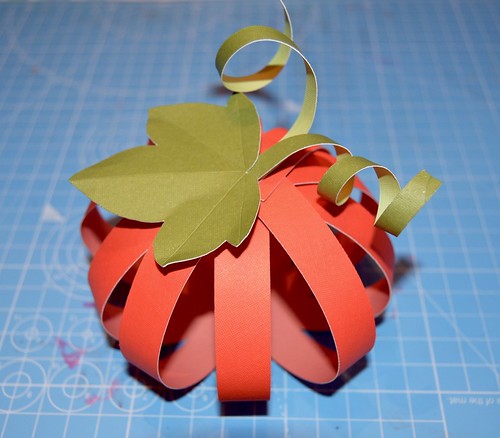
I folded the vine and attached it under the leaf with a final Glue Dot.


