

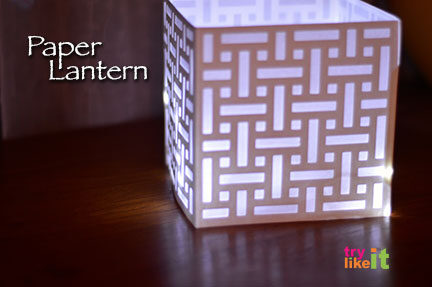
A beautiful paper lantern that can be used as a centerpiece for your table scape, side table or wedding tables. They are easy and quick to make while costing very little in supplies. And probably the best thing about this design is that you can size it to your own needs.
Materials:
- card stock
- tracing paper
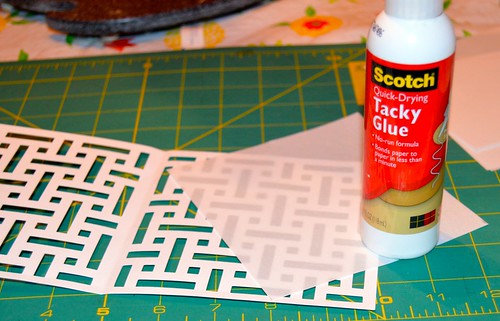
- Scotch Quick Drying Tacky Glue
- battery operated light
~ paper cutter
~ cricut explore machine
The pattern used is free and available here [lantern pattern file] This is an SVG file and can be cut using a personal cutting machine. The file pictured below includes the patterned outer design that gets cut out from card stock as well as the interior design that can be cut from tracing paper, or rice paper. For the example I made, I just cut the interior paper using a paper cutter, it seemed easier and quicker for me. Each lantern is made from two patterned outer design pieces and four interior pieces.

Once the papers are cut, it is time to fold along the score lines. These score lines are indicated in the svg file as red lines, just set them to score in your software. Fold gently along the score lines and then open it back up to a flat piece of paper. You just want to make the folds easier to manipulate later on.
On to glueing the interior papers.
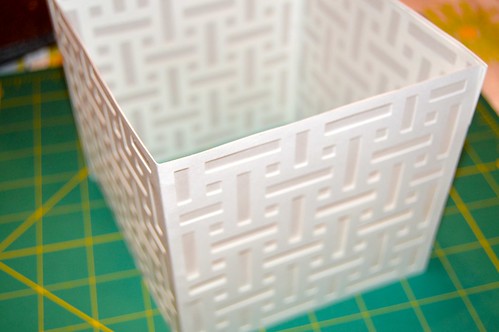
I used Scotch Quick Drying Tacky Glue because I didn't need a lot of glue and I wanted it to dry quickly so I didn't have to hold anything in place while drying. I found a few drops around the outer edge of the pattern worked well. Continue attaching the interior papers until all four are in place.
There's one tab on each piece of patterned paper. These are used to attach to each piece to the other piece and form the box lantern shape. Here is where the Scotch Quick Drying Tacky Glue really comes in handy. I placed a few drops on the tab, then spread it smoothly using my finger before attaching the pieces together. I glued the tabs to the interior of the other piece so they don't show.
Now all that is needed is light. I used a string of battery operated lights. You could use a battery operated candle, a tea light, or a candle in a glass jar. If you are going to use a live flame, just use caution as the paper is flammable.
Post is shared on Something to Talk About Link Party
~ post contains affiliate links


