

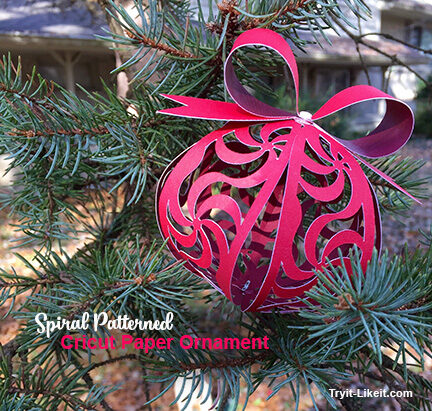
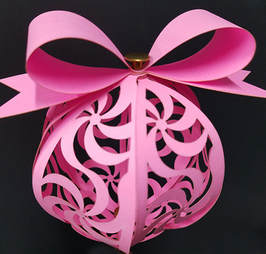
I am participating in a Cricut Ornament Exchange. We were challenged to make a Christmas Ornament using our Cricut machine and then we sent them to another participant. I sent my ornament to Kara at Happy Go Lucky. The ornament I made is from an original design and the SVG file will be included below. The inspiration for this ornament was the red and white spiraled hard candies as well as candy canes.
Materials:
- Doubled sided scrapbooking card stock
- 2 brads
- Personal cutting machine (I used a Cricut Explore Air 2)
- SVG Spiral Ornament Pattern (click the text for the free file)
Directions:
The process for this ornament is more hands-on after the cutting of the design. When I cut out the design, I wasn't getting through the card stock. I finally went to change the blade and found that my blade had some form of material stuck around it. Once this problem was resolved, the cutting was so easy. I really like using two-sided paper. I chose red which had burgundy on the other side. The only downside to using this kind of paper is the core of the paper is white and shows a bit on the edges of the paper.
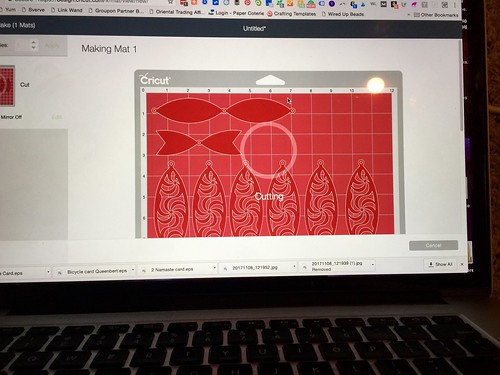
Design Space showing the progress of cutting the paper.
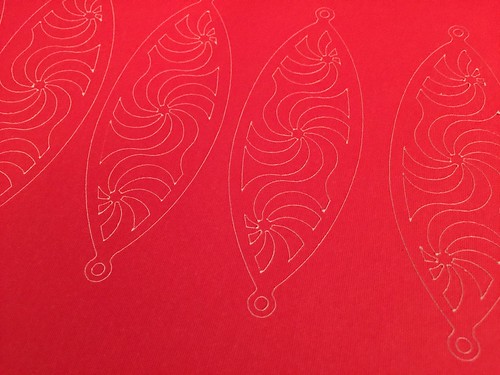
The cut paper before weeding.
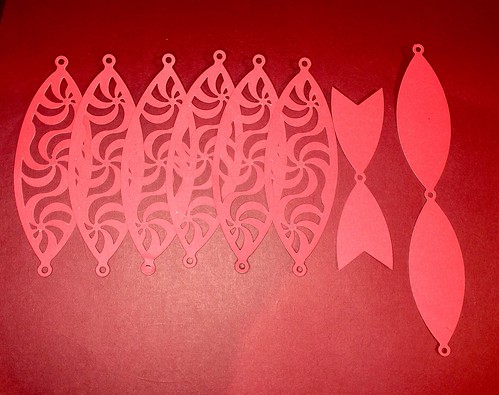
The cut shapes.
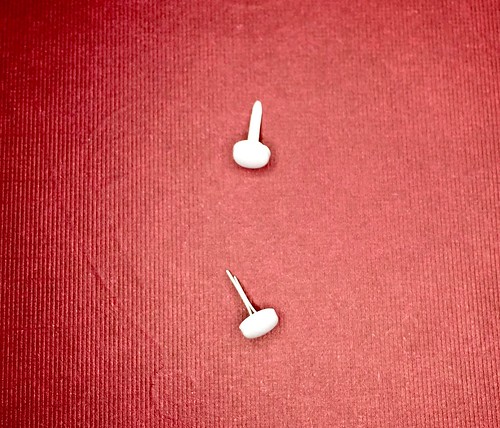
The two brads, you can use any color.
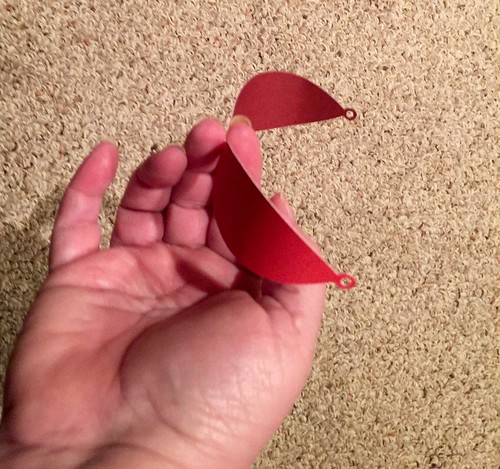
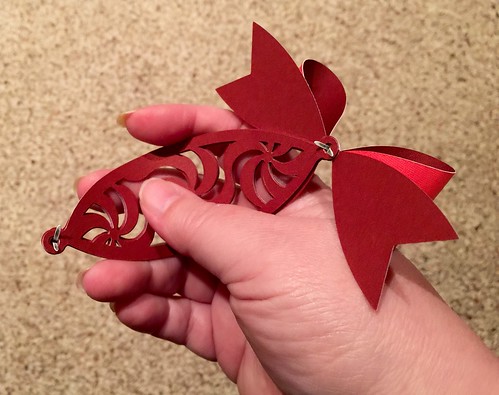
Take the bow shape, using your fingers, curve the bow shape.
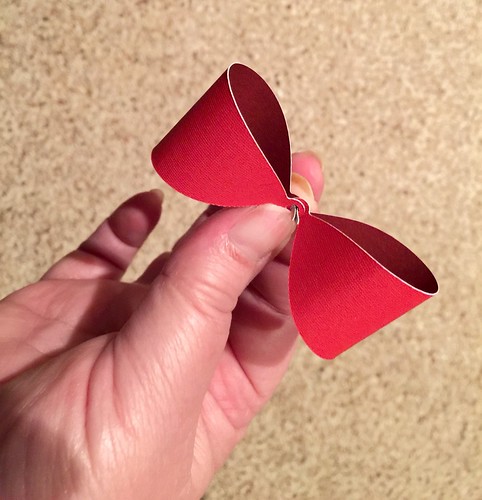
To begin you are going to stack the elements in order on the brad. Here is the bow we began to curve in the above image.
Then add the ends of the ribbon to make the bow.
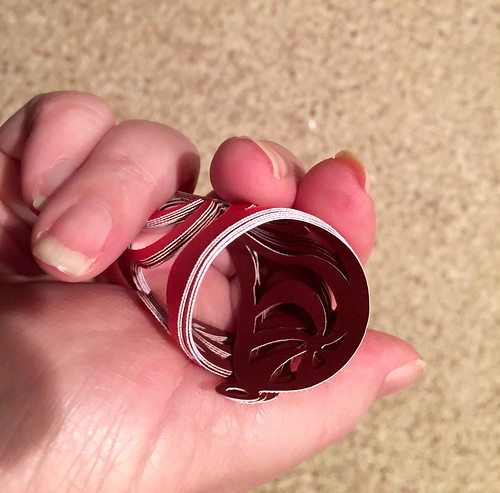
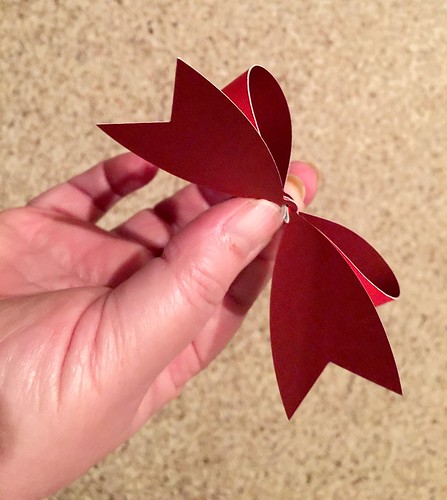
Stacking all six similar pieces together, curve the paper by rolling it in your hand. This will help form the ornament in a later step.
Add the six pieces to the brad and then add the brad to the bottom. Make sure all pieces are facing the same direction if you are using a two toned paper. Fan open the brads but not the full amount so there is some movement available.
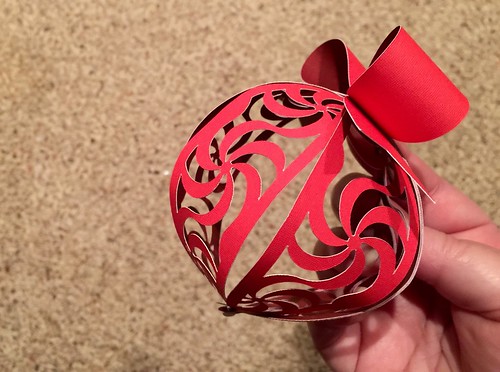
Begin to seperate the ornament shape once piece of paper at a time.
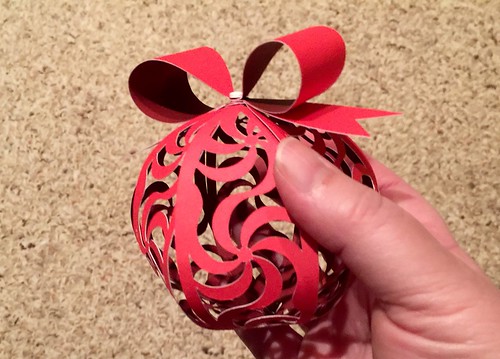
Now you can tighten up the brads by reaching into the ornament. You can manipulate the shape as needed even by pushed top and bottom towards each other until you are happy with the rounded shape.
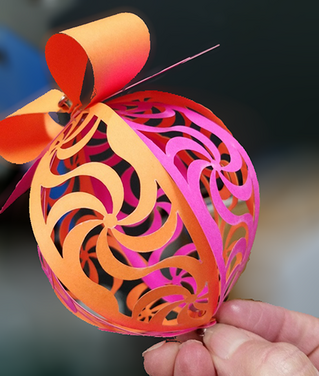
I sent the file to my sister and that same night she went a bit crazy and made these two.
Take a peek at all the other entries:


