

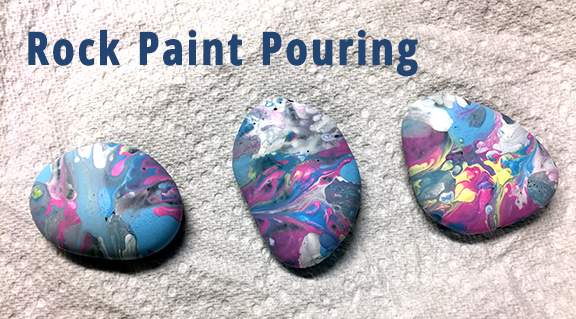
This post is for Craft Lightning Painted Rocks with I Love Painted Rocks, 30 Minute Crafts, and The Country Chic Cottage. The challenge is to make painted rocks that take 15 minutes or less, not including drying time. I know paint pouring isn't anything new and there have been tons of posts and videos on the process. But, I thought it would be fun to try it on rocks. I had the paint I wanted to use thanks to DecoArts so I gave it a try.

Materials:
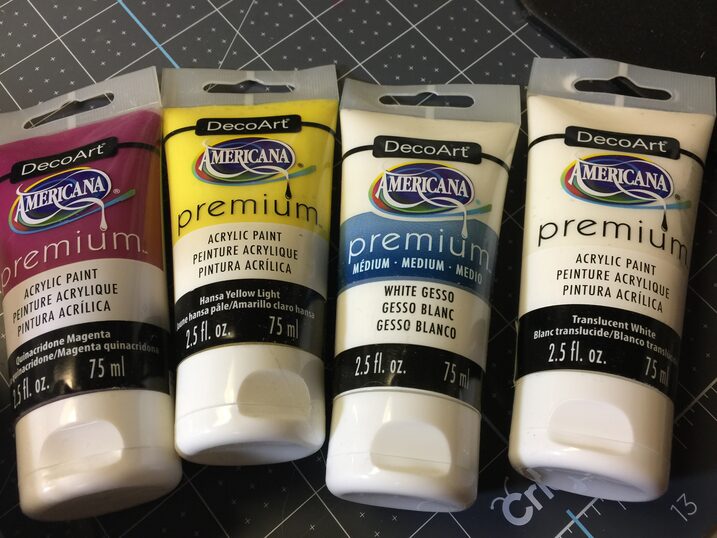
- DecoArt Americana Premium Paint (magenta, cyan, yellow, white)
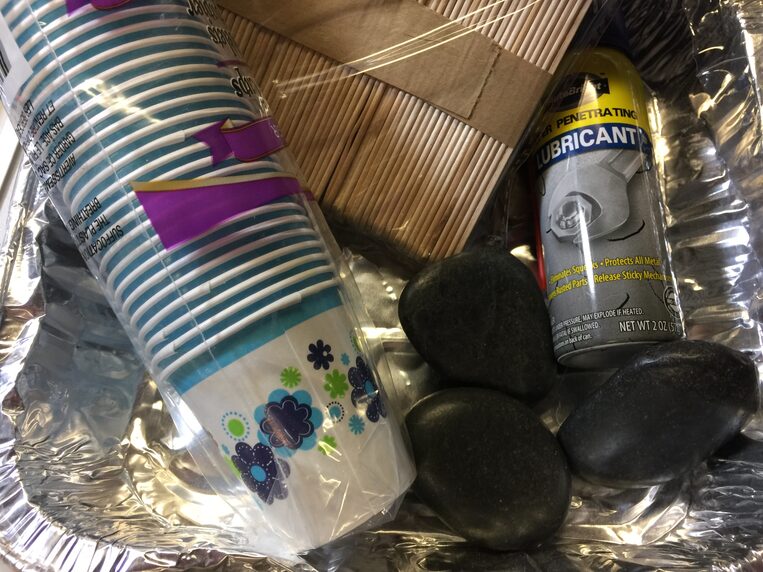
- disposable metal pan
- paper cups
- popsicle sticks
- flat black river rocks
- spray lubricant
- DecoArt white gesso
- Elmers glue
- ModPodge - glossy
Instructions:

In four separate cups I mixed paint, gesso, water and lubricant. I actually used too much water. You will see the difference below.
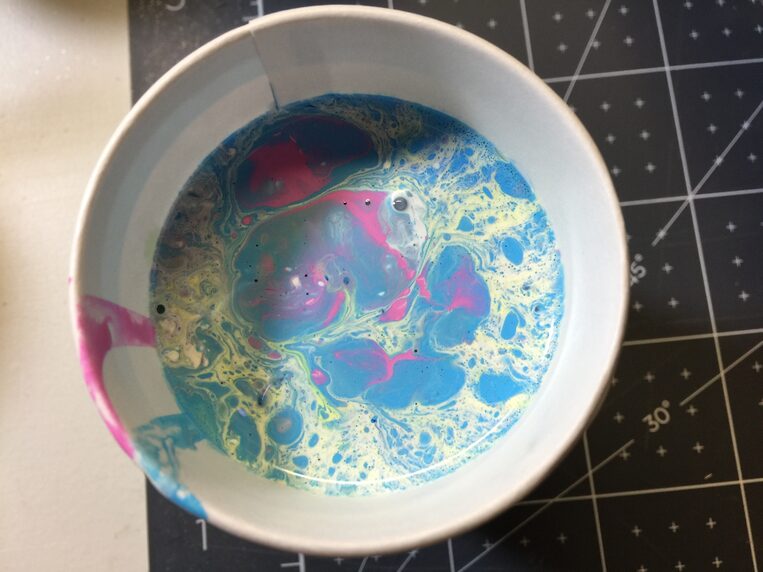
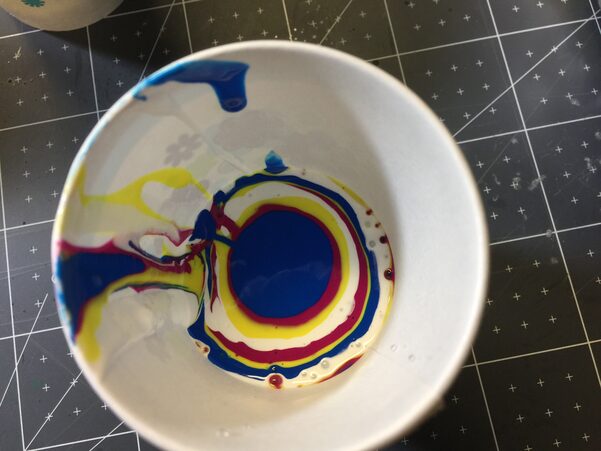
Here is the pour cup.
The pouring process
While the results aren't bad, the color mixing wasn't what I expected. I decided to try again.
This is the new pour cup.
The color difference you see is from changing out the gesso for white glue.
It really made a difference.
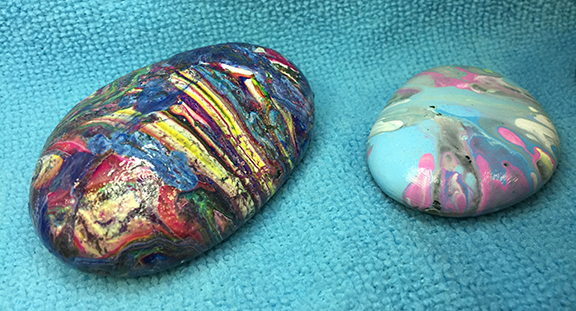
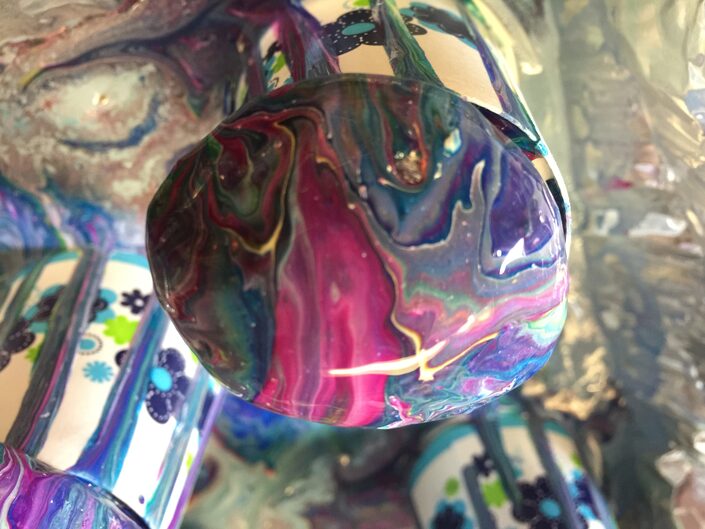
The rock on the left is from the second pour, compared to the colors on the rock on the right from the first pour.
I was rushing the drying process with a heat gun which caused it to crack in places.
I used glossy ModPodge over the painted rocks.
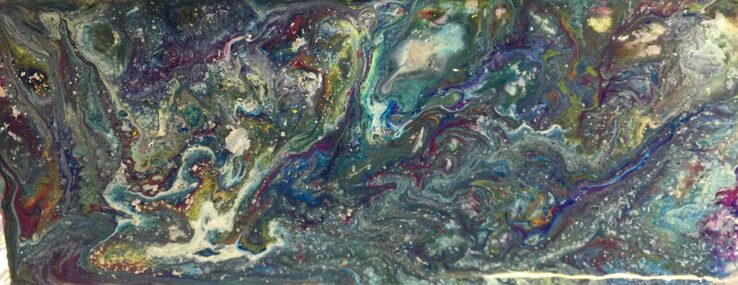
I had excess paint to so poured it over a wooden board. Look at the number of cells! All those little white dots are cells.
I am not sure I like this board but I am going to let it dry and see how it turns out.
Let me know what you think about it in the comments below.
I made another pour cup same as before with the white glue and less lubricant.
I poured this mix over the second round of rocks.
They are still drying and I am going to let them sit, but here are shots of them in process.
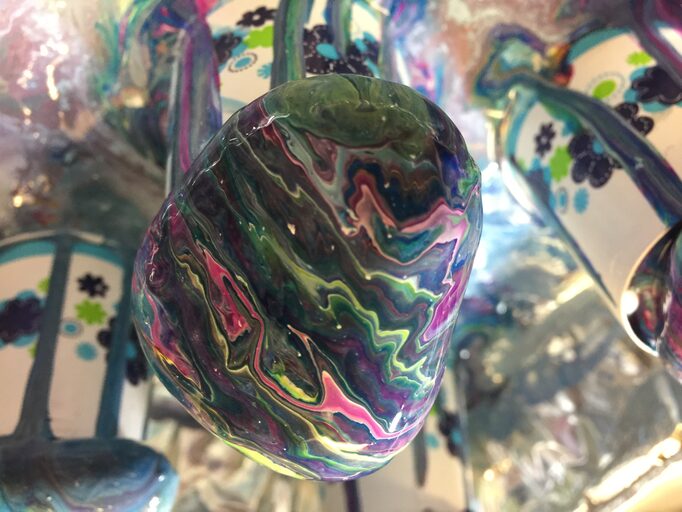
The color mix is so much better. The colors are vibrant and rich.
There are some cells but not a lot, which I am fine with.
Once dry, I will coat them with glossy ModPodge.
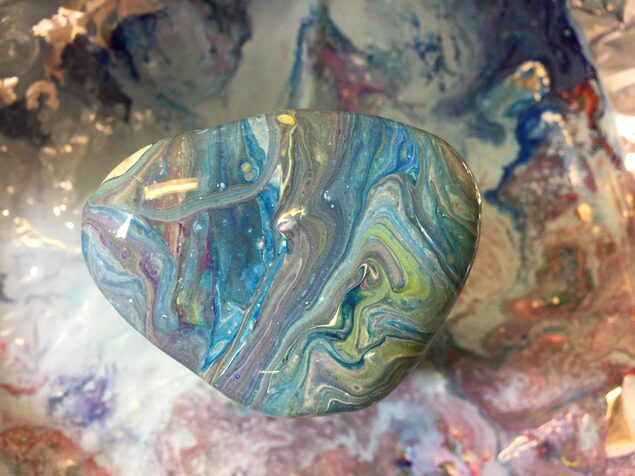
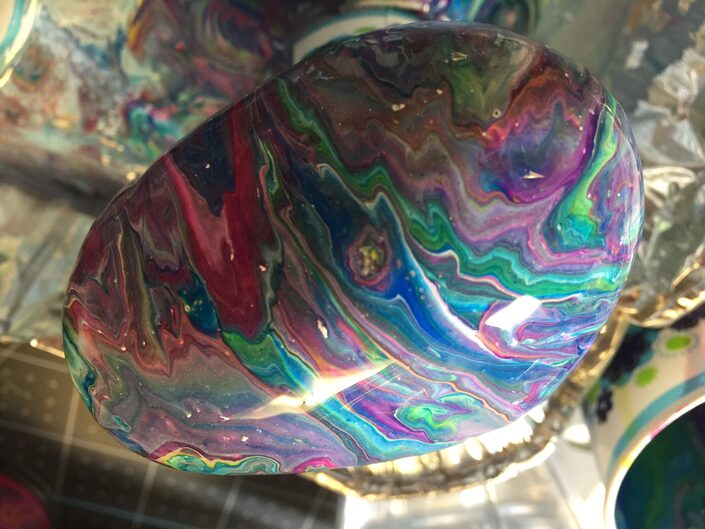
This rock is from the second pour. The last of the paint from the bottom of the cup.
It might be my favorite one. It is sitting and drying. I didn't want to mess it up.
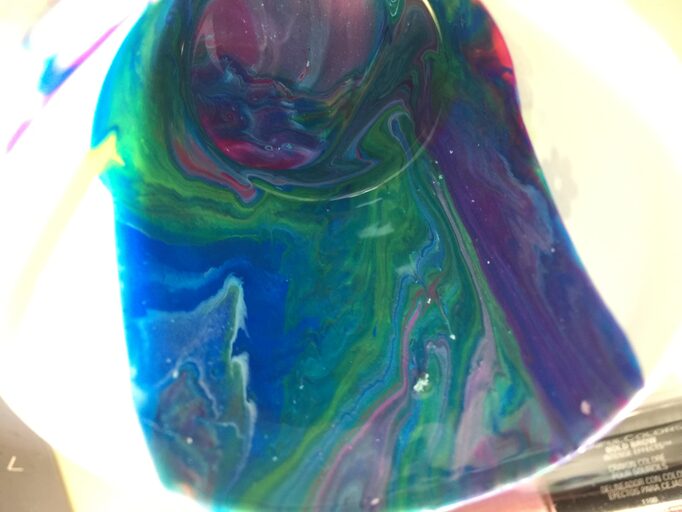
This strange photo is from the inside of the last (3rd time) pour cup.
I loved how it looked so I set it aside to dry.
I am hoping I can cut it apart and use the paper for another project.
Links are Affiliates
AZ - Amazon, SB - Scrapbook, M - Michaels
 Mod Podge Gloss 8oz Shop at: AZ | SB |  DecoArt Titanium White Americana Premium Acrylic Paint Tube 2.5oz Shop at: AZ | M |  DecoArt Primary Magenta Americana Premium Acrylic Paint Tube 2.5oz Shop at: AZ | M |  DecoArt Primary Cyan Americana Premium Acrylic Paint Tube 2.5oz Shop at: AZ | M |
 DecoArt Primary Yellow Americana Premium Acrylic Paint Tube 2.5oz Shop at: AZ | M |


