

This image was made for a Cricut post about the five things I love about my Cricut Maker. [Love Cricut Post]. I used the engraving tool for the first time on acrylic. This was probably an overly ambitious project for my first try with the engraving tool. I learned a lot and fixed a few flubs along the way. I layered the pieces together after painting them with alcohol ink. The drawn image was one from Cricut Access (Leaves Drawing #MAEF3C53). I really liked the drawn elements of the front layer of leaves. You can see them below before they were painted. The engraving itself was nice but it didn't have enough detail for me and this lead to the addition of the painting.
The following links are affiliates they help support this site in a small way. Thank you for considering to use them.
Materials:
- Cricut Maker - with the engraving tool
- 2 - 4x6 acrylic pieces
- 4x6 picture frame
- alcohol inks
- paintbrush
- black card stock - cut for a frame
- tape - clear, painters, and foam
- yupo paper
Directions:
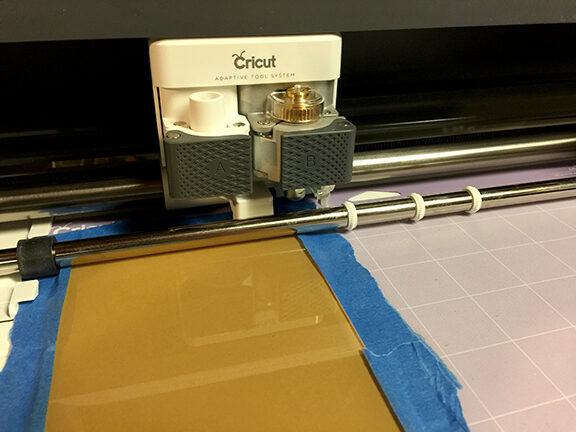
After loading the engraving tool into part B of the Maker. I taped down all four sides of the acrylic piece to the mat.
look closely at the image above and notice the white rollers have been moved away from the acrylic. (this is important)
If you are going to frame your work and the acrylic didn't come with the frame, make sure it fits before you proceed. (oops!)
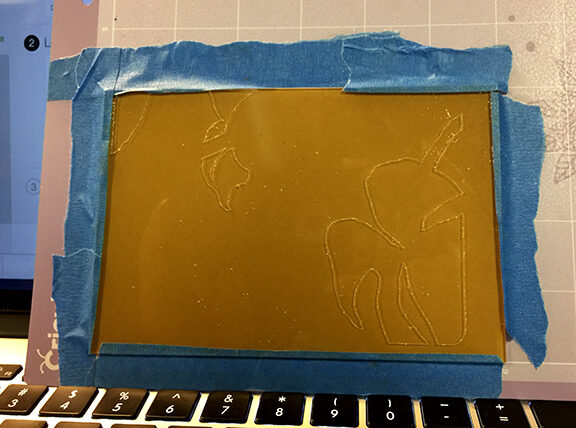
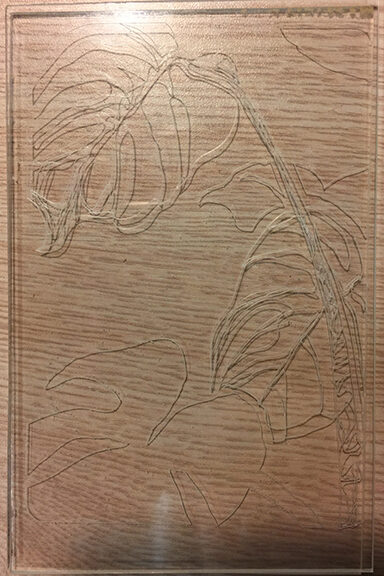
Since I took the image and made it into two images, this is the first layer which is the background.
Notice the image isn't centered top to bottom but rather higher in the frame. (oops #2)
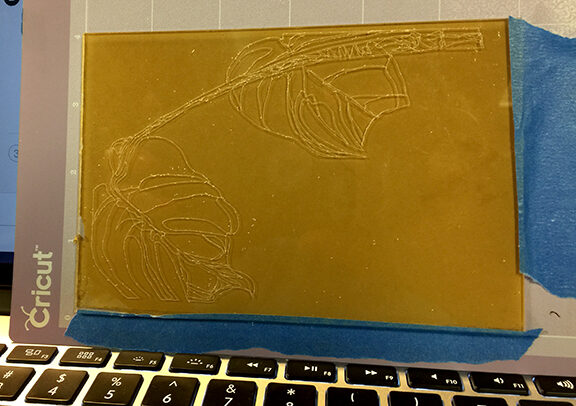
This is the second or top layer. This layer has more detailed engraving.
When removing the tape, use it to pick up any of the flecks and burs on the surface, do not run your fingers directly over them.
Here are the two layers together without and painting.
I was amazed at how quickly the Maker engraved the acrylic.
(acrylic is really had to photograph - shadows and glares)
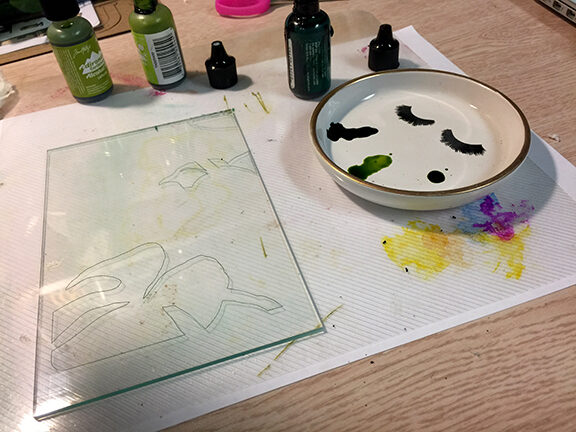
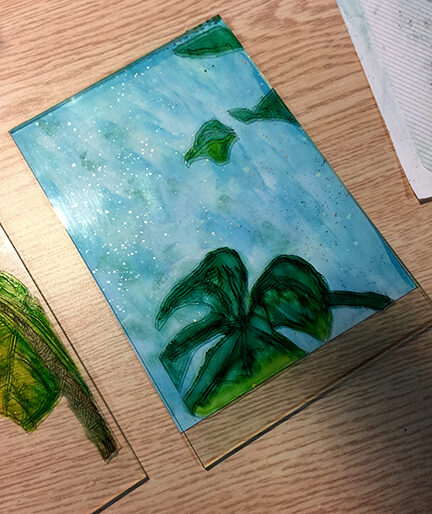
Getting ready to paint.
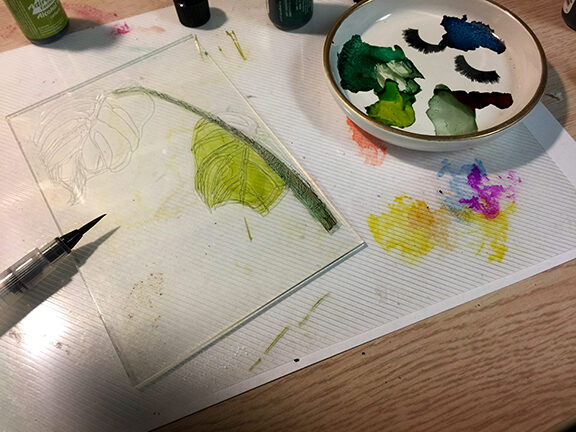
The top layer getting painted.
The alcohol ink went on rather lightly and I had to build up layers to get it dark enough.
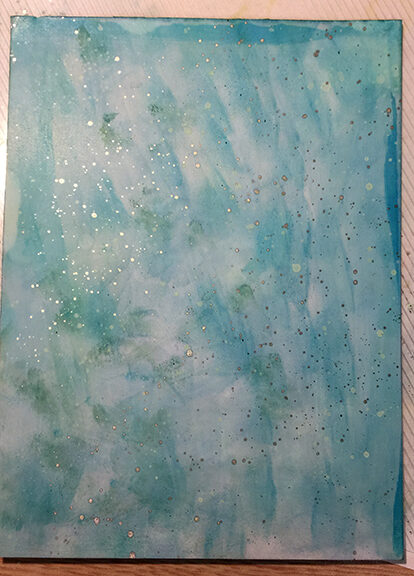
I created this background paper with alcohol inks on Yupo paper.
It needed to be light in color because the alcohol ink on the acrylic is transparent.
Here is the paper layer with the first acrylic layer.
Notice the paper is a bit smaller (oops).
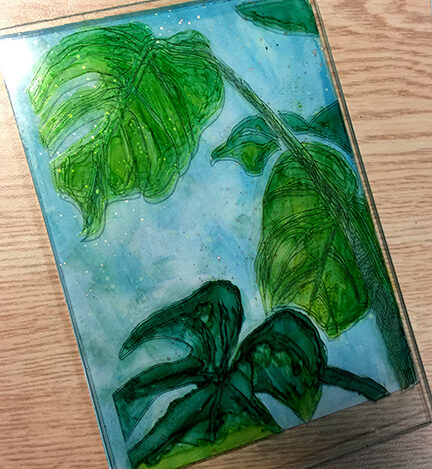
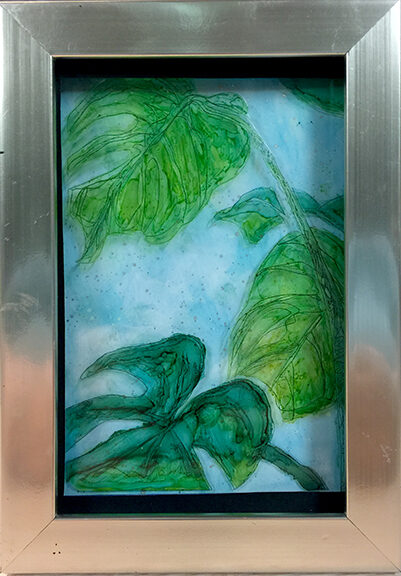
And all three layers together.
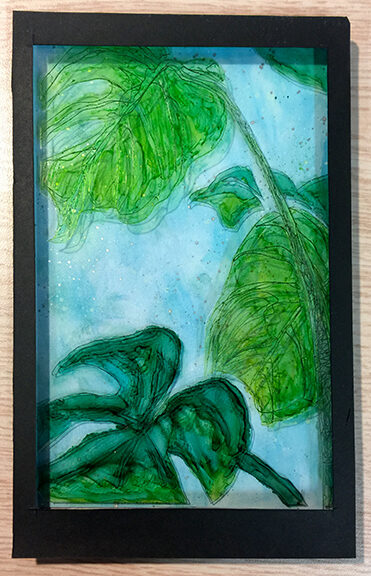
Unfortunately, the layers didn't align perfectly so I cut a thin black frame to cover the edges.
To finish up, I taped all the layers into a 4x6 silver frame.
Between the two acrylic layers, I used some foam tape to give it some dimension. You can see it in the shadow areas.
I want to thank Cricut for providing items that were used to create this post.


