

I've seen these 3D ornaments around but I always thought they were difficult to make. They really aren't if you have a personal cutting machine. I used my Cricut Maker and Cricut Cardstock to make the ornament. I filled it with some festive pom-poms, but you could add a variety of different things (candy?) or just leave it empty. For the last Craft Challenge of the 2018 year, Creatively Crafty Blog Group chose paper as their medium. This post is a part of the Craft Challenge. Read to the bottom of the post to see the other Craft Challenge projects.
________________________________________________________________________
I want to personally thank Cricut for providing materials for this post.
I am a design team member with Cricut.
The following links may be affiliate links. They help support this site and cost you nothing to use them.
_________________________________________________________________________
Materials:
- Personal cutting machine (Cricut Maker)
- Green Cricut Cardstock
- double stick tape
- free SVG file
Directions:
Download the free SVG file listed above in the materials list. Right click the image to save as an SVG.
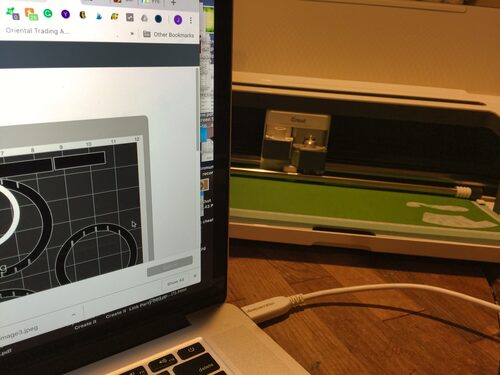
use your personal cutting machine to cut out the pieces.
The circular shapes with no additional elements, cut two of each.
They are mostly on the right side of the document.
Set the red lines to score.

An example of the cut pieces.
Don't look too closely.
Each pile of four are the same, two of each pile needs the slits on the outer circle.
Yeap, it was a design flaw but it is fixed in the file and I cut them again.
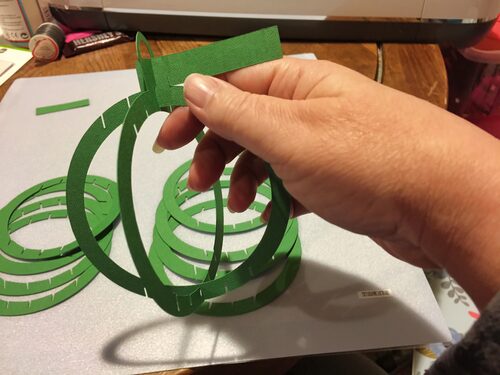
Star by putting the two largest pieces together using the middle slits to fit into each other.

The start adding shapes to build the ornament.
Yeap, they do tend to move around a bit as you put it together.
You will find yourself re-aligning pieces as you build the ornament.
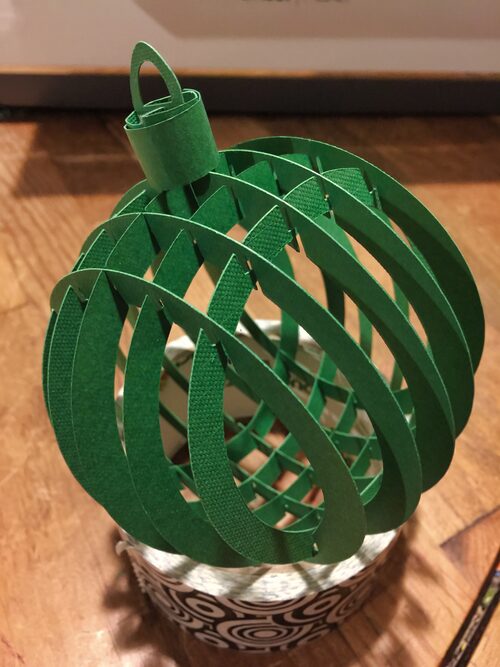
When all the pieces are put together, wrap the top strip around the top of the ornament and glue in place.
Then wrap the extra triangle around the same way gluing it into place.
I used double stick tape.
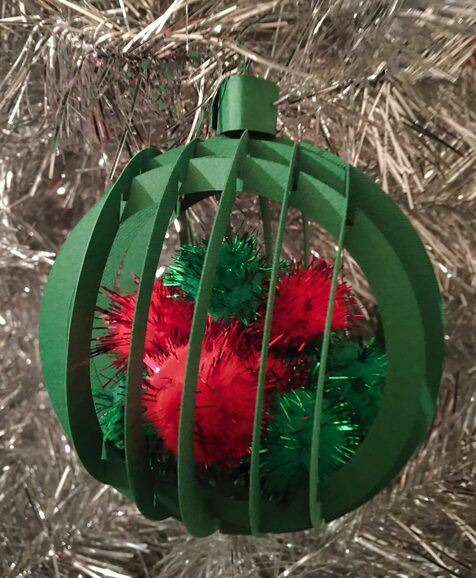
I decided to put pom-poms in the middle of my ornament to show that it was hollow.

For the last year, I have joined together with a group of wonderful blog friends. We have helped each other promote our projects as well as answered each other's questions and give each other information to grow. It has been a wonderful experience and I am thankful for each one of them and the time they have devoted to the group. In 2019, some members are moving on while others will remain. We have added a bunch of new crafters and our direction might change a bit but we are focused on supporting each other as a friendly group online. Look forward to more crafting and tutorials next year. To wrap up 2018, enjoy the following paper craft tutorials from Creative Craft Bloggers Group.

Homecrafts by Ali
2 Dishing Divas
Life Beyond the Kitchen
https://lifebeyondthekitchen.com/decoupage-styrofoam.../
Paper Christmas Ornament
Try it - Like it - Create it


