


I have a small photo booth that is fabric with two loose lights so I wasn't sure I needed a Shot Box. I spoke with a few other crafters who also had the same set up that I had as well as a Shot Box. Their response was, "you definitely need the Shot Box!"
They were right. It is portable, easy to use and I don't have to arrange the lights at the correct angle. There wasn't a learning curve either. Right out of the box, I put it together, turned it on, and used it. You can see the difference in the images I shot of a pencil project below, but first, let me take you through the unboxing.
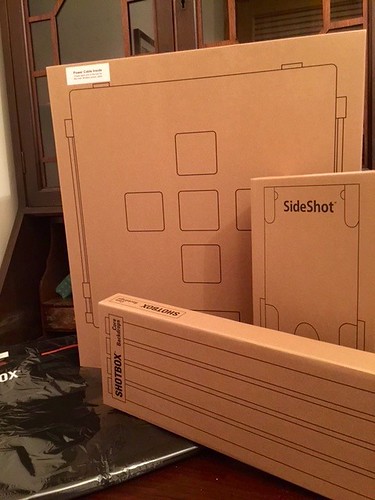
This is the deluxe Shot Box, it contains 3 internal boxes and a carry case. Everything is packaged really well.
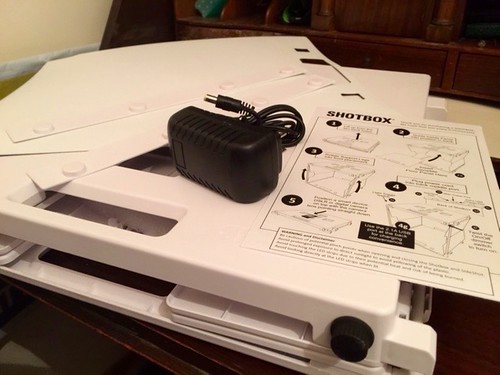
Contents of the largest box are the Shot Box, instructions, and power cord.
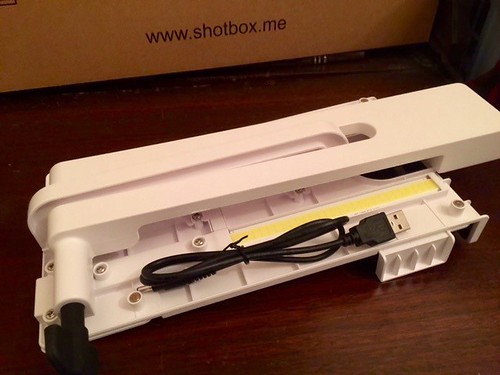
This is the SideShot Arm Extension from the medium box.

The smallest box contains the four backgrounds in white, black, green screen and blue.
All the above items fit into the black nylon carrying case.
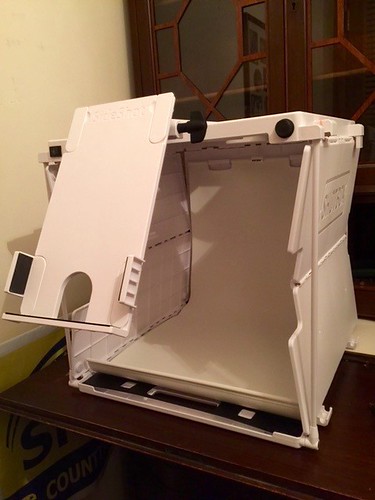
The Shot Box completely put together and ready to use. It really is easy to assemble.
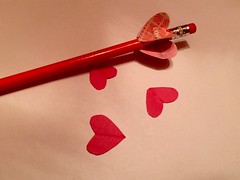

The first image is taken in regular house light and using my iPhone 6. The second image is the Shot Box using the same iPhone and the same materials. While the iPhone takes a really nice photograph, the largest difference I noticed is in the seamless and minimal shadow background. My eyes are used to the warm image taken by the iPhone but it really isn't the true colors. For product shots, tutorial shots, and glamour shots I will rely on the Shot Box from now on. It takes my tutorials from looking like snapshots to real professional images.
Facebook: https://www.facebook.com/myshotbox
Twitter: https://twitter.com/shotboxme
YouTube: https://www.youtube.com/channel/UCFflly3bwj0BQvLjFcVAtbA
To order your own: http://shotbox.me/
This is a sponsored post, all opinions are my own.


