

Wood Burning or Pyrography has been around since the 17th Century. It isn't anything new. I've known about wood burning for many years, I might have even tried it when I was a teen. I recently ordered a Wood Burning Kit from Amazon after being reacquainted with the art form at a recent conference. What I have learned so far is that Wood Burning is very easy if you have the right kind of wood. This is something I am still learning about. I first tried a craft plaque I had on hand and it had too many grain lines in it to burn properly. It was probably some form of composite wood which shouldn't be used due to the chemicals in the glue. I have heard beechwood and basswood work well. I have seen pine without much grain work well. I definitely need to take a trip to the hardware store and scope out all the different kinds of wood - and probably get a little lesson on the wood available.
______________________________________________________________________________________
I want to personally thank Plaid for providing materials for this post.
The following links may contain affiliate links. They help support this site and cost you nothing to use them.
______________________________________________________________________________________
Materials:
- wood piece (bird from Plaid)
- wood burning tool kit
- variety of paint (Plaid)
- paint brush (Plaid)
Directions:
Being by choosing the tip you want to work with and heat up the wood burning tool. Make sure to be working in a well ventilated area and leave enough space around the tool so it doesn't burn anything unwanted. The tool gets very hot, mine had a gauge that heated to 400 degrees.
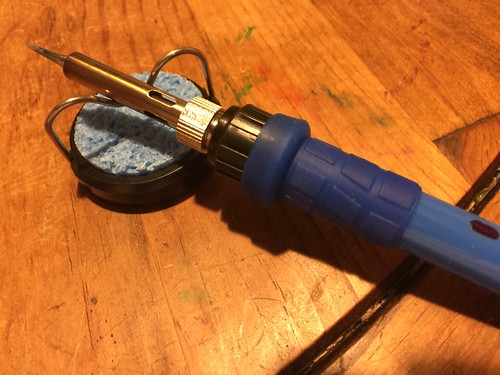
The wood burning kit I bought had a variety of different parts and also works as a sodering iron.
This is a good starting kit but there are many other better quality burners available.
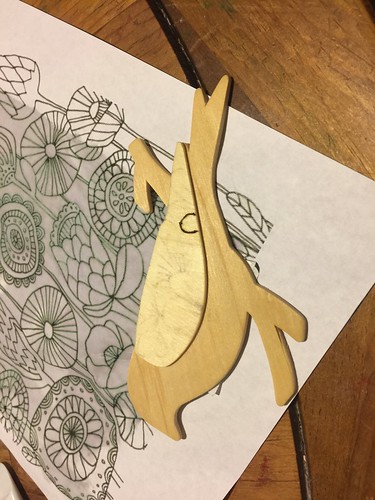
Notice how smooth the surface of the wood is. I transfered a pattern I printed out on my ink-jet printer with just water and a bit of gentle burnishing.
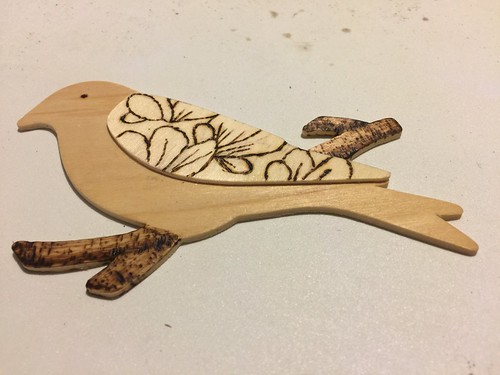
Finished with the wood burning.
The shading was accomplished by using the side of the tool and gliding it across the wood.
The lines are made with a drawing technique similar to using a pencil.
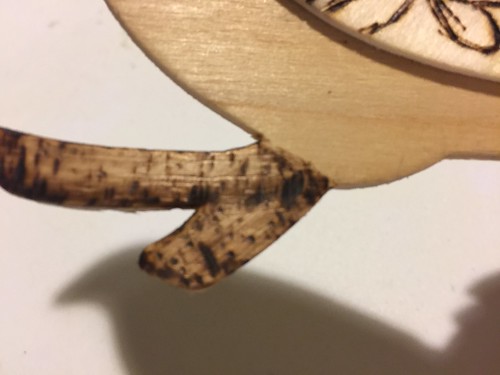
A close-up of the wood burning techniques I used for the branch.
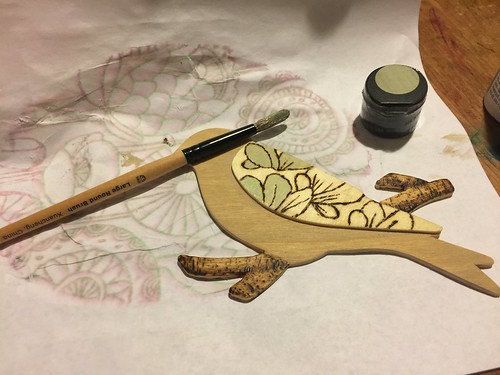
After the design was burnt into the wood, I chose to paint the piece.
(Typically many wood burning pieces are colored with colored pencils.)
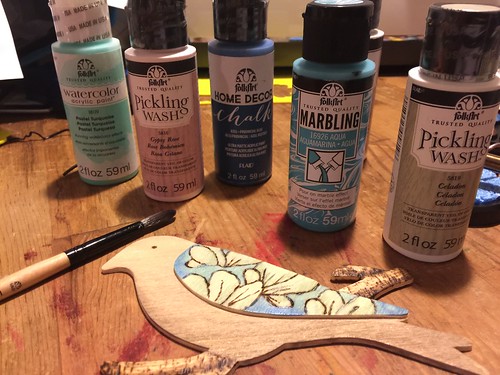
A variety of paints from Deco Art.
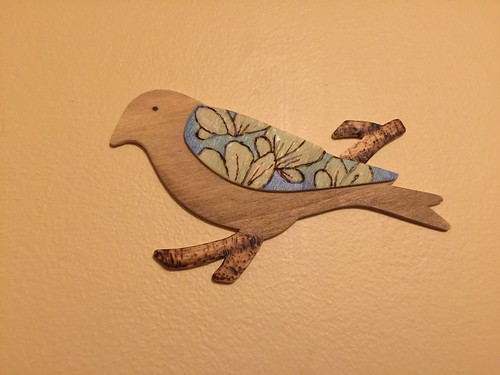
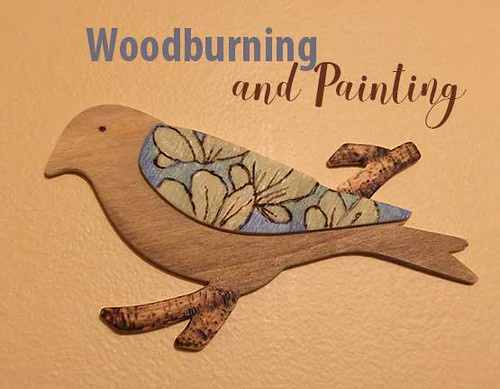
The finished piece.
I can't wait to try more wood burning, it is addictive!


