

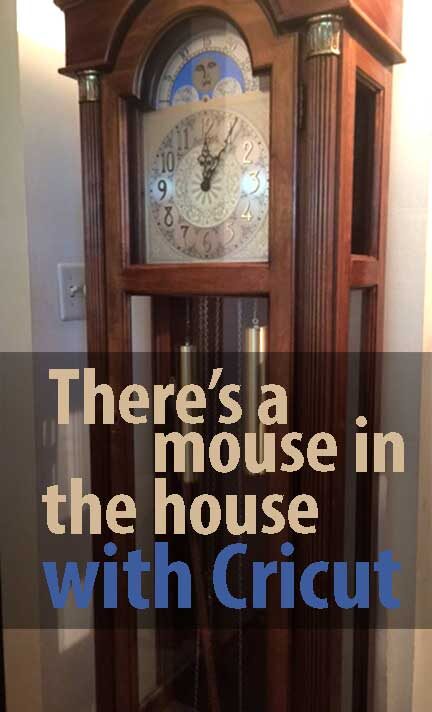
When my mom passed away, I inherited her grandfather clock. She always wanted one and I remember it was a big deal when they brought it home. She would wind that clock every week with loving care and attention. As a present, my cousin gave my mom a crystal mouse that she placed on the clock. I remember it so vividly, it was always there perched at the side of the clock. I am not sure where that crystal mouse went but I wanted to honor the memory.
Cricut to the rescue. I wanted to try out the window cling vinyl. The Cricut window cling is clear with a slight hazy finish and a beautiful sparkle to it. This would make a great mouse, I thought! In reading the package, it suggests not to use too detailed of an image. I already had the mouse image I wanted to add, so I gave it a try anyway. I thought the window cling would work great because it wouldn't damage the clock in any way and it is removable. The clock isn't currently working, we need to have a repair person in to fix things. I don't even have the key to open the clock, so placing the window cling on the front surface would have to do.
Materials:
- Cricut window cling
- a personal cutting machine (I have the Cricut Explore Air 2)
- free svg mouse [SVG file]
- scissors
- weeding tool
I use Cricut Design Space on the Mac. My browser is Chrome, the new Design Space has a nifty icon that it added to the top of my screen so I can easily access Design Space with just one click of the icon.
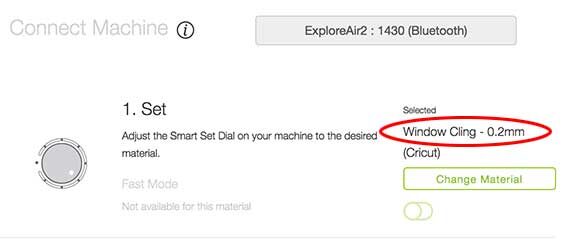
After loading and resizing my mouse image, I am ready to send the file to cut. The window cling is a special setting. So I have to set it in the software on my computer instead of the dial on the machine. (it is indicated in the image above)
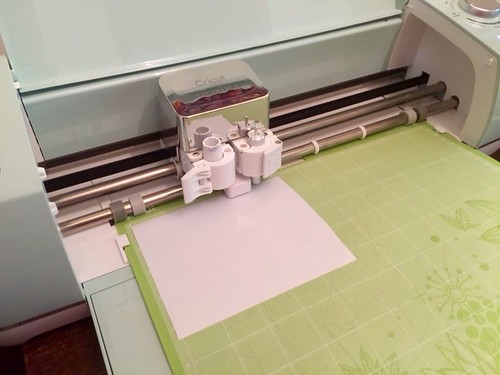
The window cling cut quickly and easily. I thought I would need to use transfer material to place the image, but I didn't. I just removed what wasn't necessary and then gently lifted the pieces of the mouse. The don't have any adhesive so they don't stick to your fingers. I placed them onto the clock. In the process of transferring, we lost the nose! But it still looks good.
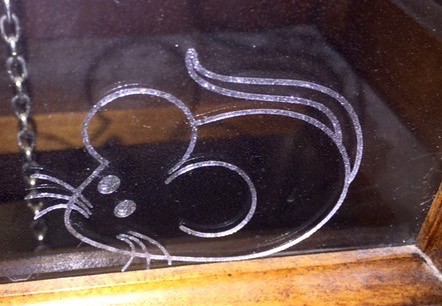
I think he looks cute. Next time, I would try to place the entire piece of window cling without weeding it first, then remove the unwanted pieces when working with something this small. As I was weeding, I thought the negative image could be used as well, see below.

Now that I have experience working with Cricut window cling, I think I am going to tackle my front door windows!
I was generously provided the materials by Cricut in order to write this post. This post contains affiliate links.


