

While the bracelet does use traditional jewelry making materials, the large disk beads are the recycled part of the bracelet. If I didn't show you how they were made, you would never believe me about where they are recycled from. I belong to the Chick-fil-a Mom's Panel. We were challenged to repurpose the chicken tortilla soup container. So yes, those disks are made from a recycled soup bowl.
Material:
- Chick-fil-a soup bowl
- scissors
- 1" paper punch
- small circle punch
- paper clips
- three coordination nail polishes
- disposable cup with water
- tooth picks
- jewelry making parts (beads, tools, jump rings, closure)
Directions:
Begin by washing and drying the soup container. Cut off the top rim and the bottom. The remaining strip from the side of the bowl is the part used to make the beads.
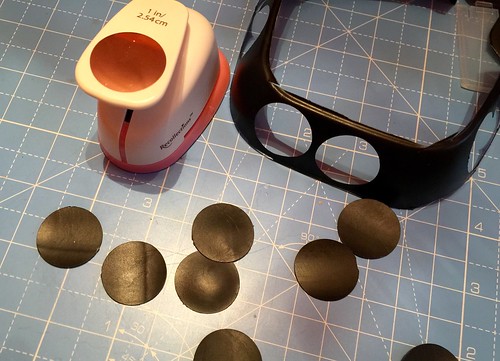
Using a 1" circular paper punch, punch the pieces from the ring of the soup container. I think I got about 8 - 9 circles. For a 7.5" bracelet, I only needed to use 4 of them.
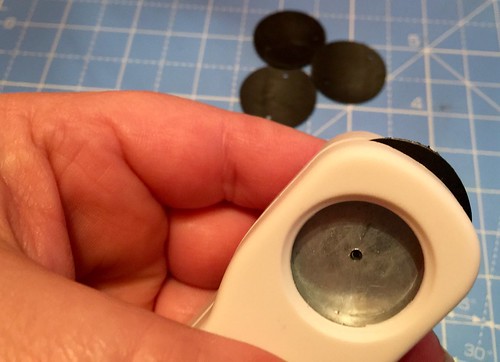
Punching the connector holes are probably the hardest part of this craft. There is no true way to line it up but if you place them the same way each time they should be similar enough. If you don't have one of these small hole punches, you could use a pin to poke holes.
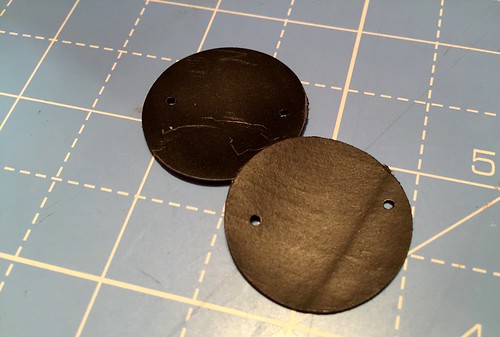
Above are examples of the circles punched and the connection holes in place.
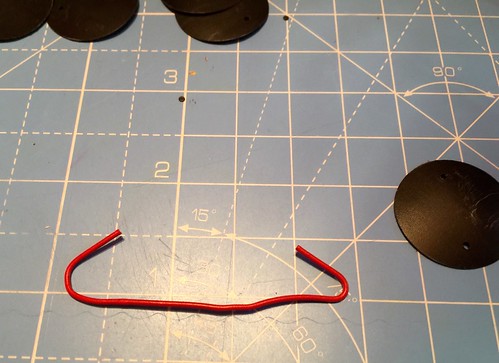
In order to place the color on the disks, they need to hang and be dipped into water. Unfold a paper clip similar to the example above. One end will hold the disk while the other end will hang it after dipping allowing it to dry.
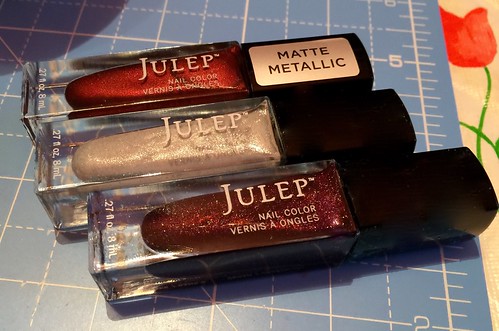
I chose three coordinating colors of nail polish. I knew one of the colors needed to be the silver/white color to show up against the black disks. The other two colors are in the burgundy color family and will be less noticable but perfect for the finished bracelet I have in mind.
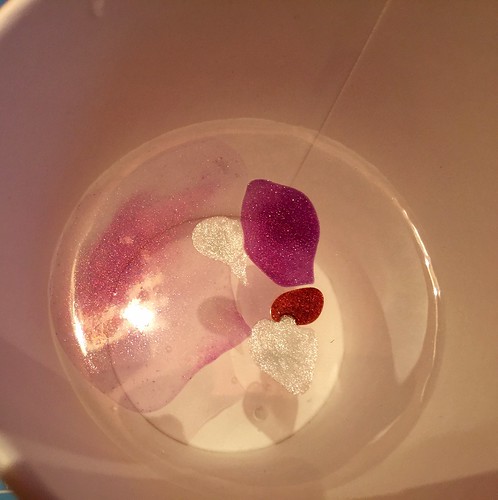
Gently drop the nail polish into the water. Don't try to do too much at once or it will just drop to the bottom and not float on top.
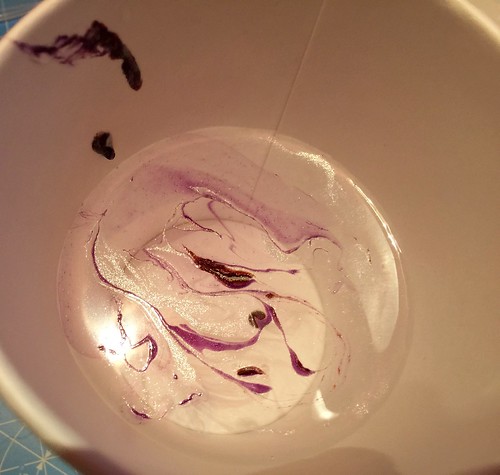
Using a toothpick swirl the polish together to gain a random pattern.

With the disk hanging on the paper clip, dip it into the nail polish fully submerging the disk. Pull the paper clip up and hang it to dry.
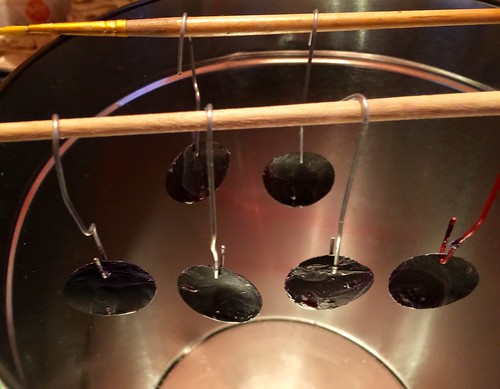
I used a paintbrush across a tin to hang the disks from. I actually used a small Glue Dot on each side to hold the paintbrush in place. Make sure the disks have enough room so they don't touch as they dry.
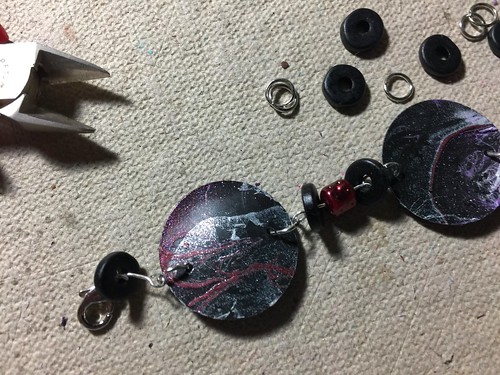
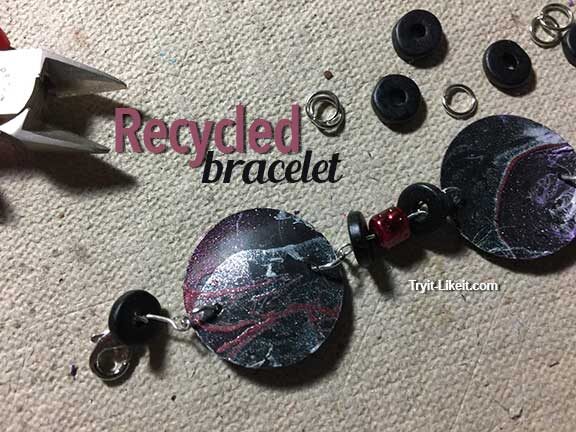
The finished disks can now be put together using jewelry making parts. I placed a silver bar between each disk containing 2 black and a burgundy bead to coordinate with the nail polish on the disks.
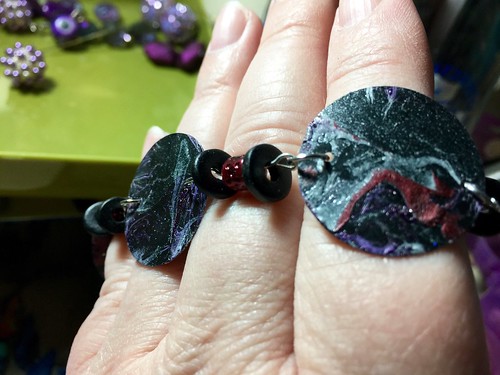
Close up of the finished piece. You can really see the nail polish and variety of color on the black disk in this close up image.


