

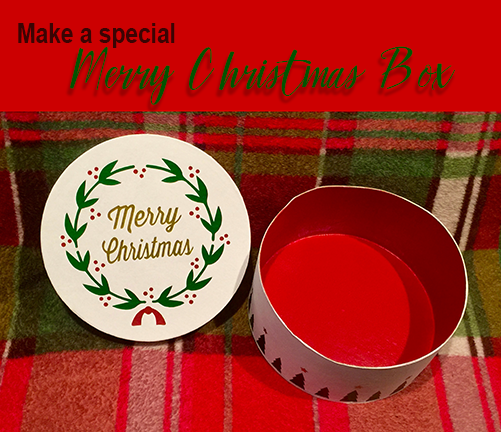
I heard of a tradition a few years back where families had a special gift box or fabric bag that was reused each year for very special Christmas gifts. I loved the idea but never got around to making any of my own. Working with Tape Technologies gave me the opportunity to create this Merry Christmas box. I hope that it will become one special box for my family and that we will bring it out each year for a special family gift. I can also see it being used to deliver a special gift, to collect Christmas cards, or even for cookie or treats.
While it appears to be a simple enough idea, I did run into a snap along the way which I will share below. Sometimes crafting doesn't go the way we hope, I tend not to give up but rather find a way to solve the problem. I think that comes from years of art training but I hope you do the same while faced with a crafting challenge.
Materials:
- paper box
- red and white paint
- foam paint brush
spray paint - white- Luster Vinyl in red, gold, and green
- scissors
- personal cutting machine (I used my Cricut Explore Air 2 which was provided to me by Cricut)
- transfer tape
- svg files [box top] [trees and stars]
Directions:
I began with a purchased paper box. I originally was seeking out a white tin box but didn't find them in the craft store. After starting this project, guess what, I had a few white tins in my basement!
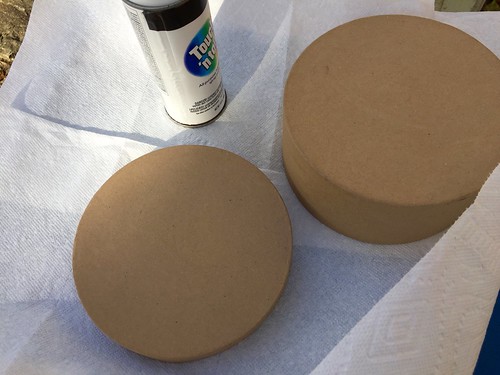
It was a rather nice day and I figured the fastest way to get the box white would be to spray paint it
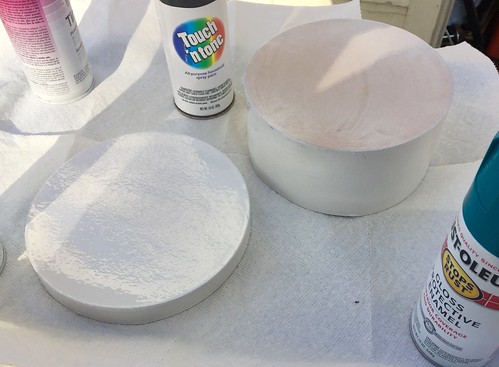
After a few coats, it looks good
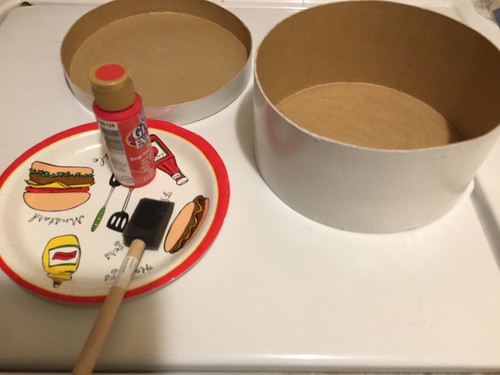
For a special touch and possibly a surprise, I painted the inside red
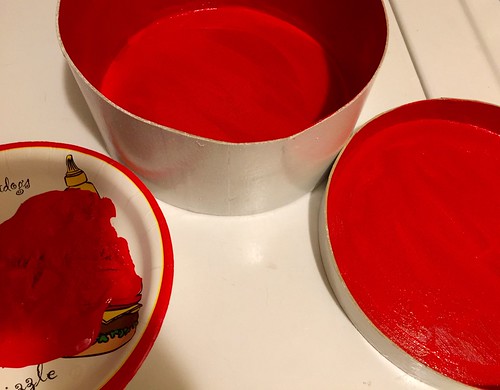
It's drying but when it was done, it really looked good.
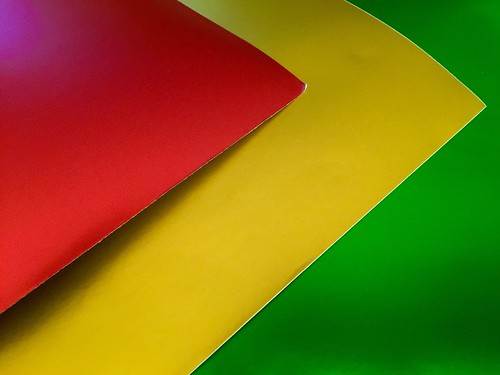
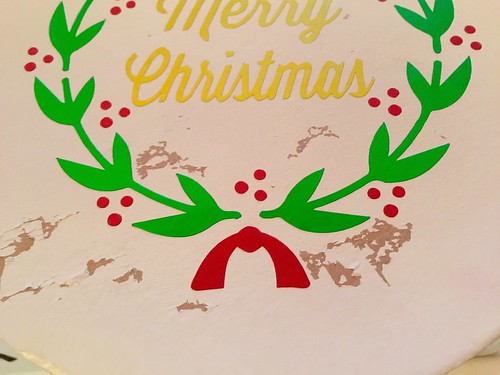
I don't know if I have seen anything more beautiful than these luster finished pieces of vinyl
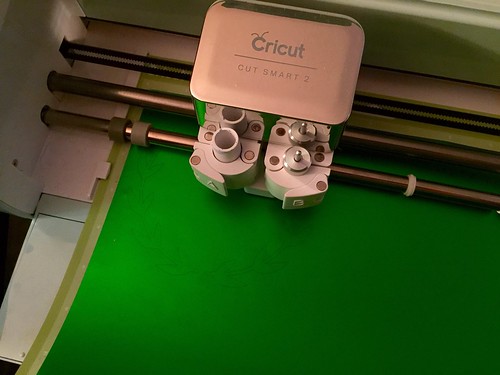
cutting the design

Cut and weeded
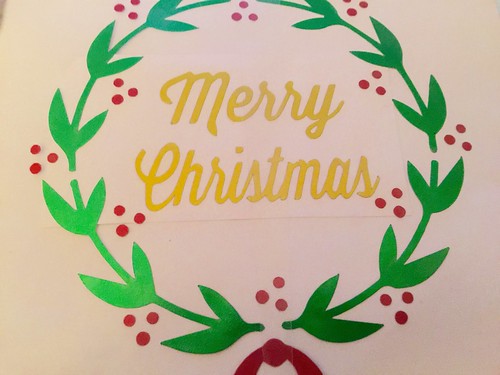
Because the design didn't overlap or touch, I went ahead and put all three colors together on one piece of transfer tape.
This would help later in centering the image on the box.
And here is where it went wrong, I removed the transfer tape and the paint went with it.
The spray paint had a slightly sticky feel to it, so my thought is that the spray paint was bad or not completely dry even though I gave it 24 hours.
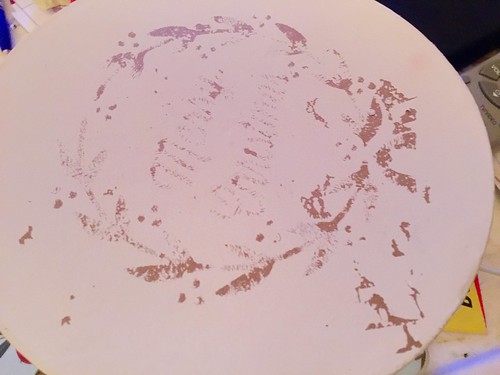
There was no fixing the paint, where it would be smooth, so I took off all the vinyl.
Round two, I covered that mess with acrylic white paint, it took a few layers to cover the peeling paint.

The decoration for around the side of the box all cut and weeded and ready to apply.
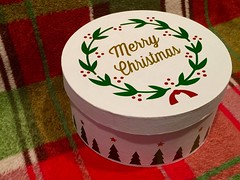
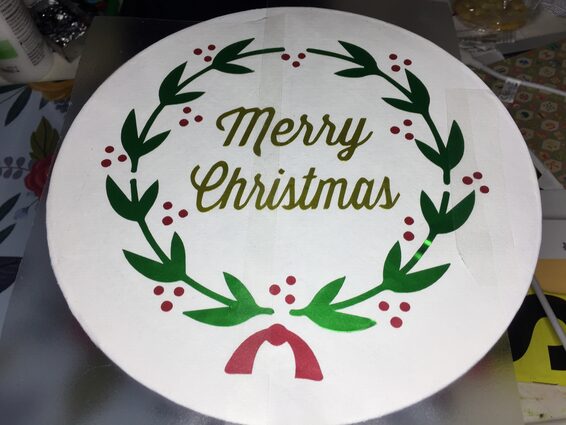
And it is done.
This project was definitely a labor of love given the glitch with the paint. But in the end, it turned out exactly how I had envisioned it in my head.
This post was made possible by products being provided by Tape Technologies, where I am a part of their Design Team.
A special thanks to Cricut for providing the Cricut Explore Air 2.
This post contains affiliate links.


