

Some links in this post are affiliates.

I am sharing a tutorial for making your own journal using a bookbinding technique. Years ago I had a scholarship to attend a workshop at Arrowmont School of Arts and Crafts for a week to learn about different forms of bookbinding. This simple binding is one I learned there. The cover is enhanced with a few embellishments and a die cut using Rinea Foiled Paper.
Materials:
- scissors
- rose die
- Cricut Cuttlebug
- embroidery floss
- scrapbook paper
- sketchbook paper pad
- paper cutter
- various needles
- glue (Best Glue Ever)
- Ruby/Gold Glossy foiled paper
- floral embellishment
- marker
- Stickles in red
Instructions:
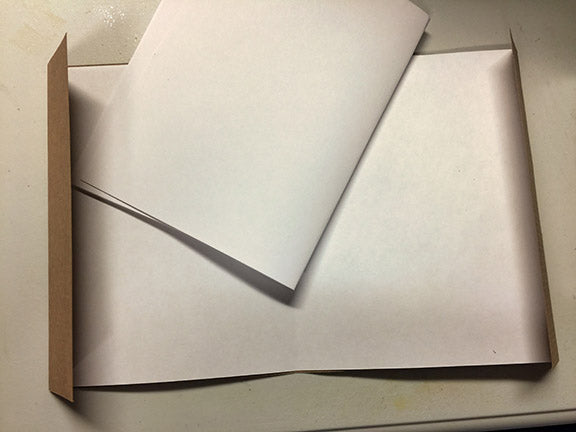
To begin, cut sketchbook paper to your desired size. Then cut a scrapbooking paper about 1/8" taller and about 4" longer. Actual measurements don't really matter and are flexible. My journal closed is about 4" x 6".
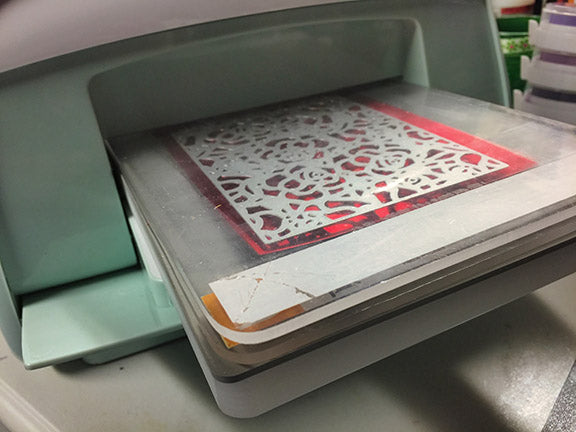
Cut the Rinea foiled paper, I used my Cricut Cuttlebug.
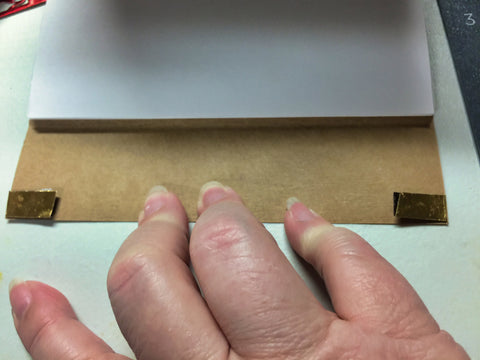
After cutting the cover I realized I wanted to tuck in the first and last page so I used pieces of Rinea to make small tabs. These tabs are folded in half and glued to the cover paper. And again once the paper is folded over. This allows the journal paper to be slid into and under the fold.
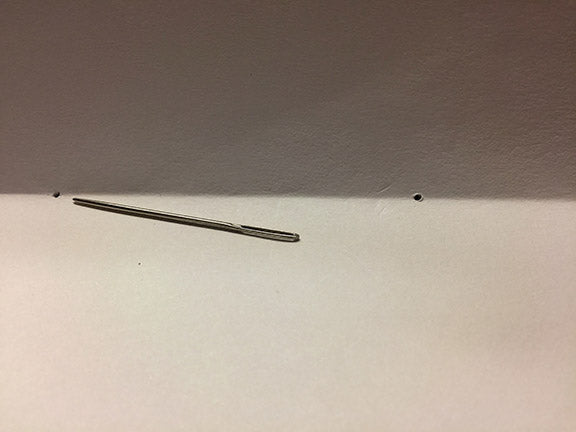
To make the binding I poked two holes equidistant from each edge. Using a larger needle than the one I will be sewing with. This takes some strength and force to get through all the layers.
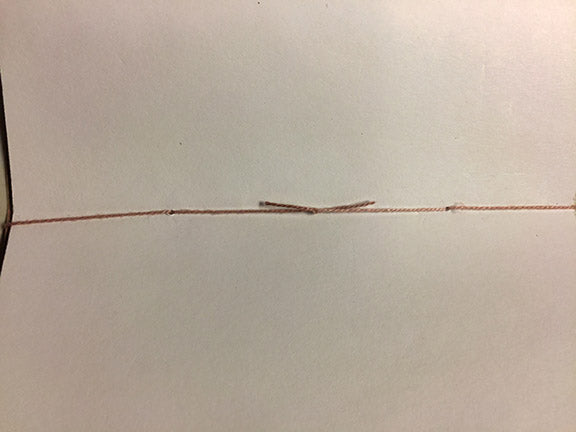
(here is the Japanese binding technique!) To sew the binding, begin on the inside of the journal going through one hole to the outside. Leave a long tail end inside the journal. Loop the thread around the end of the journal and back to the inside, go through the same hole again. Take the needle to the next hole from the outside into the inside. Wrap the string around the end of the journal going through the same (second) hole again to the inside of the journal. Now tie the tail and the string on the needle together in the middle of the journal with a double knot. Trim the ends of the string.
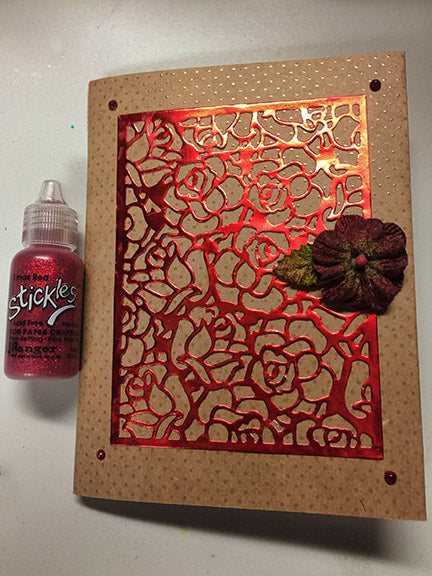
I chose to add a few more embellishments to the cover. I added a floral element and a few Stickles dots in the corners.
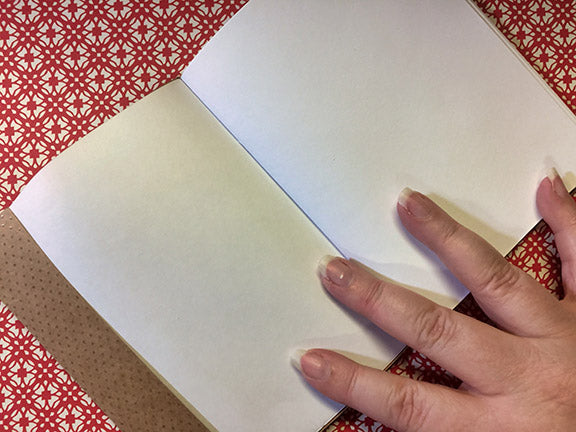
Here is a photo of the finished journal open. You can see the first page is tucked into the folded cover. The back page is the same. It is now ready to give as a gift or to journal in. Once I was finished, my youngest daughter claimed it as hers. Both my daughters love to draw so I am pretty sure this is going to be a sketchbook. I hope you enjoy it.


