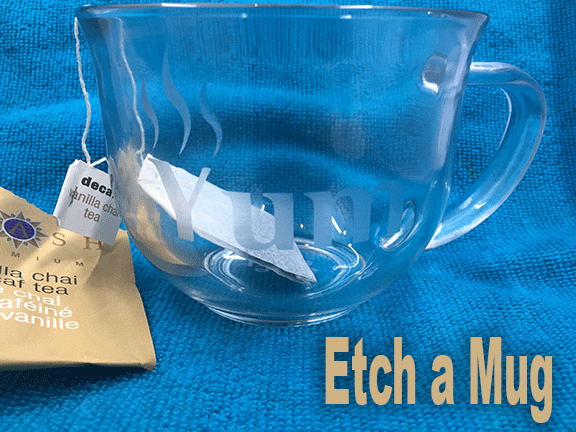
Etchall sent me a fantastic Glass Bee-ginner Kit to try out. I have worked with etching creams before but I have to say, Etchall far exceeded my past experiences. The kit includes etchall® etching creme, a detail pick tool, a squeegee, 2 sheets of transfer paper, and 2 etchmask™ vinyl sheets. I decided to give it a go on a glass mug. I drink a diet hot chocolate or hot tea every morning. I am left handed and most decorative mugs are backwards to me so I was excited to design a unique left-handed mug for myself!
________________________________________________________________________
I want to personally thank Cricut and Etchall for providing materials for this post.
The following links may contain affiliate links. They help support this site and cost you nothing to use them.
_________________________________________________________________________
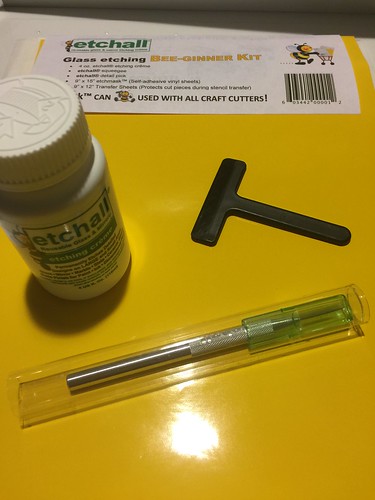
Materials:
- glass mug
- Etchall Bee-ginner Kit
- Cricut Maker
- Paper Towel
- Scissors
- Paintbrush
Directions:
I designed and then cut out my stencil on a Cricut Maker. The file is available in Cricut Design Space.
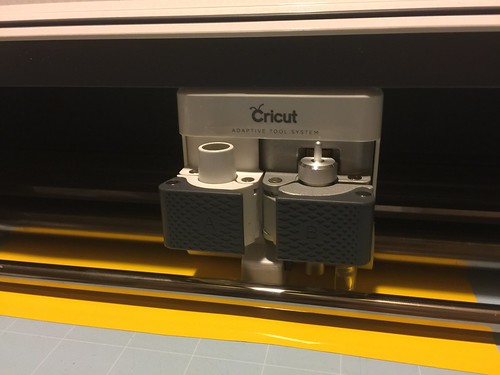
Cutting the vinyl stencil on a Cricut Maker.
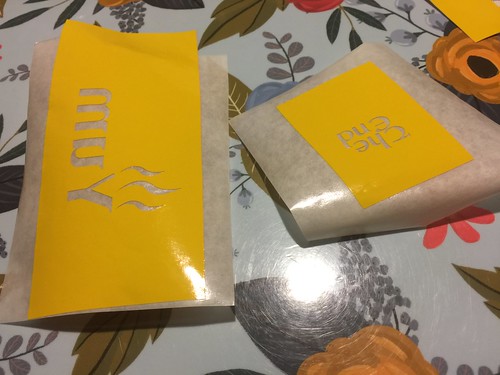
The vinyl has been weeded and applied to the transfer film.
The pick tool was very useful for weeding this tiny type.
Remember for a stencil you are removing the design pieces.
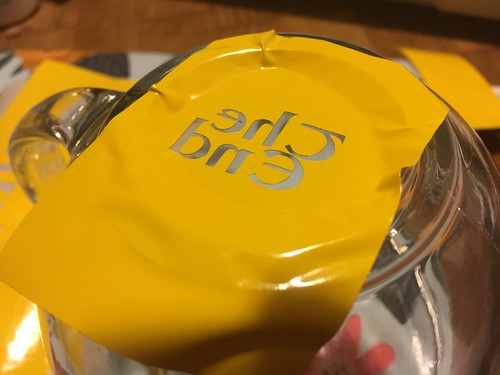
The End design was actually cut in reverse because it was placed on the bottom of the mug so that you can see and read it correctly when looking into the mug.
Placing the stencil on the glass mug, the squeegee tool was helpful. I also went around all cut edges with my fingernail to make sure I had a good seal.
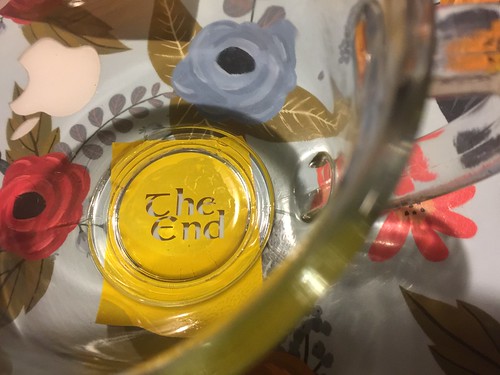
Double checking that I can correctly read the design from inside the mug.
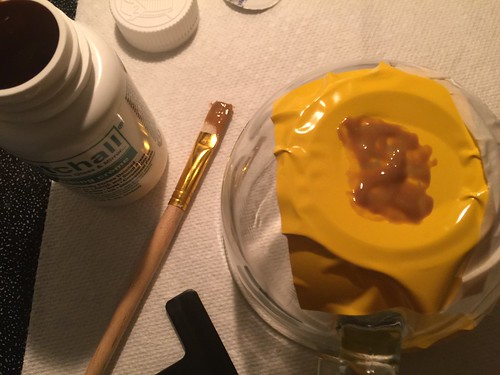
I was surprised to see the Etchall cream was brown, but I found it very helpful in being able to see where I placed it.
The direction state not to use a paintbrush. I actually did use a paintbrush to tap the Etchall cream onto the glass.
Let the cream sit for 15 minutes, remove excess cream because it is reusable, and then rinse in hot water.
Remove the stencil and you are done.
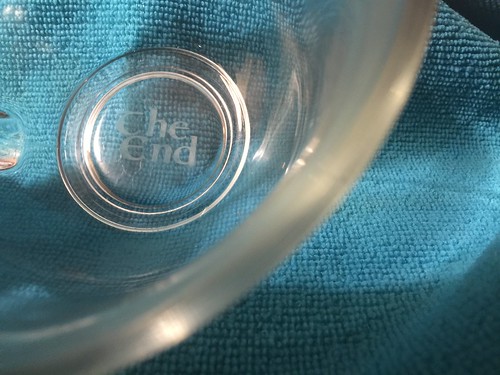
I am really happy with my results and that I now have a designed left handed mug!