

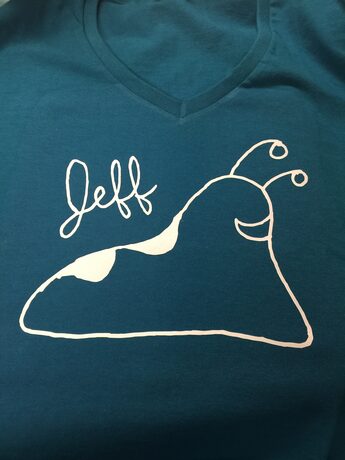
Meet Jeff, he's a slug. My daughter's friend has drawn him for years. Being invited to a recent birthday party, we decided it was time she had a shirt made with her drawing on it. What a fun and personal item to make for a teen in your life that has a character they draw. Teens can be hard to buy for, but this present is definitely a winner.
I want to thank Cricut for providing many of the items used in this post. Links are provided to make it easier for you to purchase the same items. The links are affiliates which help support this site. I appreciate you using them whenever possible.
Materials:
- T-shirt
- Cricut Iron-on Vinyl
- Personal Cutting Machine (Cricut Maker)
- EasyPress 2
- personal drawing digitized
Links are Affiliates AZ - Amazon, M - Michaels, C - Cricut
 Cricut Maker® Machine Shop at: AZ | M | C |  Cricut Iron-on Vinyl Shop at: AZ | M | C |  Cricut EasyPress Shop at: AZ | M | C |  T-shirt Shop at: AZ | M |
Directions:
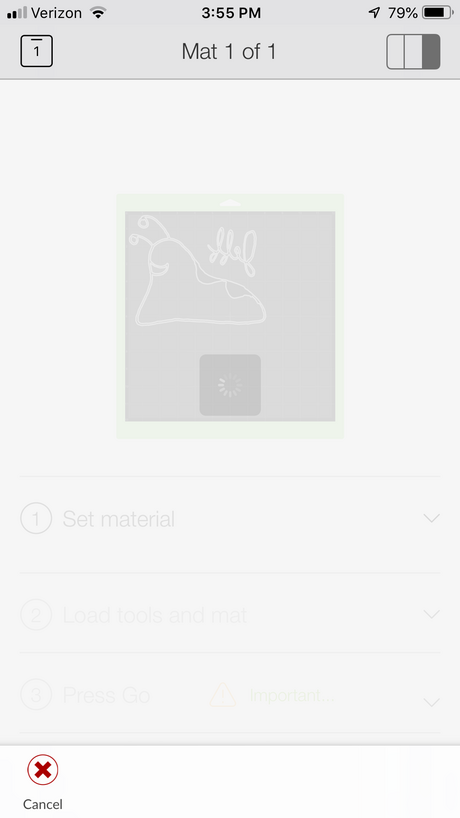
To begin, I scanned the image into my computer and changed it into an SVG file. Then, I uploaded it to Design Space and saved it. This made it easy for me to access the image from my iPhone and send it to the Maker for cutting. When using iron-on vinyl, don't forget to mirror the image before cutting.
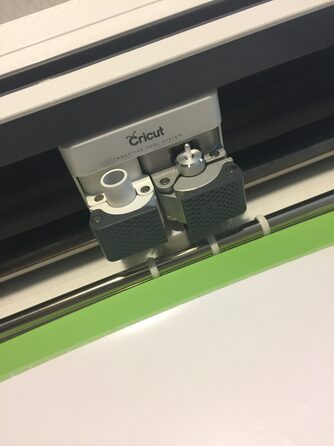
I cut the vinyl on my Cricut Maker.
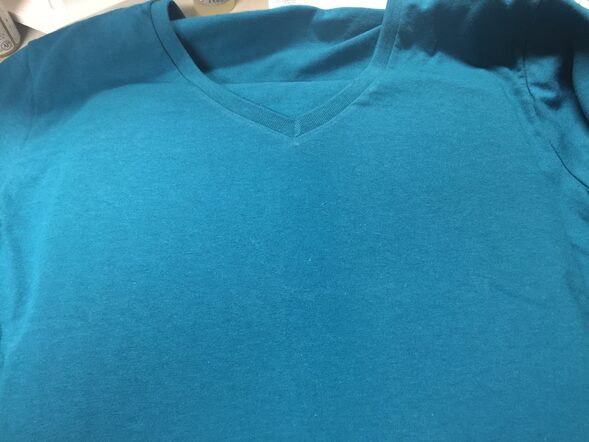
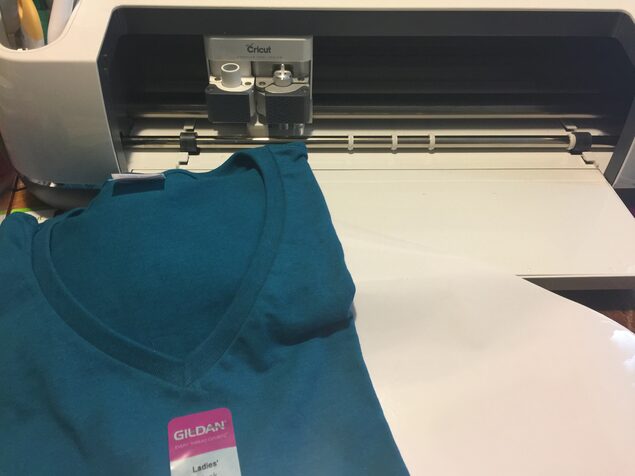
Layout your shirt and press it first with your EasyPress. This makes sure any wrinkles are out of the fabric but more importantly any moisture as well.
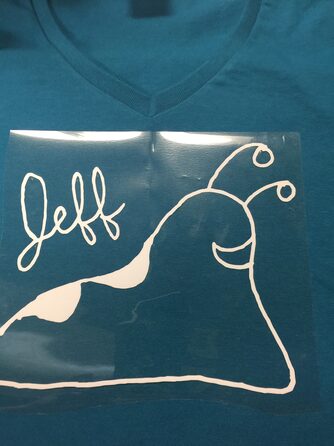
After weeding the vinyl, I placed it onto the shirt to prepare it for pressing.
Here is a tip, to find the center of your image for alignment, fold the carrier sheet in half and make a slight crease at the center point.

Use the suggested settings for heat and time with the EasyPress.
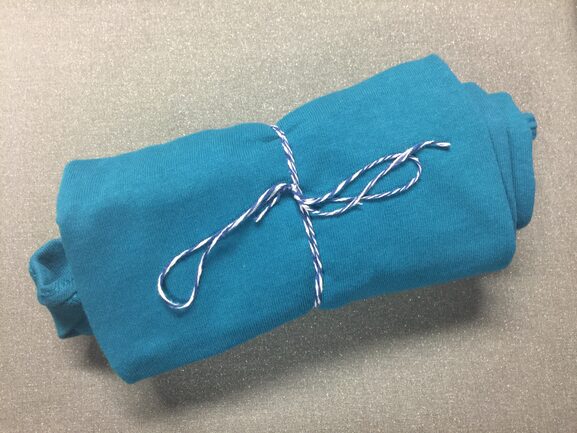
Once finished, it makes an easy personalized gift.


