

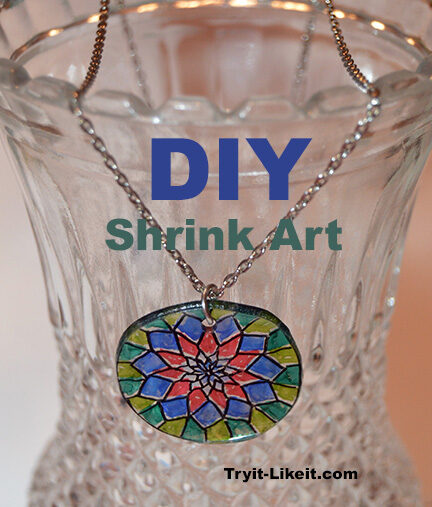
Did you know you can make Shrink Art out of recycled grocery containers? So basically, free shrink art! We printed out free coloring sheet designs to follow for our pieces and colored them with permanent markers.
Materials:
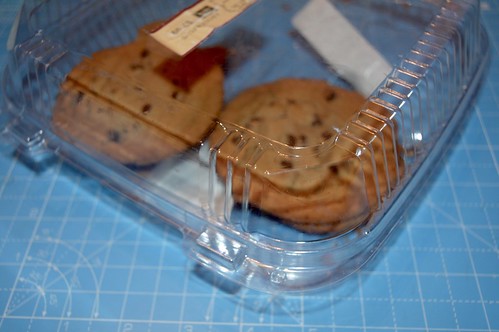
- plastic container - number 6 plastic
- scissors
- permanent markers
- paper punch
- toaster oven
Instructions:
Cut out a piece of flat plastic from the container.
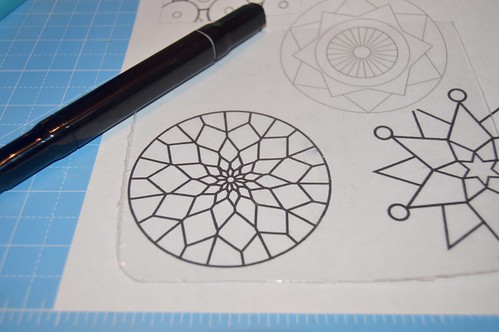
Trace pattern

Trim out design.
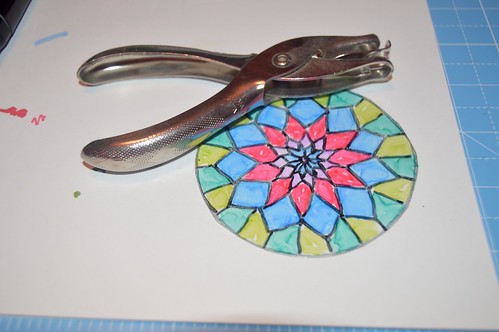
Color your design and punch a hole.
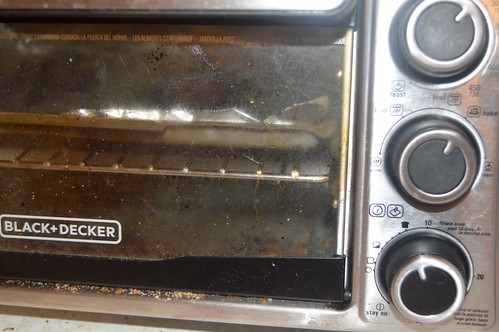
Place in oven or toaster oven. I used 250 degrees for about a minute.
Yes, I need to clean that toaster oven obviously!!!
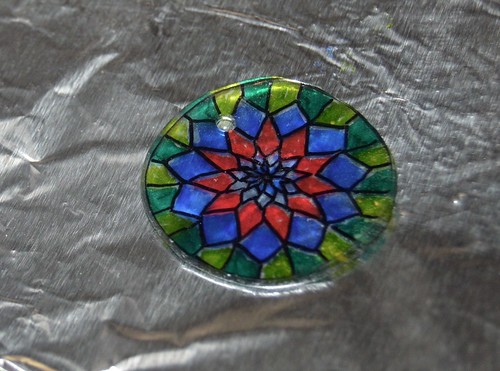
Finished shrinking. I had to flatten by pushing on it a bit with a hot pad, it didn't totally get flat - better next time!
post contains affiliate links


