

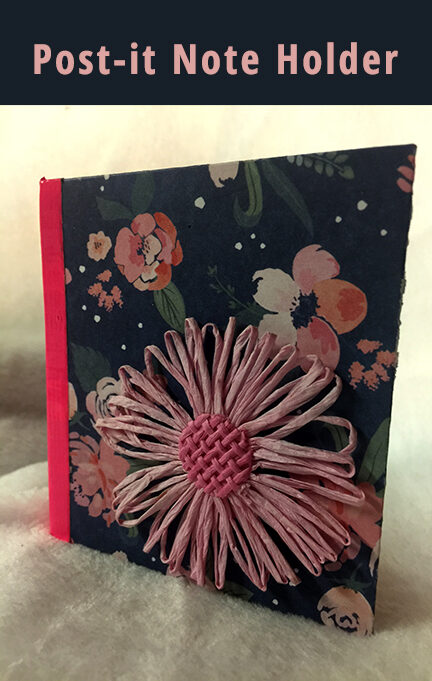
This is a really fun and useful project. Students, teachers, office mates just to name a few people who would love to receive a post-it note holder. This version includes bookmarker stickers too. The demo images below are from a few different ones I made so don't let the design of the patterned paper throw you off. There is also a video tutorial at the bottom you can follow.
The following links are affiliate links, thank you for considering to use them.
Materials:
- white cardstock
- 2 sheets of coordinating cardstock
- duck tape - ducklings (optional)
- decoration (optional)
- the Works Board (trimmer and scoring board)
- Xyron machine
- post-it note (sticky note)
- sticky book flags
- scissors
- double stick tape
Directions:
Cut your cardstock to the following dimensions:
- cover (decorative piece) 7" x 4"
- inside (decorative piece) 6 1/8" x 3 1/8"
- inside (core) 6 1/2" x 3 3/8"
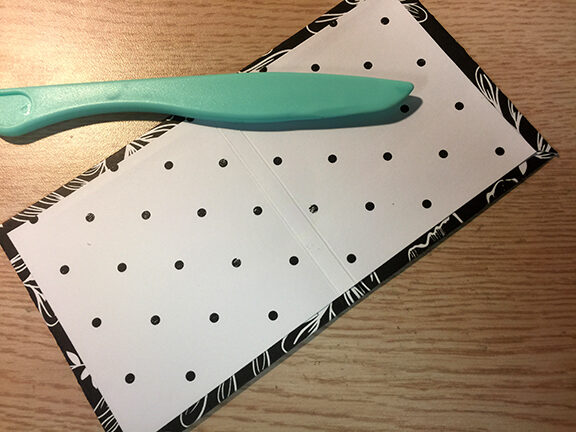
score at 3 1/16" and 3 1/4"
The decorative sheets are scored 1/8" on either side of the center.
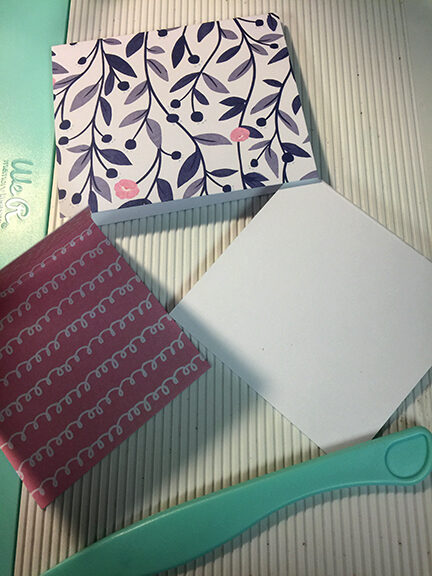
papers cut, scored, and folded
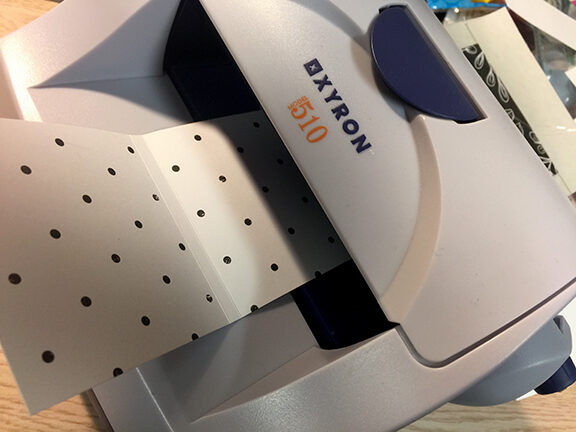
Run the two decorative sheets through a Xyron machine.
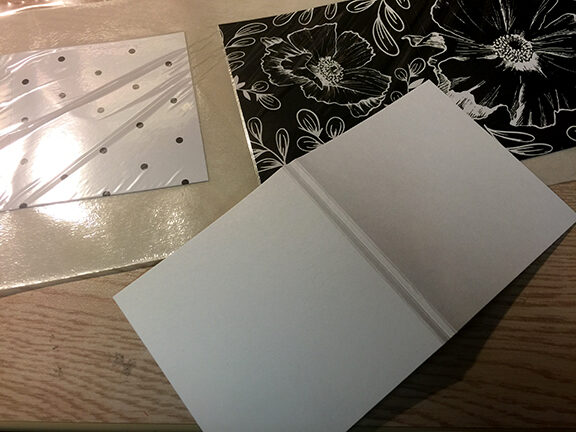
Ready to put together
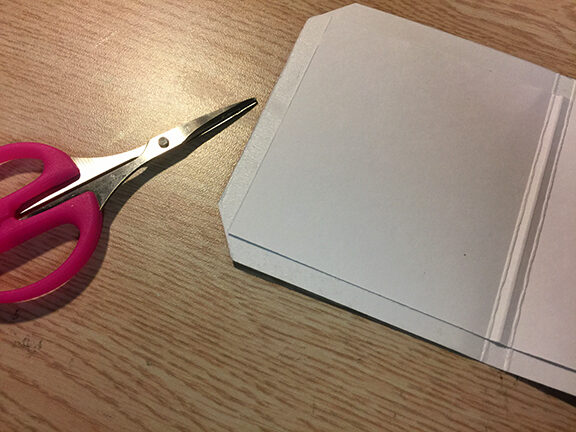
Align at the folds, the cover sheet and the core, trim the corners.

Fold to the inside and burnish well.
Place the inside decorative sheet, align the folds.
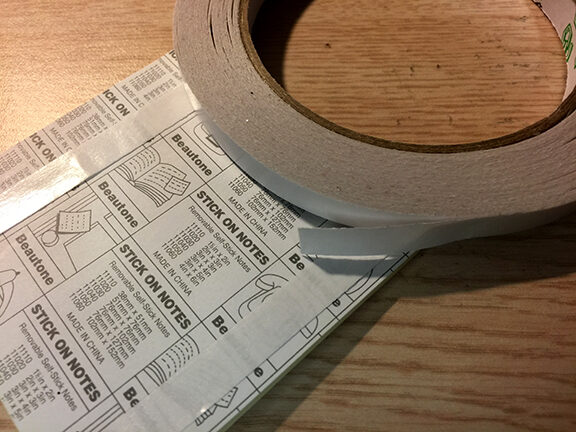
Use double-stick tape on the back of the post-it note.
Then place it inside the holder.
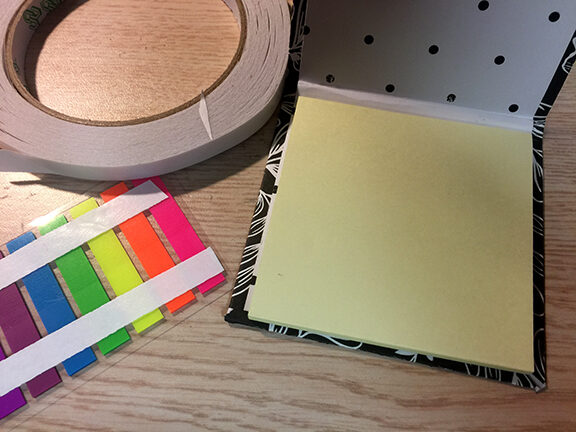
Do the same to the book markers.
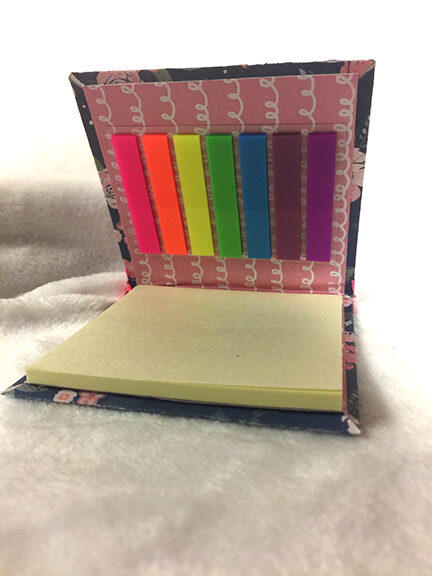
A view of the inside.


